
To reduce wind noise on your dash cam, start by covering the microphone openings tightly with tape or a fuzzy cover to dampen gusts. Position the camera and mic closer to the interior or behind natural barriers like the windshield for better protection. Use foam windscreens or external microphones with windshields, and consider post-processing noise reduction tools. For more effective tips and advanced solutions, explore the full guide to keep your audio clear even in windy conditions.
Key Takeaways
- Cover mic openings with tape or fuzzy covers to block wind and reduce turbulence.
- Position your dash cam and microphone closer to the sound source, like the driver or passenger.
- Use external windscreens or blimps to physically shield the mic from gusts during recording.
- Mount the camera behind wind-blocking surfaces such as the windshield or natural barriers.
- Apply post-production noise reduction tools and phase cancellation techniques to clear wind noise.
Pro Chaser 400W Power Inverters for Vehicles - DC 12v to AC 110v Car Inverter Converter, 6.2A Dual USB Charging Ports, Dual AC Adapter for Laptops Air Compressor
【Pro Chaser Power Inverter Basics】: This inverter provides a steady 400W of DC to AC power with a...
As an affiliate, we earn on qualifying purchases.
Understanding Why Wind Noise Happens

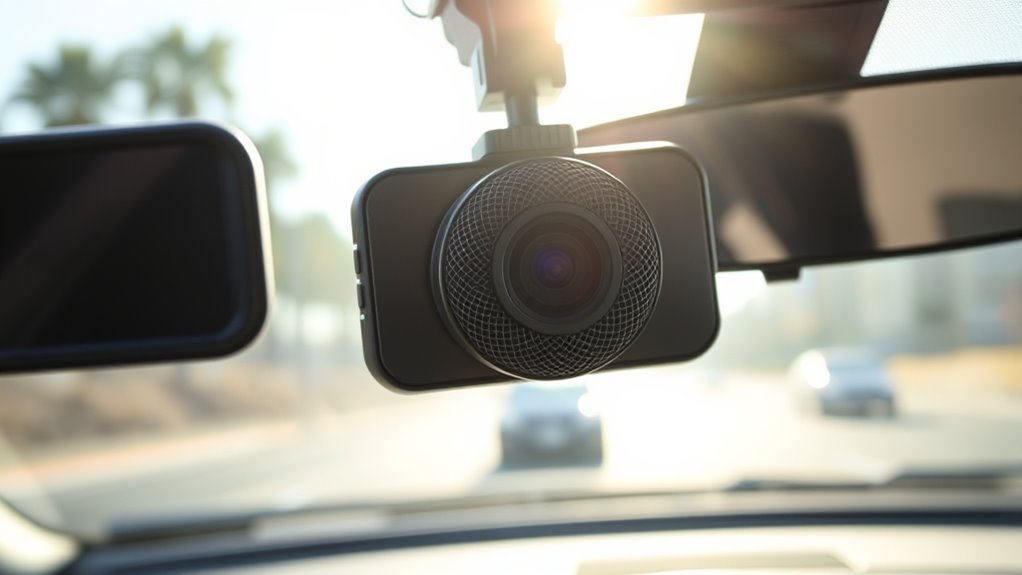
Wind noise occurs when air flows directly across a microphone’s openings, causing turbulence and vibrations that produce unwanted sound. When wind hits the mic, it creates rapid fluctuations in air pressure, which the microphone interprets as noise. Small cameras with built-in mics are especially vulnerable because their tiny openings can’t effectively block or filter out gusts. Outdoor conditions, like breezes or gusts, expose the microphone to more wind, especially on rear-facing cameras, which often have less protection. Mechanical resonance from wind hitting attachments or mounting hardware can also amplify noise. Microphone sensitivity makes it more susceptible to wind interference, especially in outdoor environments. Additionally, Free Floating microphone designs can sometimes help reduce the transmission of vibrations but don’t eliminate wind noise. Proper microphone placement is crucial for minimizing wind-related issues. In some cases, windshields can be used to dramatically decrease wind noise and improve audio clarity in outdoor recordings. Virtually, any movement of air across the microphone’s sensitive components results in unwanted background sound that can drown out your voice or important audio cues. Understanding these causes helps you choose targeted fixes, including microphone windshields and proper placement.

BESTEK Power Inverter DC 12V to AC 110V - 300W Car Plug Adapter Outlet with 4.8A Dual USB Fast Charging Port - Car Charger Cigarette Lighter Adapter for Phone, Laptop on Road Trip - Aluminum Housing
BESTEK Advantage Upgraded: Bestek is power inverter patents owner, America's leading power inverter brand. Our inverter tech upgraded...
As an affiliate, we earn on qualifying purchases.
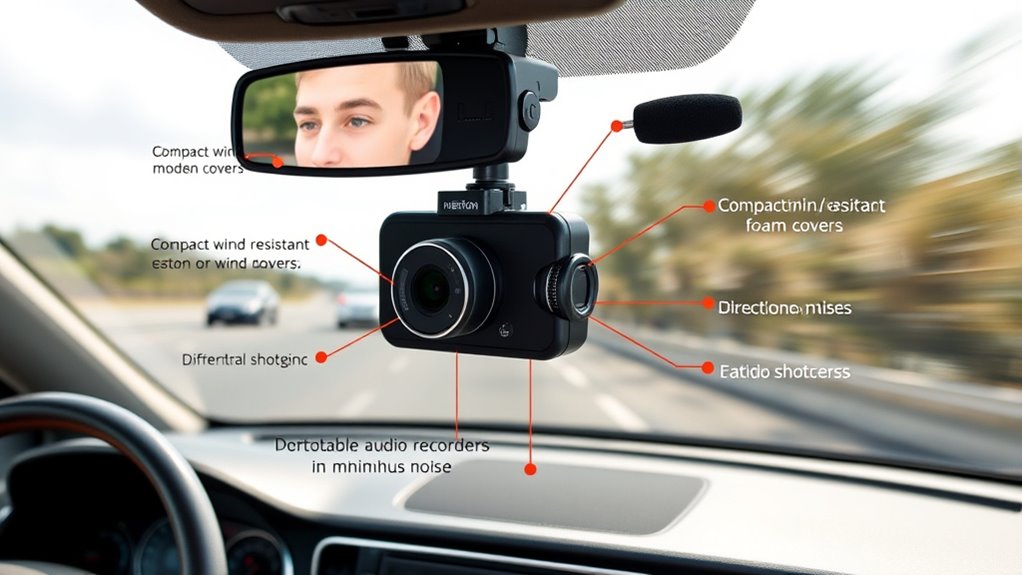
Using Built-In Mic Covers Effectively
Applying tape directly over your dash cam’s microphone hole can critically reduce wind noise, but it’s essential to place it precisely for the best results. Use an X-Acto knife to cut cleanly and accurately before pressing the tape firmly in place. For extra protection, sew or attach a fuzzy cover over the mic to block wind without muffling audio. Incorporating attention to detail during application ensures optimal noise reduction and preserves audio clarity. Additionally, understanding how home cleaning systems work can help you maintain your device and keep it free from dust and debris that might affect its performance. Being aware of essential oils for noise reduction techniques can also inform you about alternative methods for minimizing external disturbances. Regularly cleaning your device with appropriate dust removal methods can further enhance microphone performance and reduce unwanted noise.
Tape Over Microphone Hole
Covering the microphone hole with tape is one of the simplest and most effective ways to reduce wind noise on your dash cam or action camera. Use a small piece of electrical tape or adhesive bandage to completely cover the mic opening. Press the tape firmly so it stays secure and creates a tight seal. This simple fix blocks direct airflow from reaching the mic, drastically reducing wind buffeting. For best results, trim the tape precisely with an X-Acto knife to avoid covering other parts of the device. Keep in mind that covering the mic may slightly muffle audio, but the benefit of clearer recordings often outweighs this. Regularly check the tape’s adhesion, especially in hot or humid conditions, to maintain ideal wind noise reduction.
Precise Tape Placement
To maximize the wind noise reduction achieved by built-in mic covers, precise tape placement is essential. Carefully cut a small piece of electrical or adhesive tape that fully covers the microphone opening without overlapping surrounding areas. Use an X-Acto knife or a sharp blade to trim the tape for a perfect fit. Press the tape firmly to eliminate gaps where wind could sneak in. Center the tape directly over the mic hole, ensuring it seals completely without blocking airflow or sound transmission. Avoid covering nearby vents or other openings, as this may distort audio. The goal is to create an airtight barrier that minimizes wind intrusion while maintaining clear audio pickup. Proper placement ensures maximum wind noise reduction without compromising sound quality. Additionally, understanding the privacy policy related to your device can help you manage how data like audio recordings are handled and shared. Paying attention to installation safety guidelines helps prevent damage to your dash cam and ensures reliable operation. When applying tape, also consider device maintenance practices to keep your equipment functioning optimally. Being aware of nanotechnology innovations can help you choose materials that offer better protection and durability for your device components. Incorporating climate-specific techniques can further enhance your setup, especially in varying weather conditions.
Reinforce With Fuzzy Cover
Reinforcing built-in mic covers with fuzzy fabric adds an extra layer of wind protection, considerably reducing noise in outdoor recordings. This simple step can make a huge difference in clarity, especially in gusty conditions. By covering the mic with a soft, textured material, you prevent direct wind hits that cause buffeting and static. You can sew or glue fuzzy fabric around the mic opening for a snug fit. This not only dampens wind but also preserves audio quality. Proper soundproofing techniques can further enhance audio clarity by minimizing ambient noise. Additionally, choosing appropriate materials designed for acoustic dampening ensures optimal results. Imagine hearing your footage clearly, free from distracting noise. Take action now and feel confident recording outdoors with less wind interference.
- Feel the relief of crisp, clear audio during windy drives
- Experience fewer distractions from unwanted noise
- Gain confidence in your dash cam’s performance
- Enjoy professional-quality recordings without costly equipment

Cantonape 3000W Power Inverter 12V to 110V/120V DC to AC with LCD Display, Remote Controller 4 x AC Outlets and 4 x 3.1A USB Car Adapter for Car Truck Boat RV Solar System
POWERFUL OUTPUT: Convert power of DC 12V to AC 110V/120V 60Hz. Provides 3000 Watts continuous modified sine wave...
As an affiliate, we earn on qualifying purchases.
Choosing the Right Windscreens and Filters

Choosing the right windscreens and filters is essential for reducing wind noise on your dash cam or action camera. Foam windscreens are affordable and slide directly over microphone openings, absorbing some wind before it reaches the mic. Blimps or windshields enclose the entire mic assembly, sealing out gusts and preventing buffeting. Fuzzy covers, like dead cats, are especially effective outdoors, diffusing wind hits on lavalier or small mics. Custom fabric rings can also cover mic holes completely, blocking wind from directly hitting the microphone. When selecting a windscreen or filter, consider your environment: foam for light breezes, blimps for stronger gusts, and fuzzy covers for maximum outdoor protection. Proper choice guarantees clearer audio without wind interference. Understanding wind noise sources can help you choose the most effective solution for your specific needs, ensuring optimal audio clarity. Additionally, Smart home technology can even incorporate noise-reduction features to improve audio clarity in connected security and recording devices. Being aware of environmental factors can further assist in selecting the best wind protection for your recording setup, ensuring consistent sound quality. Aligning your choice with creative storytelling for branding can enhance your overall content quality and audience engagement.

OLTEANP 1000 Watt Power Inverter 12V DC to 110V/120V AC Car Inverter with LCD Screen Display, 2 AC Outlets, 36W Type-C Port, 5V/3A USB Port, Car Power Converter for Truck, Home, Vehicles, Laptop, Trip
【2024 NEW UPGRADED POWERFUL 1000W CAR POWER INVERTER】- The OLTEANP Power Inverter offers a continuous DC to AC...
As an affiliate, we earn on qualifying purchases.
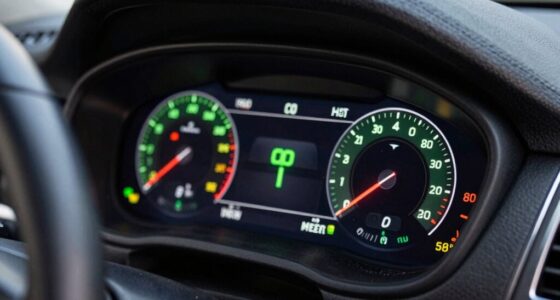
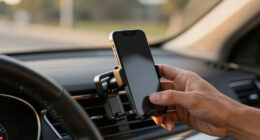
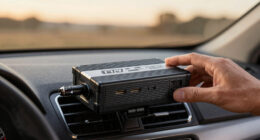
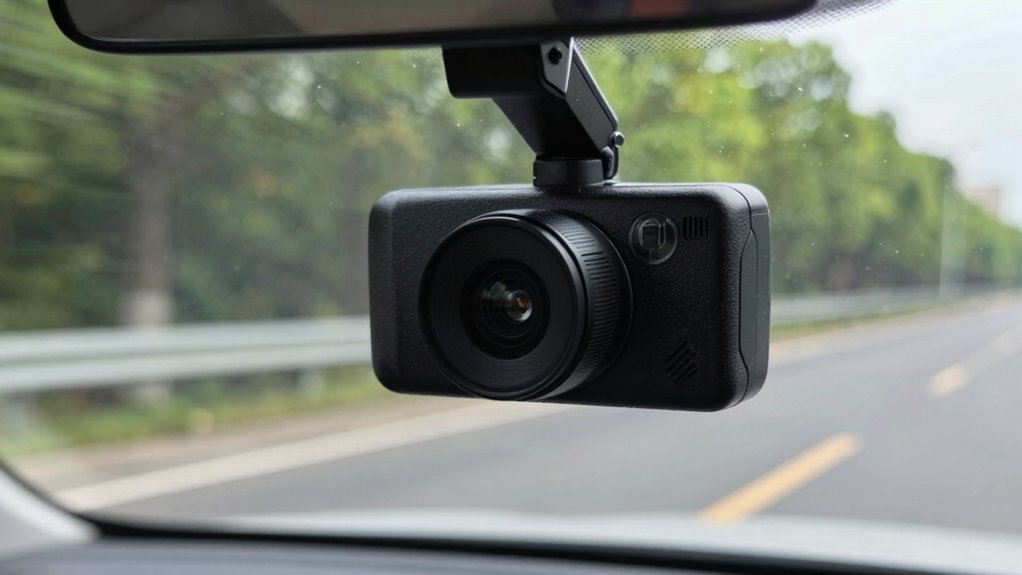
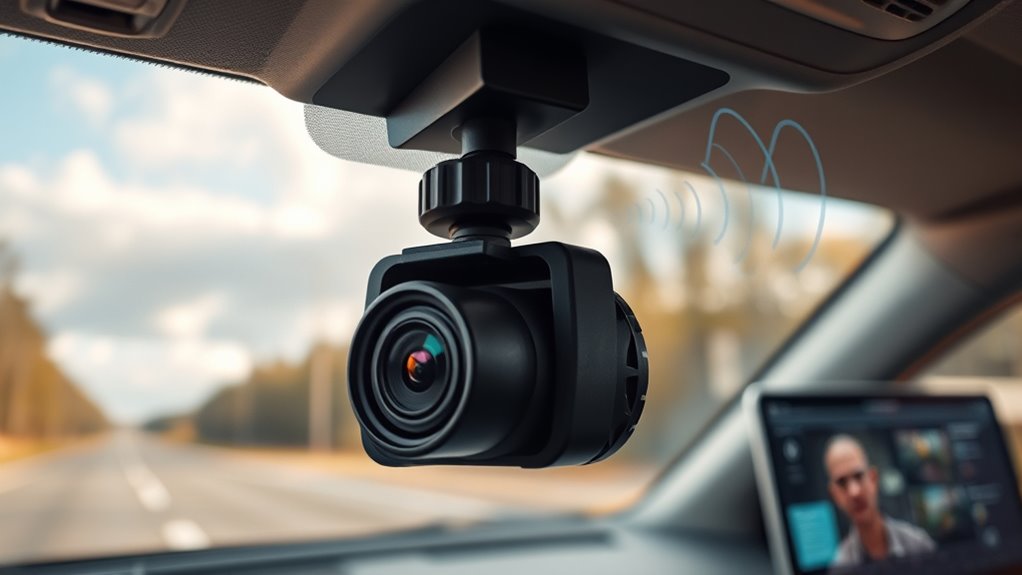
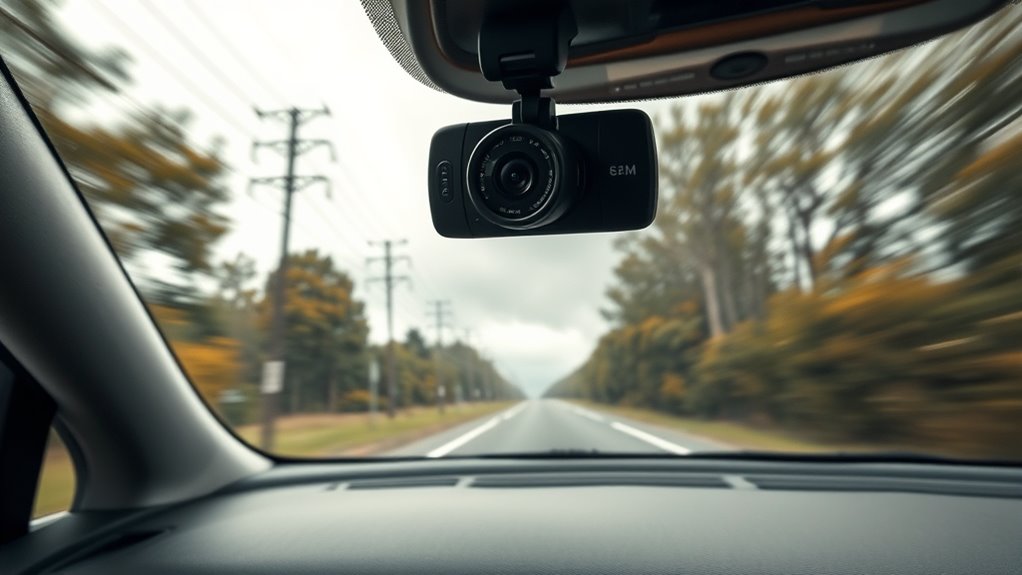
Optimal Camera and Microphone Positioning
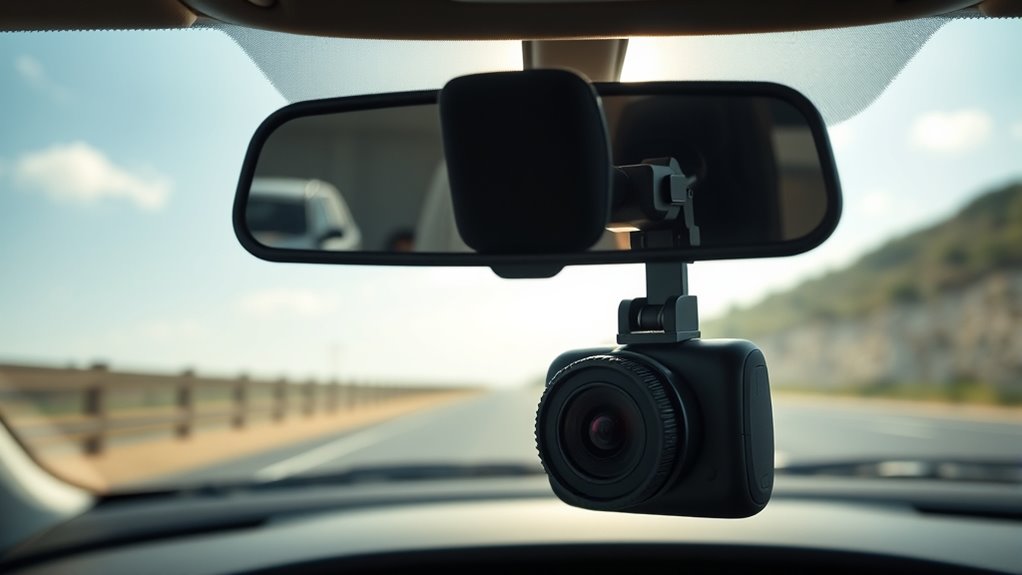
To reduce wind noise, position your camera and microphone closer to the sound source, like the driver or passenger. This helps your voice stand out and minimizes the impact of gusts hitting the mic. Keep the mic protected from direct wind exposure by adjusting the angle or using barriers. Proper microphone placement is essential for capturing clear audio and reducing unwanted noise. Additionally, consider using sheltering barriers or windshields designed for microphones to further decrease wind interference. Ensuring your power tools and equipment are properly secured and shielded can also help prevent additional noise issues during recordings.
Closer to Sound Source
Have you ever noticed how wind noise becomes less noticeable when your microphone is closer to the sound source? Moving your dash cam or microphone nearer to your voice or audio source makes a huge difference. When you reduce the distance, wind has less space to generate disruptive noise, and your voice stays clear. To maximize this effect, try:
- Positioning the camera behind windshield or other natural barriers
- Mounting the mic closer to your mouth or speaking area
- Using a small, directional mic to focus on sound and ignore wind
- Securing the camera at a stable, wind-protected spot on your vehicle
Minimize Wind Exposure
Positioning your camera and microphone to minimize wind exposure is one of the most effective ways to reduce noise. Keep your mic and camera away from direct wind paths by angling them to shield against gusts. Avoid mounting your dash cam on exposed areas like the roof or hood, where wind hits directly. Instead, choose locations closer to the windshield or behind interior pillars. If possible, position the microphone behind the dash or near the glass edge to block breezes. Using an external mic with a windscreen and adjusting the camera angle can further shield against wind. Remember, reducing direct exposure prevents wind from hitting the mic open and causing buffeting, resulting in clearer audio during outdoor drives.
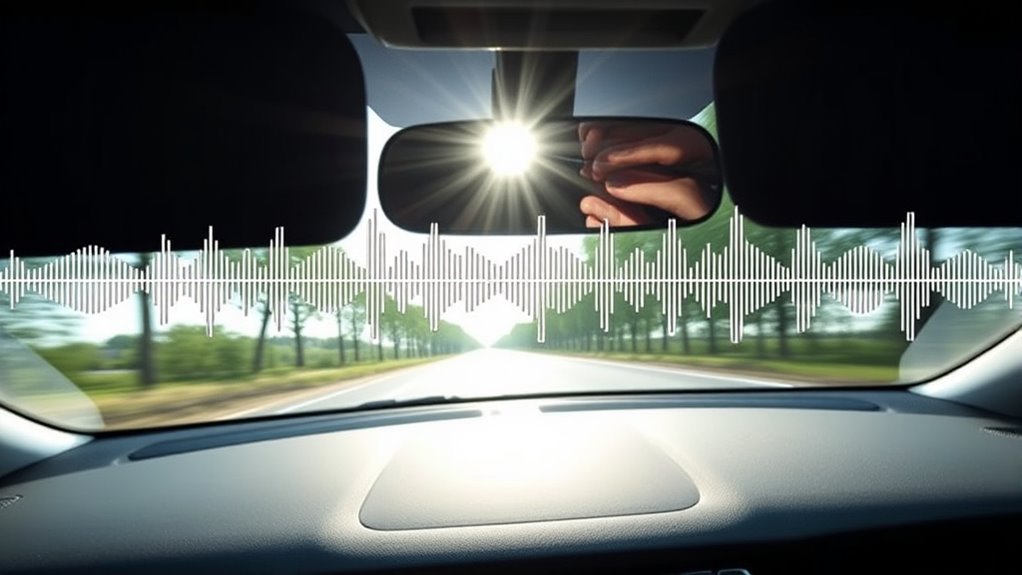
Post-Production Techniques to Reduce Wind Noise
When wind noise affects your dash cam footage, post-production offers effective solutions to improve sound quality. You can use audio editing software to minimize wind interference. Try inverting the phase of a secondary ambient mic track to cancel out wind sounds. Synchronize external recorder audio with your footage for clearer sound. AI noise reduction apps can isolate and remove wind noise effectively. Additionally, applying equalization filters can reduce harsh wind frequencies.
- Use phase cancellation techniques to eliminate ambient wind.
- Sync external audio recordings for cleaner sound.
- Employ AI tools to identify and suppress wind noise.
- Adjust equalization to target problematic frequencies.
These methods help you salvage your recordings, making wind noise less intrusive and restoring clarity to your dash cam audio.
Investing in External Microphones and Accessories
Investing in external microphones and accessories is one of the most effective ways to markedly improve your dash cam’s audio quality in windy conditions. External mics are designed with better wind protection options, like windscreens or fuzzy covers, that significantly reduce buffeting. You can choose directional microphones that focus on sound sources directly in front of them, minimizing wind noise from the sides. Accessories like foam windscreens or blimps further dampen wind impact. Installing an external mic away from the camera’s body or in a sheltered position also helps. These upgrades not only improve audio clarity but make post-processing easier by capturing cleaner sound. While it may require some initial investment, external microphones and accessories provide a reliable, long-term solution to wind noise issues.
Practical Tips for Outdoor Recording in Windy Conditions
Recording outdoors in windy conditions requires practical strategies to minimize noise and capture clearer audio. First, position your camera and microphone away from direct wind paths, such as behind objects or structures. Use physical barriers like car windows or natural features to block gusts. Keep your camera close to the sound source to overpower wind noise. Additionally, consider employing simple wind protection methods:
- Cover mic openings with electrical tape or fabric rings.
- Use foam windscreens or fuzzy covers to diffuse gusts.
- Hold or assist in shielding the mic with your hand or a makeshift shield.
- Avoid recording during gusty weather, checking weather reports beforehand.
These quick, effective tactics help reduce wind interference, ensuring your audio remains clear and intelligible despite outdoor conditions.
Advanced Strategies for Wind Noise Prevention
To further combat wind noise, adopting advanced prevention techniques can make a significant difference. You can enhance your setup with strategic modifications that target wind directly. For example, sealing microphone openings with specialized covers or foam windscreens reduces gusts. Additionally, adjusting your camera’s position minimizes exposure; keeping it away from open windows or high-wind areas helps. Using external microphones with built-in windshields offers superior noise control. Here’s a visual to guide you:
| Technique | Equipment | Result |
|---|---|---|
| Seal mic openings | Adhesive tape, fuzzy rings | Blocks wind entry |
| Use foam windscreens | Foam covers for mics | Absorbs gusts |
| Position camera properly | Move away from wind-prone areas | Reduces wind impact |
Combining these strategies provides robust wind noise prevention, improving your dash cam audio quality.
When to Consider Professional Audio Solutions

When wind noise becomes a persistent problem despite using DIY fixes and positioning strategies, it’s time to contemplate professional audio solutions. You shouldn’t settle for blurry audio or constant wind buffeting. Professional gear can dramatically improve sound quality and eliminate unwanted noise. Consider these options:
- Upgrading to high-quality external microphones designed for outdoor conditions
- Installing windshields or dead cats on external mics for maximum wind protection
- Consulting audio specialists for custom microphone placement and setup
- Using advanced sound processing software for post-recording noise reduction
Taking these steps ensures your dash cam captures clear, intelligible audio even in challenging wind conditions. Investing in professional solutions helps you avoid frustration and guarantees your recordings are usable when it matters most.
Frequently Asked Questions
Can Software Noise Reduction Fully Eliminate Wind Noise in Dash Cam Audio?
Software noise reduction can considerably improve wind noise in dash cam audio, but it won’t fully eliminate it. You might notice some residual wind sounds or artifacts after applying filters. For the best results, combine software tools with physical fixes like windscreens or repositioning your camera. This dual approach ensures clearer audio, reducing wind noise while preserving voice quality, giving you the most effective solution overall.
Are There Specific Microphone Models Best Suited for Outdoor Windy Conditions?
You can’t beat the windproof power of Lavalier microphones with fuzzy windscreens or shotgun mics with zeppelin blimps—they’re like the superhero capes of outdoor audio! These mics are specifically designed to crush wind noise, making your recordings crystal clear even in hurricane-level gusts. Invest in models like the Rode Lavalier GO with furry windscreens or Sennheiser shotgun mics, and you’ll conquer outdoor wind like an audio ninja.
How Effective Are DIY Wind Covers Compared to Commercial Solutions?
Diy wind covers can be quite effective if you use the right materials, like foam or fuzzy fabrics, to diffuse wind. They’re affordable and customizable, making them a good quick fix. However, commercial solutions like blimps or professional windscreens typically offer better protection because they’re designed specifically for outdoor conditions. For ideal results, combine DIY covers with positioning techniques, but investing in commercial options provides more consistent, reliable wind noise reduction.
Does Increasing Microphone Gain Worsen Wind Noise Issues?
Mic gain magnifies microphone mishaps, making wind noise worse. When you crank up the gain, even slight breezes become booming disturbances, overpowering your audio. You’ll notice more wind whining and less clarity. To keep clear sound, avoid increasing the gain unnecessarily. Instead, focus on wind-blocking barriers, positioning, or external mics. Lowering the gain minimizes wind noise and maximizes audio accuracy, giving you cleaner recordings and clearer communication.
Can Adjusting Camera Settings Reduce Wind Noise Without External Accessories?
Yes, adjusting your camera settings can help reduce wind noise. Lower the microphone sensitivity or gain to lessen the wind’s impact on audio. Enable noise reduction features if your camera offers them, and adjust the audio levels to find a balance that minimizes wind sounds but keeps voices clear. Keep in mind, these tweaks work best in combination with positioning techniques or external accessories for ideal results.
Conclusion
So, next time your dash cam captures wind noise that’s louder than your favorite song, remember—those quick fixes you ignored might actually save the day. Ironically, investing in better gear or trying simple positioning tricks can turn your noisy recordings into crystal-clear memories. Who knew that battling wind noise isn’t about high-tech solutions but about a little patience and smart choices? Sometimes, the simplest fix is just a mic cover away from perfection.