If your battery keeps dying overnight, you can perform a simple parasitic draw test yourself. First, fully charge your battery and turn off all accessories, then disconnect the negative cable. Use a multimeter set to measure current and connect it in series between the battery and cable. Wait about 10 minutes for modules to sleep, then note the current. If it’s high, you can locate the problem circuit by removing fuses one at a time. Keep going for detailed steps that can help you identify the cause quickly.
Key Takeaways
- Fully charge your battery, turn off all accessories, and wait 10 minutes for modules to enter sleep mode before testing.
- Use a multimeter in series between the negative battery post and cable to measure parasitic current draw accurately.
- Disconnect one fuse at a time to identify which circuit causes excessive drain when removed.
- Inspect wiring, relays, switches, and modules for damage, corrosion, or components that stay active when they should be off.
- Regularly check the electrical system, including battery load and alternator diodes, to prevent future parasitic drain issues.
Understanding Parasitic Draw and Its Causes
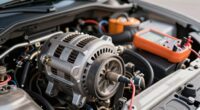
Parasitic draw occurs when electrical components in your vehicle continue to draw current even after the engine is turned off. This ongoing power drain can stem from various causes. Aftermarket electronics like alarms, lights, or stereos wired improperly often keep circuits energized, causing unwanted current flow. Faulty alternator diodes may allow current to flow back into the alternator, creating a leak. Body control modules or control units that fail to enter sleep mode keep sensors and networks powered, increasing standby current. Interior lights, glovebox lamps, or courtesy switches stuck closed can also keep circuits active overnight. Additionally, damaged wiring, short circuits, or corroded connectors create unintended paths for current, which gradually drain your battery. Implementing a proper calibration process can help diagnose and reduce parasitic draws more accurately, ultimately protecting your battery health. Conducting a parasitic draw test is essential for pinpointing the source of the drain and ensuring proper vehicle operation. Recognizing battery drain patterns can also assist in identifying recurring issues, saving you time and money. Understanding electrical system design can aid in understanding how components interact and potentially cause parasitic loads. Being aware of these causes and their thermal behavior can help in diagnosing issues more effectively, especially in extreme weather conditions. Identifying these causes helps you prevent unnecessary battery discharge.
Preparing Your Vehicle for the Test
Before testing for parasitic drain, you need to prepare your vehicle properly to guarantee accurate results. Start by ensuring the battery is fully charged; a voltage below 12.5V can lead to false readings. Turn off all accessories, close doors, and remove keys or key fobs from the vehicle to prevent modules from waking up. Wait about 10 minutes or the manufacturer’s specified sleep time for modules to enter low-power mode. Disable or secure items that could cause wake events, like interior lights or trunk switches, and avoid opening doors during setup. Use a quality multimeter or amp clamp rated for DC measurements. Additionally, understanding parasitic drain helps you identify potential electrical issues more effectively. Proper modern technology in your testing process can help improve accuracy and safety. Furthermore, being aware of electrical system behavior can assist in diagnosing complex parasitic draw problems. Incorporating diagnostic tools designed for electrical testing can streamline the process and provide more precise results. For enhanced accuracy, consider consulting vehicle-specific testing procedures or manufacturer guidelines to ensure proper testing techniques.
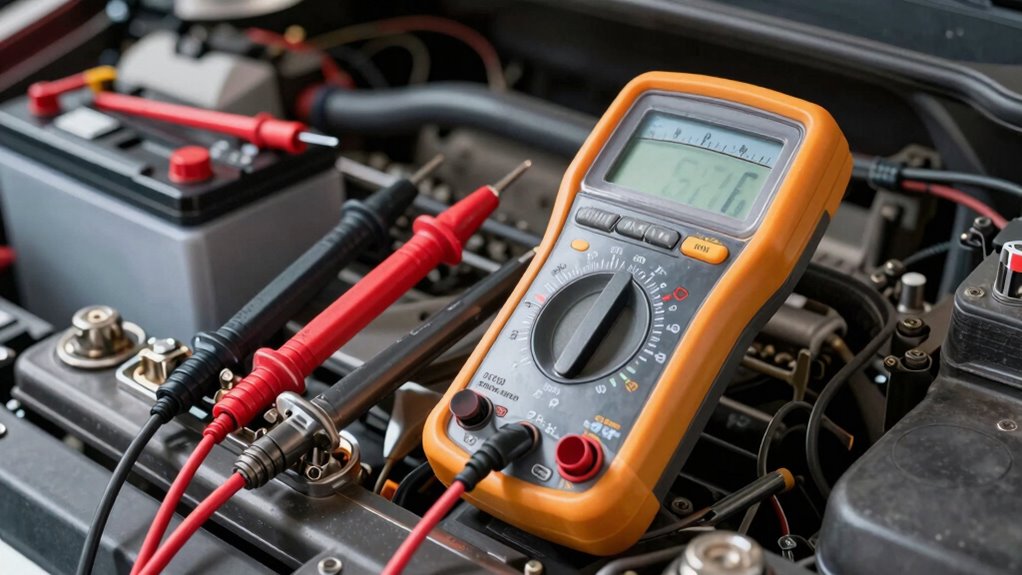
Setting Up Your Multimeter for Accurate Measurement
To get accurate readings, you’ll need the right multimeter for measuring current safely and effectively. Make sure you select a meter rated for DC milliamps or amps, depending on the expected draw, and use the correct ports for each measurement. Proper connection involves placing the meter in series between the battery and cable, ensuring secure and correct wiring before taking your reading. Additionally, understanding the concept of free floating is essential when diagnosing parasitic draws, as it can help identify unintended electrical paths that drain your battery. Being aware of common electrical issues can further aid in troubleshooting your system effectively. For precise diagnosis, familiarize yourself with navigation and mapping features of advanced multimeters, which can assist in complex electrical systems. Recognizing parasitic loads and their sources can significantly improve your troubleshooting efficiency and prevent unnecessary battery replacements. Remember that proper safety precautions are crucial when working with electrical systems to avoid injury or damage.
Proper Meter Selection
Choosing the right multimeter and setting it up correctly is essential for obtaining accurate parasitic draw measurements. You need a multimeter capable of measuring DC current in the milliamps range with a high degree of precision. Look for a digital multimeter with a dedicated milliamps (mA) port and a DC current measurement function. Make it capable of handling at least 10A for safety and flexibility. Select a meter with auto-ranging or manual range options to avoid misreads. Use quality leads with proper probes to prevent false readings.
| Multimeter Feature | Recommended Range | Notes |
|---|---|---|
| DC Current Measurement | 200mA to 10A | Start high, then lower for accuracy |
| Ports | 10A and mA ports | Use correct port per measurement |
| Display & Resolution | At least 2000 counts | Ensures clear, precise readings |
Correct Connection Procedure
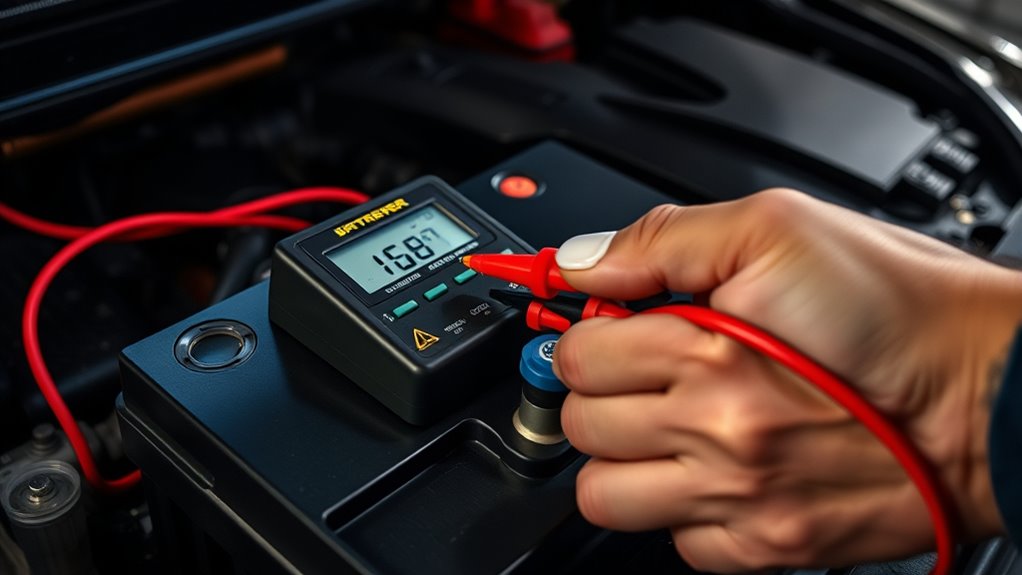
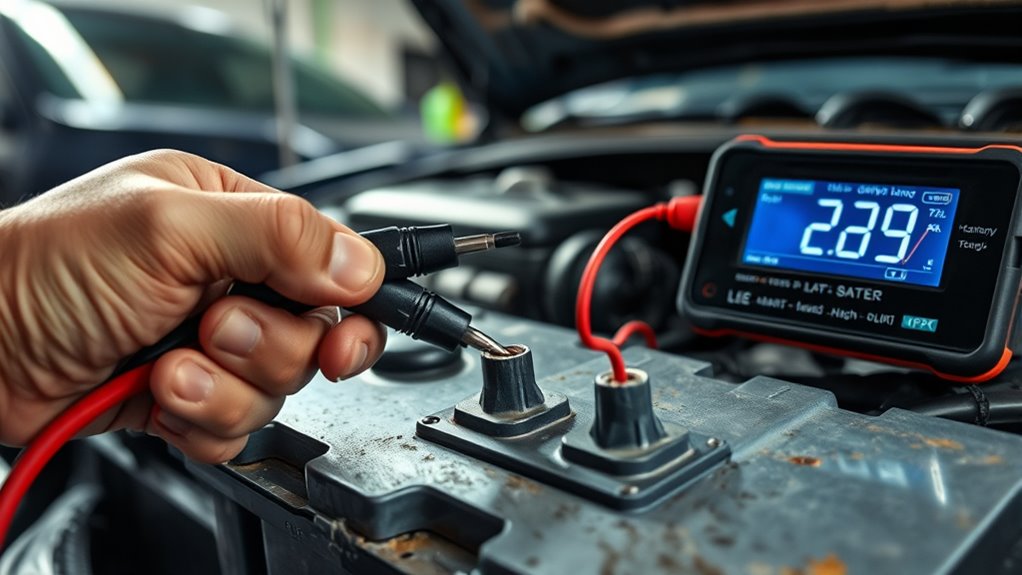
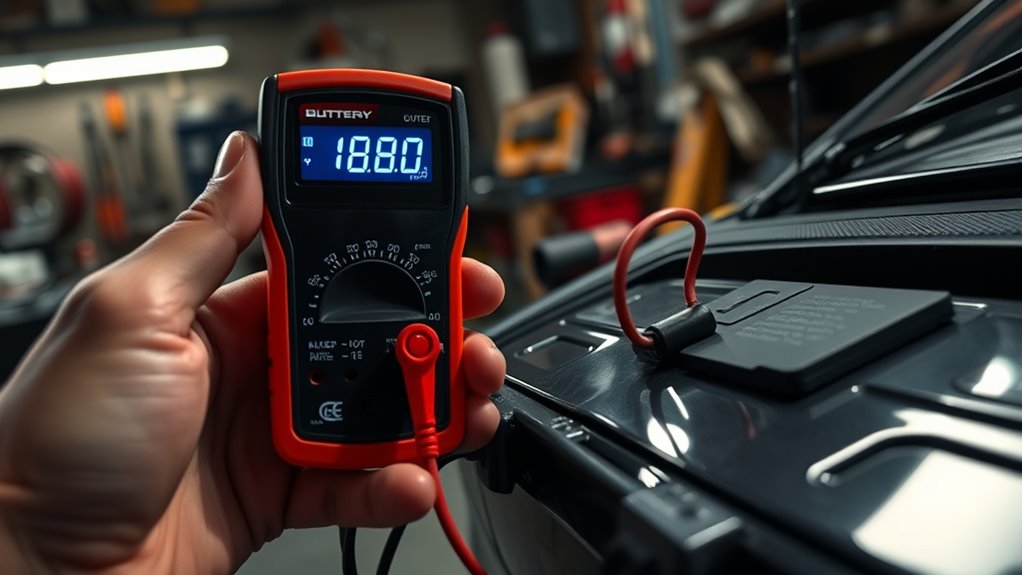
Proper connection of your multimeter is essential for accurate parasitic draw measurement. First, set your multimeter to the correct DC current range—start high (like 10 or 20 amps) to prevent damage, then switch to milliamps for precise readings. Connect the multimeter in series between the negative battery post and the negative cable. Ensure the black lead is in the common port and the red lead in the amp or mA port, following your meter’s manual. Make sure all vehicle accessories are turned off, doors are closed, and modules have entered sleep mode before measuring. Handle connectors carefully to avoid shorts. Confirm a solid connection, then read the current. Any fluctuation or loose connection can lead to inaccurate results, so double-check your setup before recording. Understanding filtration and airflow can help ensure your measurement setup remains consistent and accurate.
Performing the Basic Parasitic Draw Test
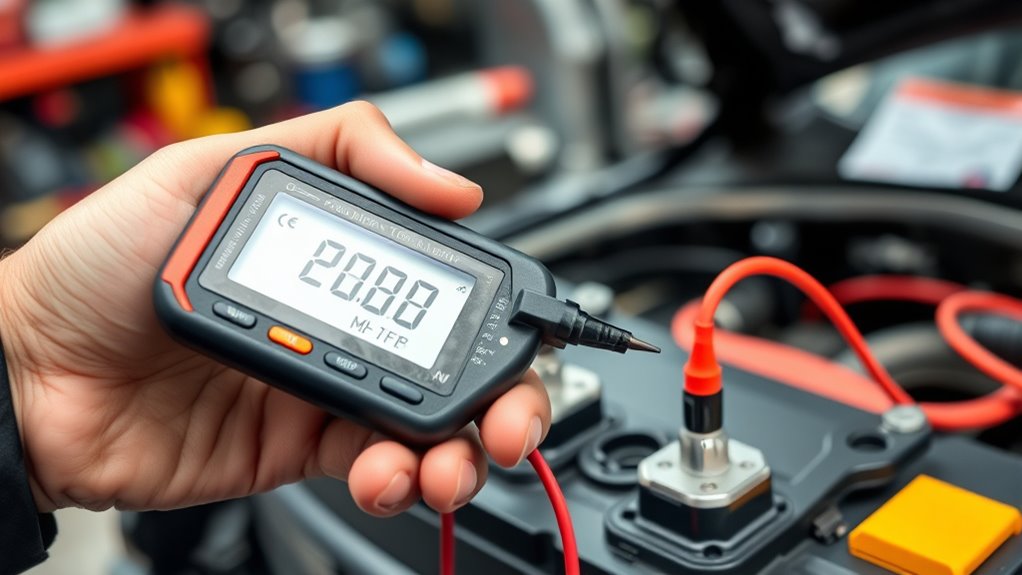
Performing the basic parasitic draw test involves setting up your multimeter to measure current and connecting it correctly in series with the vehicle’s negative battery terminal. First, verify your multimeter is on the correct DC current setting, typically milliamps (mA). Disconnect the negative battery cable and connect one multimeter lead to the battery post, and the other to the cable, creating a series circuit. Turn on the vehicle’s doors and wait about 10 minutes for modules to enter sleep mode. Record the reading; a healthy vehicle should draw less than 50 mA. If the current is higher, start pulling fuses one by one to identify the circuit causing the drain. Once pinpointed, test individual components and repair as needed.
- Set multimeter to appropriate DC current range
- Connect multimeter in series with negative terminal
- Wait for modules to enter sleep mode before measuring
Isolating the Faulty Circuit or Component
To find the faulty circuit or component causing parasitic drain, start by removing fuses one at a time and observing changes in current draw. Analyzing circuit diagrams helps identify which systems are connected to each fuse, narrowing down suspects. Once you spot the circuit responsible, test individual components on that circuit to pinpoint the exact cause. For additional accuracy, understanding circuit awareness can help you interpret wiring and component placement more effectively. Familiarity with electrical systems enhances your ability to troubleshoot complex automotive wiring efficiently. Additionally, reviewing skincare products with glycolic acid can provide insights into effective exfoliation methods that improve skin health.
Fuse Removal Method
When dealing with parasitic drain issues, removing fuses is an effective way to isolate the faulty circuit or component causing excessive current draw. Start by turning off the vehicle and disconnecting your multimeter in series with the battery. Then, remove one fuse at a time, noting the current reading each time. If the current drops considerably when a fuse is pulled, you’ve identified the circuit responsible for the drain. Focus your inspection on that circuit’s components, such as relays, modules, or switches. This method quickly narrows down the problem area without complex wiring analysis. Additionally, understanding the parasitic draw concept helps you interpret your findings more effectively. Remember to keep a record of which fuse causes the drop, so you can test individual components later and perform repairs efficiently. Recognizing the importance of electrical diagnostics can further improve your troubleshooting process. Being familiar with common faulty circuits in your vehicle can also guide your investigation and save time. To enhance your diagnostic process, you might also consider testing for voltage leaks to pinpoint issues more precisely.
Circuit Diagram Analysis
How can analyzing the circuit diagram help you find the source of parasitic drain? By examining the diagram, you identify how circuits connect, revealing potential paths for unintended current flow. You can locate modules, relays, switches, and wiring that might stay energized. Understanding the layout helps you prioritize which circuits to test first and trace abnormal current routes efficiently. Here’s a simplified breakdown:
| Circuit Element | Possible Faults | Diagnostic Approach |
|---|---|---|
| Body Control Module | Stuck in awake mode | Check module sleep status |
| Interior Lights | Switch stuck closed | Manually test switches |
| Wiring | Damage or corrosion | Visual inspection & continuity test |
| Aftermarket Devices | Improper wiring or installation | Rewire using ignition-switched circuits |
Component Testing Procedures
Once you’ve identified the circuit responsible for the parasitic drain through fuse testing or diagram analysis, the next step is to verify the specific components within that circuit. You’ll need to test relays, modules, and switches to pinpoint the faulty part. Use a multimeter or an amp clamp to measure resistance or current flow. Look for signs of damage, corrosion, or stuck switches that keep circuits energized. Focus on components that stay active when they should be asleep.
- Visually inspect for burnt, damaged, or corroded parts
- Test relays by listening for clicking or using resistance measurements
- Check switches for proper operation and ensure they aren’t stuck closed
Tips for Preventing Future Battery Drain Issues

To prevent future battery drain issues, it’s vital to maintain your vehicle’s electrical system and make sure that aftermarket accessories are properly installed. Always wire accessories to ignition-switched circuits to avoid constant power draw. Use appropriate fuses and relays to protect circuits and prevent short circuits or unintended power paths. Regularly inspect wiring, connectors, and switches for damage, corrosion, or sticking contacts that may keep circuits energized. Schedule periodic electrical system checks, including battery load testing and alternator diode assessments, especially before winter when cold temperatures increase drain risks. If you install new electronics, follow manufacturer instructions carefully and consider professional installation. Keeping your battery fully charged and addressing minor electrical issues early helps guarantee your vehicle remains reliable and prevents unnecessary drain that could shorten battery life.
Frequently Asked Questions
How Long Should I Wait Before Measuring After Turning off the Vehicle?
You should wait about 10 minutes after turning off the vehicle before measuring parasitic draw. This allows the vehicle’s modules to enter sleep mode, minimizing false readings caused by active electronics. Be sure all doors, trunk, and glovebox are closed, and keys or fobs are away from the vehicle during this time. Patience guarantees an accurate measurement, helping you identify if there’s an abnormal draw depleting your battery overnight.
Can a Faulty Alternator Diode Cause a Parasitic Drain?
Oh, sure, a faulty alternator diode is just the perfect little culprit for your battery’s overnight death wish. It allows current to flow back into the alternator even when your car’s off, creating a sneaky parasitic drain. That tiny malfunction can deplete your battery faster than a donut disappears at a police bake sale. So yes, a bad diode can definitely cause a parasitic drain, messing with your morning commute.
Is It Safe to Disconnect the Battery During Testing?
Yes, disconnecting the battery during testing is generally safe if you follow proper procedures. Before disconnecting, turn off the vehicle and remove the key to prevent electrical surges. Use insulated tools and protective gear to avoid sparks or short circuits. Be aware that some vehicles store memory settings or security codes, so disconnecting might require reprogramming later. Always consult your vehicle’s manual for specific instructions.
What Tools Are Best for Non-Intrusive Current Measurement?
You need tools that are as precise as a laser to avoid waking up your vehicle’s electronics. An inductive DC clamp meter is your best bet—it’s non-intrusive, wraps around the wire, and measures current without disconnecting anything. This tool is perfect for quick, safe testing, letting you pinpoint parasitic draws without messing with your wiring or risking damage. It’s the ultimate device for accurate, hassle-free diagnostics.
How Do I Know if My Battery Is Too Weak to Test Accurately?
You’ll know your battery is too weak to test accurately if its voltage drops below 12.5 volts before testing. A weak battery struggles to hold a charge, which can give false readings or skew your results. Fully charge the battery first, then measure voltage with a multimeter. If it’s still under 12.5V after charging, replace the battery before testing again to guarantee accurate parasitic draw readings.
Conclusion
Think of your car’s battery like a bank account—you don’t want unnecessary withdrawals draining it overnight. After performing the parasitic draw test, you might find a small leak or forgotten device draining power. Just like catching a leak in your faucet saves water, identifying and fixing the issue saves your battery. Regular checks can keep your vehicle running smoothly, so you won’t wake up to a dead battery, no matter how busy your day gets.