
The ‘Big Three’ wiring upgrade involves replacing three critical wiring connections in your vehicle with larger gauge cables, typically 0-2 gauge copper wire. This reduces resistance, increases current flow, and minimizes voltage drops, leading to better electrical stability and performance. It supports high-power audio systems and accessories while protecting your system from overloads. Want to learn how to install it correctly and get the most out of your upgrade? Keep exploring for detailed tips.
Key Takeaways
- The ‘Big Three’ upgrade replaces critical wiring with larger gauge copper cables to improve electrical flow and reduce voltage drops.
- It involves upgrading the battery ground, engine block ground, and alternator to battery positive wire connections.
- This enhancement supports higher power demands from upgraded audio systems and additional accessories.
- Proper installation includes secure crimping, heat shrinking, and fuse protection to ensure system safety and reliability.
- It stabilizes vehicle electrical performance, prevents issues like dimming lights, and extends component lifespan.
Understanding the Components of the Big Three Upgrade
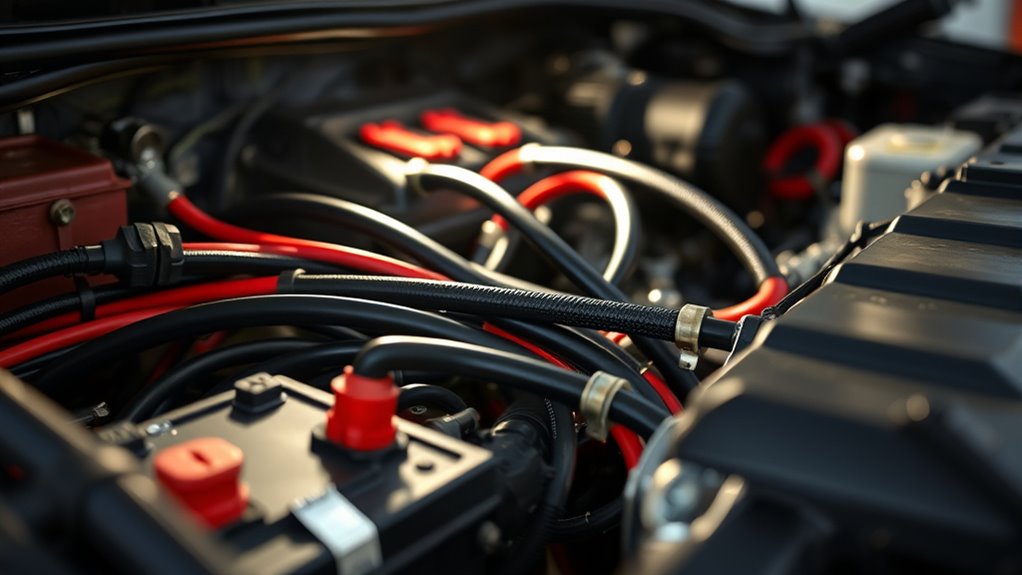
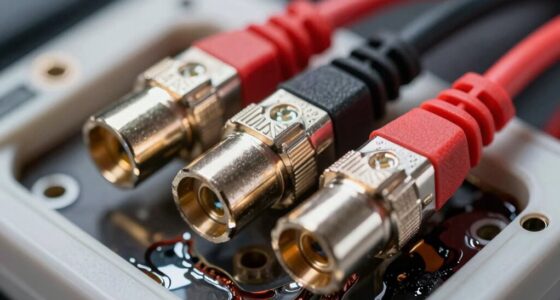
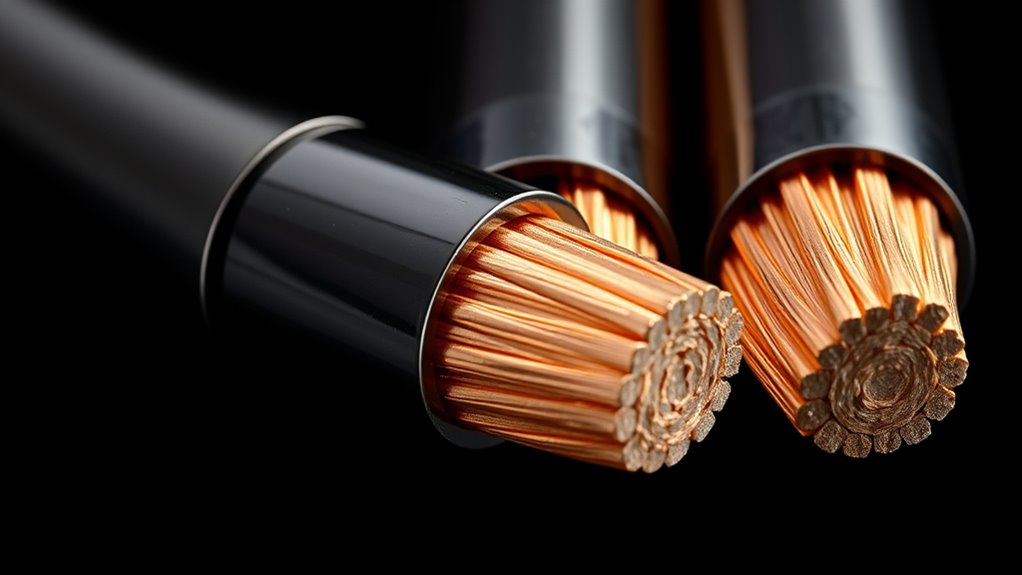
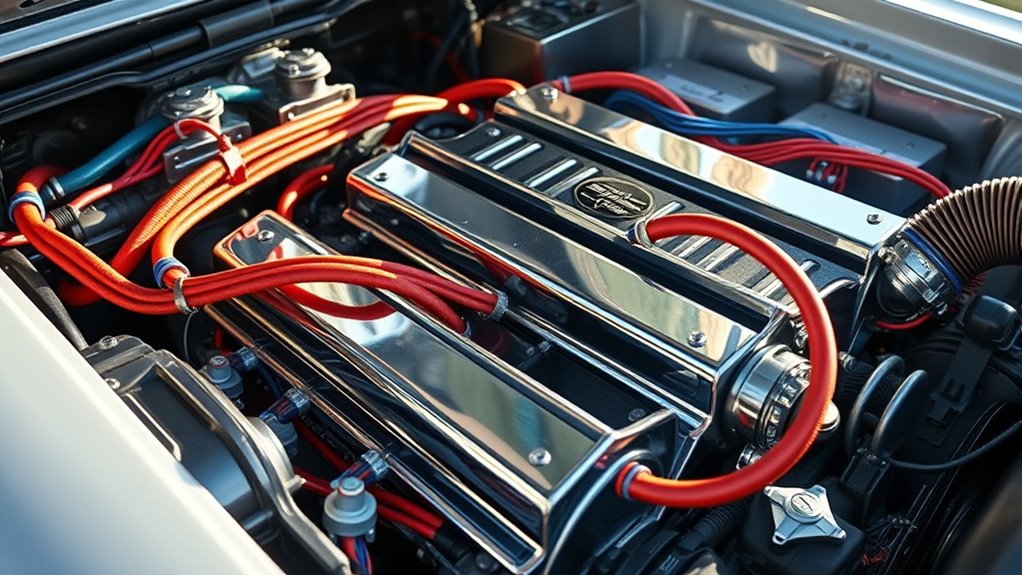
Understanding the components of the Big Three upgrade is essential for improving your vehicle’s electrical system. This upgrade involves replacing three critical wires: the battery ground wire to the chassis, the engine block ground wire to the chassis, and the alternator power wire to the battery. Using larger gauge cables, typically 0-2 gauge oxygen-free copper, reduces resistance and enhances current flow. It’s important to include copper lugs, heat shrink, and fuses to protect your system. The alternator positive output wire connects from the alternator to the battery’s positive terminal, while the battery negative wire grounds the battery to the chassis. The engine ground wire connects the engine block to the chassis. These components work together to improve electrical conductivity, reduce voltage drops, and support high-power demands. Incorporating high-quality European cloud solutions can further optimize your vehicle’s electrical performance through advanced monitoring and management systems. Proper installation techniques and the use of high-quality connectors ensure system durability and safety over time. Additionally, selecting Suprem fabric for vehicle upholstery or accessories can provide enhanced durability and comfort, making your upgrades more sustainable and long-lasting.
The Role of Wiring in Your Vehicle’s Electrical System

Wiring serves as the critical pathway that delivers electrical power throughout your vehicle, guaranteeing all components function properly. Think of it as the highway system that keeps everything running smoothly. Without quality wiring, your system struggles with voltage drops, dimming lights, or audio distortion. Upgrading with the Big Three enhances this pathway, reducing resistance and increasing current flow. Proper wiring ensures your high-power components get the juice they need, preventing damage and improving performance. Here’s a simple overview:
| Component | Function | Importance |
|---|---|---|
| Alternator wire | Sends power to the battery | Prevents voltage drop |
| Battery ground wire | Grounds electrical system | Maintains circuit stability |
| Engine-to-chassis wire | Completes the ground loop | Ensures reliable operation |
Clear wiring guarantees consistent power. Additionally, using proper gauge wiring can further optimize electrical flow and system reliability, especially when considering free floating wiring systems that minimize interference and maximize efficiency.
How Larger Gauge Cables Improve Power Delivery
Larger gauge cables reduce electrical resistance, allowing more current to flow with less energy loss. This means your vehicle’s electrical system can deliver power more efficiently, especially under high demand. With thicker wires, less voltage drops occur across the cables, ensuring a consistent power delivery. This stability supports louder audio systems, brighter lights, and reliable starting. Upgrading to bigger cables also minimizes heat buildup, reducing wear on components. Additionally, using appropriately vetted wave and wind resources ensures that the wiring upgrade maintains safety and durability standards. Properly sourced materials help prevent short circuits and other safety hazards, further enhancing the reliability of the upgrade. Incorporating sound healing science principles, such as selecting cables with specific material properties, can further optimize electrical performance and longevity. Moreover, considering electromagnetic compatibility helps reduce interference, ensuring a cleaner power supply for sensitive electronics. A thorough understanding of wire gauge standards can guide proper sizing and installation practices for optimal results.
When and Why You Should Consider Upgrading
If you’re running high-power audio systems or planning electrical upgrades, it’s time to think about the Big Three wiring upgrade. It helps prevent power issues like dimming lights and voltage drops, especially when your system exceeds factory specs. Upgrading ensures stable performance and protects your vehicle’s electrical components from stress. Incorporating electrical safety measures can further optimize your system’s sound clarity and overall performance. Additionally, understanding vehicle electrical systems can help you make informed decisions about upgrades and avoid potential damage. A well-executed upgrade also minimizes electrical resistance, ensuring efficient power flow throughout your vehicle.
High-Power Audio Systems
High-power audio systems demand more from your vehicle’s electrical setup, and upgrading your wiring is often essential to guarantee reliable performance. When you install amplifiers over 1000 watts or add multiple speakers, your factory wiring can’t handle the increased current, leading to dimming lights, reduced sound quality, or system shutdowns. Upgrading the wiring ensures consistent power delivery, minimizes voltage drops, and prevents electrical stress that can damage components. Consider this: Yardage for Scarves Your system requires stable, high-current flow for clear sound. Factory wiring may cause power loss during peak demand. Upgrading wiring supports future audio upgrades without issues.
Electrical System Upgrades
Upgrading your vehicle’s electrical system becomes necessary when factory wiring no longer meets the demands of your modifications or daily use. If you’re adding high-power audio systems, installing a high-output alternator, or running multiple accessories, the stock wiring can cause voltage drops, dimming lights, or system instability. A smart home-inspired approach to wiring upgrades emphasizes the importance of reliable power distribution and safety features. Upgrading guarantees your electrical components receive consistent power, preventing failures and improving performance. It also reduces strain on your alternator and battery, extending their lifespan. This process involves replacing small gauge wires with larger, oxygen-free copper cables, and adding protective components like fuses. An upgraded system supports higher electrical loads safely and efficiently. Consider an upgrade if your current wiring shows signs of stress or if you’re planning significant modifications that demand more power. Recognizing the importance of electrical system upgrades can help you make informed decisions to ensure your vehicle runs smoothly and reliably.
Preventing Power Issues
Power issues often arise when your vehicle’s electrical system becomes overwhelmed by added accessories or higher demands, leading to dimming lights, sluggish starting, or audio distortion. Upgrading the wiring with the Big Three helps avoid these problems by improving current flow and reducing voltage drops. Consider upgrading if you’re adding high-power audio, installing a high-output alternator, or running multiple accessories simultaneously. This ensures your system can handle increased loads without strain. Additionally, modern wiring techniques can further optimize performance and reliability, especially when combined with proper system maintenance and inspection.
Step-by-Step Process for Installing the Big Three
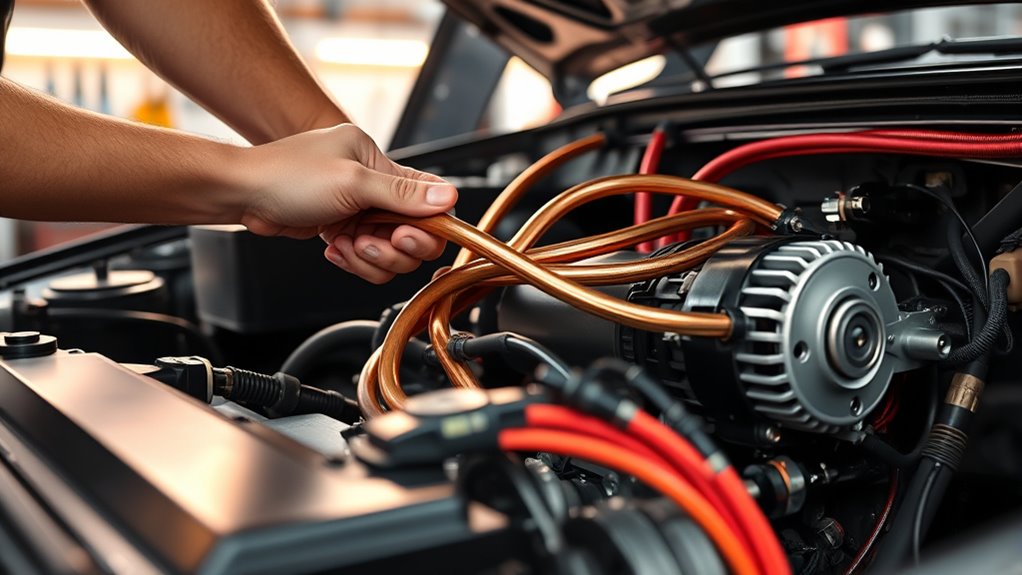
To start your Big Three upgrade, gather all the necessary materials like high-quality copper wire, copper lugs, heat shrink, and fuses. Next, carefully connect and secure each wire, ensuring proper attachment and safety measures. It is also advisable to review electrical safety precautions to prevent any hazards during installation. Finally, test your setup thoroughly to confirm everything is working correctly and make any needed adjustments.
Gather Necessary Materials
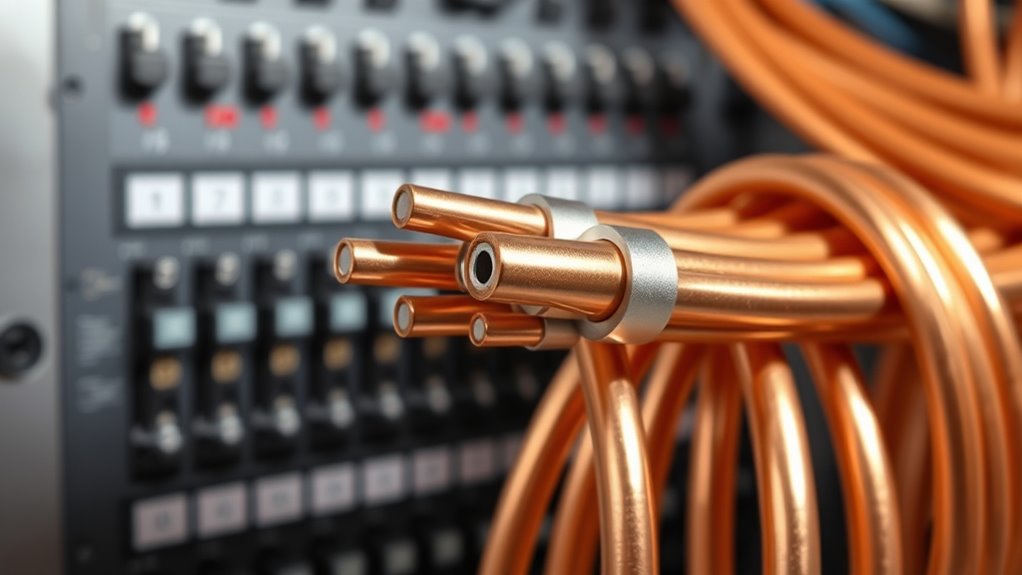
Gathering the right materials is the first essential step before starting your Big Three wiring upgrade. You’ll need high-quality components to guarantee a reliable, efficient install. Here’s what to gather:
- 0-2 gauge oxygen-free copper wire for maximum conductivity and minimal resistance.
- Copper lugs and heat shrink tubing to secure connections and protect against shorts.
- A fuse rated just above your alternator’s maximum output to prevent electrical damage.
- Basic tools like wire cutters, crimpers, and a heat gun for proper installation.
Keep in mind, choosing quality materials supports system stability and longevity. Properly assembled, these components will reduce voltage drops and improve overall electrical performance, making your upgrade both safe and effective.
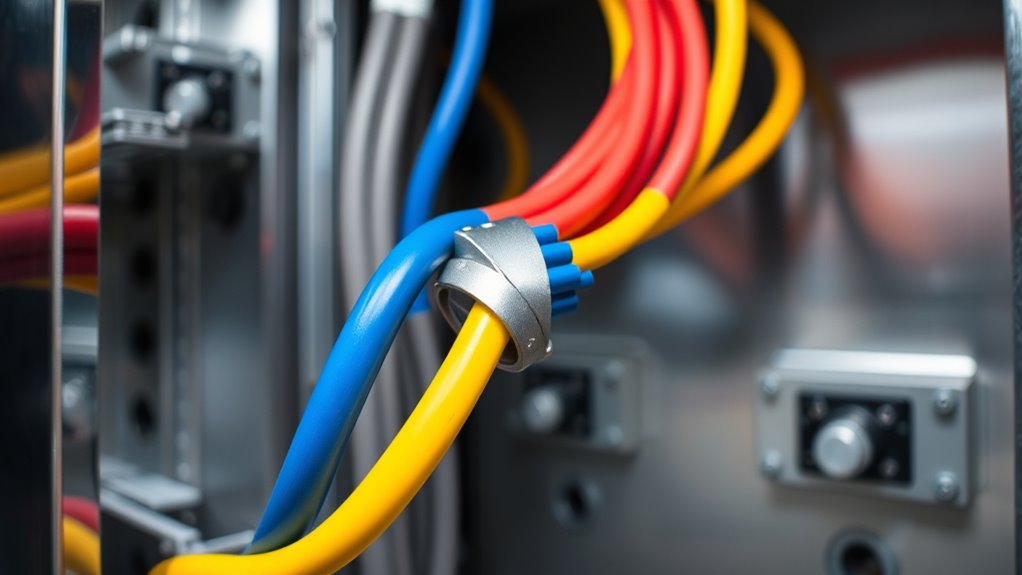
Properly Connect and Secure
Before connecting your wires, make certain your vehicle is turned off and the battery is disconnected to prevent any electrical shorts or shocks. Next, carefully route each wire along existing wiring paths, avoiding sharp edges or hot surfaces. Secure the cables with zip ties, keeping them away from moving parts and heat sources. Use copper lugs to connect wires firmly, then crimp and shield with heat shrink tubing. Double-check connections for tightness and proper placement. Keep the wiring organized, labeled if necessary, to ensure a clear setup. This step guarantees a reliable and safe installation, reducing the risk of shorts or loose connections. Additionally, inspecting your wiring for signs of wear or damage can prevent future issues and ensure optimal performance.
Test and Finalize Setup
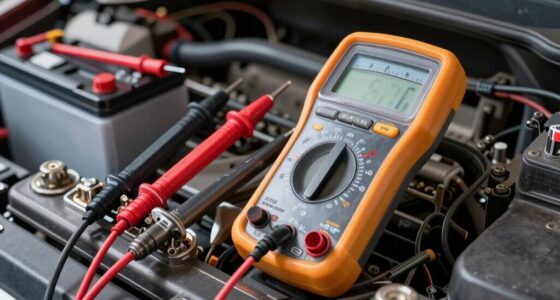
Once you’ve completed wiring and securing all connections, it’s vital to test the system thoroughly before finalizing the installation. Start the engine and turn on your accessories. Check for any loose connections, sparks, or unusual noises. Use a multimeter to verify voltage at the battery terminals—aim for minimal voltage drop. Confirm that all grounds are solid and secure. To guarantee a proper setup, focus on: – Confirming all connections are tight and corrosion-free – Monitoring voltage consistency under load – Inspecting for any signs of overheating or wear Vetted If everything checks out, secure all wires neatly with zip ties, and replace any panels or covers. Proper testing guarantees your upgrade works efficiently and safely, preventing future issues. Additionally, verifying battery health can help ensure your system remains reliable over time. Regularly testing electrical connections helps identify potential problems early, ensuring safety and optimal performance.
Essential Materials and Tools for a Successful Upgrade
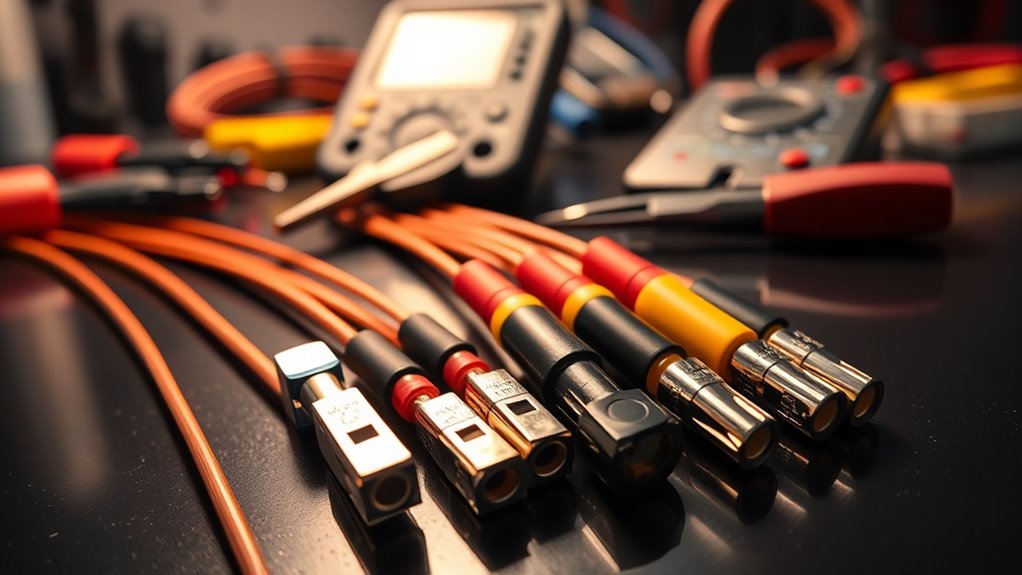
To guarantee your Big Three wiring upgrade is successful, you need the right materials and tools that can handle high current loads safely and efficiently. Essential materials include 0-2 gauge oxygen-free copper wire, copper lugs, heat shrink tubing, and appropriate fuses rated just above your alternator’s maximum output. You’ll also need high-quality crimping tools, wire cutters, and a heat gun. Using durable, high-conductivity components ensures reliable connections and minimizes resistance. Remember, the quality of your materials directly impacts the upgrade’s effectiveness. Here’s a quick comparison:
| Material/Tool | Purpose |
|---|---|
| Copper wire | Conducts high current efficiently |
| Copper lugs | Secure wire connections |
| Heat shrink tubing | Protects connections from shorts |
| Fuses | Prevents electrical damage |
| Crimping tools | Ensures solid, safe terminations |
Benefits of Upgrading Your Vehicle’s Wiring System
Upgrading your vehicle’s wiring system substantially boosts electrical performance, especially under high-demand conditions. This minimizes voltage drops and ensures steady power delivery. You’ll notice improved efficiency, which means your accessories and audio systems perform better. Additionally, it reduces stress on your alternator and battery, extending their lifespan. The upgrade supports higher power loads, preventing dimming lights or power failures during intense use.
Benefits include:
- Reduced voltage drop for consistent power output
- Enhanced current flow efficiency and electrical conductivity
- Better stability for high-power audio systems and accessories
Common Challenges and How to Avoid Them
While upgrading your vehicle’s wiring system offers many benefits, it also presents some common challenges that can hinder your efforts. One major issue is using the wrong gauge wire, which can lead to increased resistance or insufficient current flow. Always measure carefully and select the correct gauge, typically 0-2 for major connections. Poor connections, such as loose crimping or inadequate heat shrink, can cause voltage drops and electrical noise. Make sure to crimp securely and use proper insulation. Additionally, failing to fuse the wires near the alternator or battery can risk damage from electrical surges or shorts. Protect your wiring with high-quality fuses and secure all connections firmly. Avoid rushing the process; careful planning and attention to detail prevent most common pitfalls.
Enhancing Performance With Complementary Electrical Upgrades
Enhancing your vehicle’s electrical performance often requires more than just a Big Three wiring upgrade. To maximize benefits, consider additional upgrades that support your system’s demands. Upgrading your alternator can provide more consistent power, especially with high-output models. Installing a second battery or a high-capacity capacitor helps store energy for peak loads. Upgrading your wiring and fuses assures your system handles increased current safely and efficiently. These complementary steps reduce voltage drops, improve stability, and prevent electrical issues during heavy usage. Keep in mind these key points:
- Higher-capacity alternator for sustained power output
- Additional battery or capacitor for energy storage
- Upgraded wiring and fuses for safety and efficiency
Together, these upgrades optimize your system’s performance, ensuring reliable operation under demanding conditions.
Frequently Asked Questions
Is the Big Three Upgrade Suitable for All Vehicle Types?
Yes, the Big Three upgrade suits most vehicles, especially if you have high-power audio systems or electrical modifications. You should consider it if your vehicle experiences dimming lights, power drops, or you’re adding a high-output alternator. However, custom setups or older vehicles may need different approaches. It’s best to evaluate your electrical needs and consult with a professional to guarantee compatibility and safety for your specific vehicle.
How Long Does the Big Three Wiring Upgrade Typically Take?
The Big Three wiring upgrade usually takes about 1 to 3 hours, depending on your experience and vehicle complexity. You’ll need time to measure, cut, crimp, and secure the new wires properly. If you’re new to wiring, it might take longer, so plan accordingly. Having all your parts ready and working methodically helps speed up the process. Remember, patience guarantees a safe, effective upgrade.
Can I Perform the Upgrade Myself Without Professional Help?
Yes, you can perform the upgrade yourself, but it’s more than just connecting wires. While it saves money and offers a sense of accomplishment, you’ll need basic tools, knowledge of your vehicle’s electrical system, and attention to detail. Rushing or neglecting safety can cause damage or injury. If you’re comfortable with DIY projects and understand wiring, go ahead. Otherwise, contemplate professional help to guarantee proper installation and safety.
What Signs Indicate I Need to Upgrade My Vehicle’s Wiring?
You should upgrade your vehicle’s wiring if you notice dimming headlights, flickering interior lights, or frequent electrical issues. Power drops, especially when using high-powered audio systems or accessories, also indicate the need for an upgrade. Additionally, if your battery or alternator struggles to keep up, or you experience slow engine starts, it’s a sign your wiring can’t handle the load and needs reinforcement for stability and performance.
Does the Big Three Upgrade Improve Fuel Efficiency or Just Electrical Performance?
You’ll find that the Big Three upgrade mainly boosts electrical performance, not fuel efficiency. Studies show that improving your vehicle’s electrical system can reduce voltage drops by up to 20%, ensuring your accessories run smoother. While it doesn’t directly save fuel, a more efficient electrical system prevents power issues, allowing your engine to operate more effectively. So, while it’s not a fuel saver, it helps your vehicle perform better overall.
Conclusion
Upgrading to the Big Three can substantially boost your vehicle’s electrical performance. For example, if you notice dimming headlights during startup, a wiring upgrade might be the fix. By replacing factory wires with larger gauge cables, you guarantee better power flow and reduce strain on your system. This simple upgrade can enhance overall reliability, prevent electrical issues, and keep your vehicle running smoothly—making it a smart investment for any serious car enthusiast.