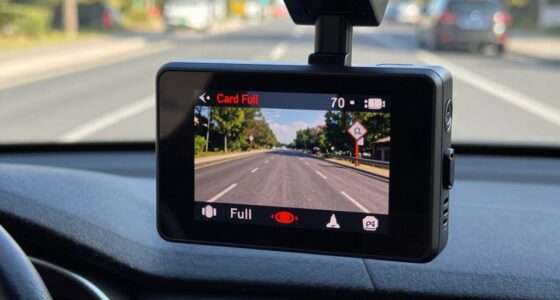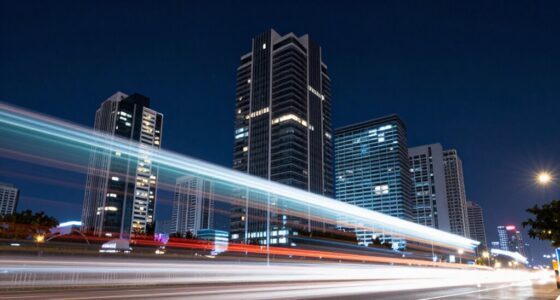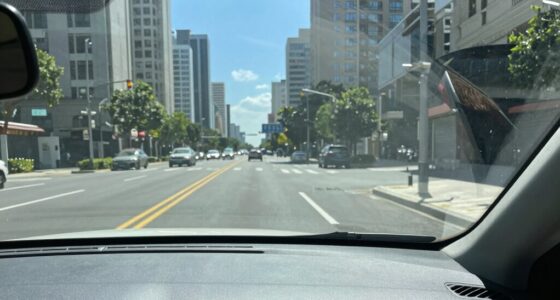
To prevent headlights from blowing out in night footage, you should carefully adjust your exposure settings. Use manual exposure to lower your ISO and avoid overexposing bright spots, while maintaining a wider aperture to gather enough light elsewhere. Shutter speed also matters—slower speeds let in more light but can cause blur, so balance is key. Adding ND filters helps control brightness, and experimenting with these techniques will help keep highlights detailed and your video balanced. If you keep exploring these tricks, you’ll master capturing clear night scenes.

Get business pricing on garage and car supplies
- Business-only prices and quantity discounts
- Tax-exempt purchasing
- Multiple users, one account, clear invoices
Key Takeaways
- Use manual exposure settings to slightly underexpose scene, preventing headlights from blowing out.
- Adjust aperture to a higher f-stop to reduce light intake from bright headlights.
- Apply neutral density (ND) filters to limit incoming light and balance exposure.
- Set a lower ISO to minimize sensor sensitivity and prevent overexposure of bright lights.
- Use exposure compensation to fine-tune brightness, protecting highlights while maintaining shadow detail.
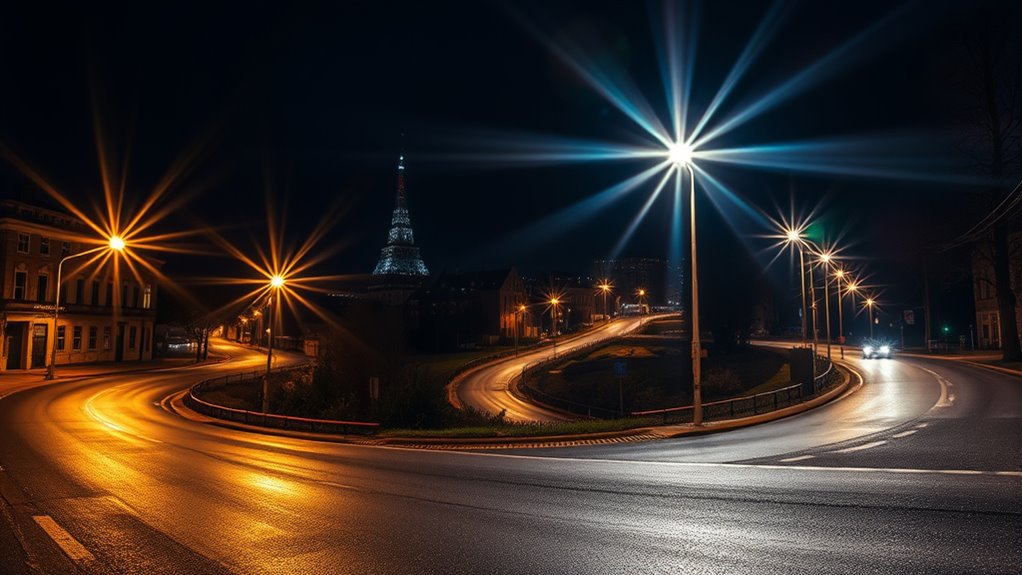
Night footage often appears dark and grainy, making it difficult to see details clearly. This is a common challenge when filming in low-light conditions, especially with scenes featuring bright headlights or streetlights. The key to improving your night footage lies in understanding your camera settings and managing noise reduction effectively. When you’re shooting in the dark, your camera’s exposure settings play a crucial role. If you set your ISO too high, you’ll amplify the sensor’s sensitivity, which can lead to excessive noise and a grainy look. Conversely, lowering the ISO reduces noise but might make your footage too dark. Striking the right balance is essential. Start by adjusting your ISO to the lowest setting that still captures enough light for a clear image. Many cameras have an auto ISO feature, but for better control, manual ISO adjustment is preferable.
Adjust ISO carefully: high boosts sensitivity but adds noise; low keeps image clean but dark. Find the perfect balance.
Next, focus on aperture settings. A wider aperture (lower f-number) allows more light to hit the sensor, which is essential for night filming. If your lens has a variable aperture, set it to the lowest f-stop possible to maximize light intake. Shutter speed also impacts exposure. A slower shutter speed lets in more light but can cause motion blur if you’re filming moving objects. For static scenes, a slower shutter speed can be beneficial. For moving scenes, find a shutter speed that balances exposure with sharpness.
Noise reduction is another critical factor. Modern cameras have built-in noise reduction features, but these can sometimes soften the image or take longer to process. To get the best results, consider applying noise reduction in post-production using editing software. This helps smooth out graininess without sacrificing too much detail. However, be cautious—overusing noise reduction can make your footage look overly smooth or plastic-like, losing important details.
Additionally, try to shoot in RAW format if your camera supports it. RAW files contain more image data, allowing for better adjustments during editing, especially when dealing with noise and exposure issues. Properly exposing your shot during filming minimizes the need for heavy corrections later. Overexposing slightly and then correcting in post can also help prevent blown-out highlights like headlights while maintaining detail in shadows.
For scenes with bright headlights, using exposure tricks such as manually adjusting your camera’s exposure compensation or utilizing ND filters can prevent highlights from blowing out and retain detail.
Frequently Asked Questions
Can Exposure Tricks Improve Night Footage Without Professional Editing Software?
Yes, you can improve night footage with exposure tricks without professional software. By making manual adjustments to your camera’s exposure settings, you control how much light enters, preventing headlights from blowing out. Additionally, paying attention to ambient lighting helps balance the scene, making details clearer. Experimenting with these settings on your device allows you to enhance night shots easily, even without advanced editing tools.
What Camera Settings Are Best for Capturing Night Footage With Headlights?
Imagine capturing a clear night scene where headlights shine brightly without overexposure. Set your camera to a low ISO (around 800) to prevent blown-out highlights, and verify your sensor calibration is accurate for consistent exposure. Use a narrower aperture (f/8 or higher) to deepen depth of field, and adjust shutter speed for proper light intake. After filming, apply color grading to balance the scene, enhancing details and ensuring your night footage looks sharp and natural.
Do Exposure Tricks Affect Other Aspects of Video Quality?
Yes, exposure tricks can affect other aspects of your video quality. When you adjust exposure, you might increase sensor noise, especially in low-light conditions, making your footage look grainy. Additionally, changing exposure settings can impact color balance, causing colors to appear unnatural or washed out. To maintain quality, balance exposure carefully, and consider using post-production tools to reduce noise and correct color balance without sacrificing overall image clarity.
How Do I Prevent Headlights From Overexposing in Real-Time Recording?
To prevent headlights from overexposing in real-time recording, you should adjust your HDR calibration settings to balance exposure levels. Use a narrower aperture or faster shutter speed to limit light intake. Be mindful of lens flare, which can worsen overexposure, so consider lens filters or positioning. Monitoring your exposure settings constantly during recording helps maintain detail without blowing out headlights, ensuring clear, balanced footage.
Are There Specific Lenses That Help With Night Footage and Headlight Exposure?
Yes, certain lenses can help with night footage and headlight exposure. Look for lenses with built-in lens filters that reduce glare and manage contrast, making it easier to capture clear images without overexposing headlights. Additionally, consider using night vision lenses or adapters designed for low-light conditions. These tools enhance your camera’s ability to handle bright light sources, giving you better control over exposure and sharper night footage.
Conclusion
Now that you’ve learned these exposure tricks, you’re better equipped to capture night footage without headlights blowing out. Sometimes, it’s funny how a simple adjustment can turn a blurry, unusable shot into a crisp, striking video. Keep experimenting, and you’ll notice how small tweaks make a big difference—almost like the camera and your skills are syncing in perfect harmony. Just remember, the right exposure at the right moment can reveal the night’s hidden beauty you never knew was there.
Halloween Picks
halloween
As an affiliate, we earn on qualifying purchases.