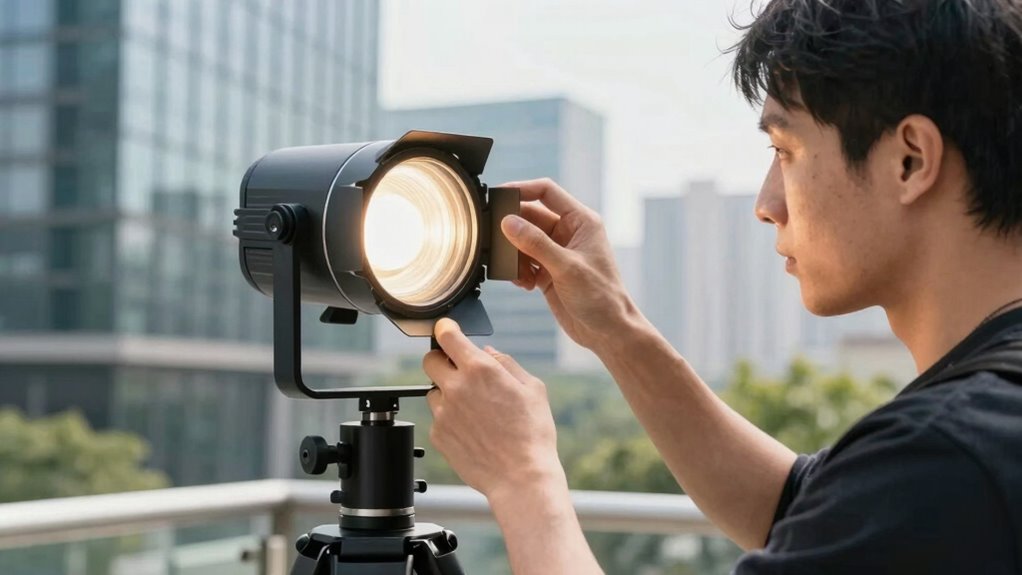
To perform a real-world headlight aiming test, park your vehicle on a flat surface facing a wall about 25 feet away. Turn on your headlights and observe the light pattern, making sure the brightest part is just below the headlight lenses. Use your adjustment screws to fine-tune the vertical and horizontal aim, then double-check the pattern. Proper alignment improves safety and visibility; keep going to discover more tips for ideal light setup.
Listen free for 30 days with Audible
Thousands of audiobooks and originals — cancel anytime.
As an affiliate, we earn on qualifying purchases.
Key Takeaways
- Park the vehicle on a flat surface facing a wall about 25 feet away.
- Turn on headlights and observe the light pattern on the wall.
- Ensure the brightest part of the beams is slightly below the headlight lenses.
- Adjust vertical and horizontal aim using vehicle’s adjustment screws or bolts.
- Re-test to confirm symmetrical and correct beam pattern alignment.
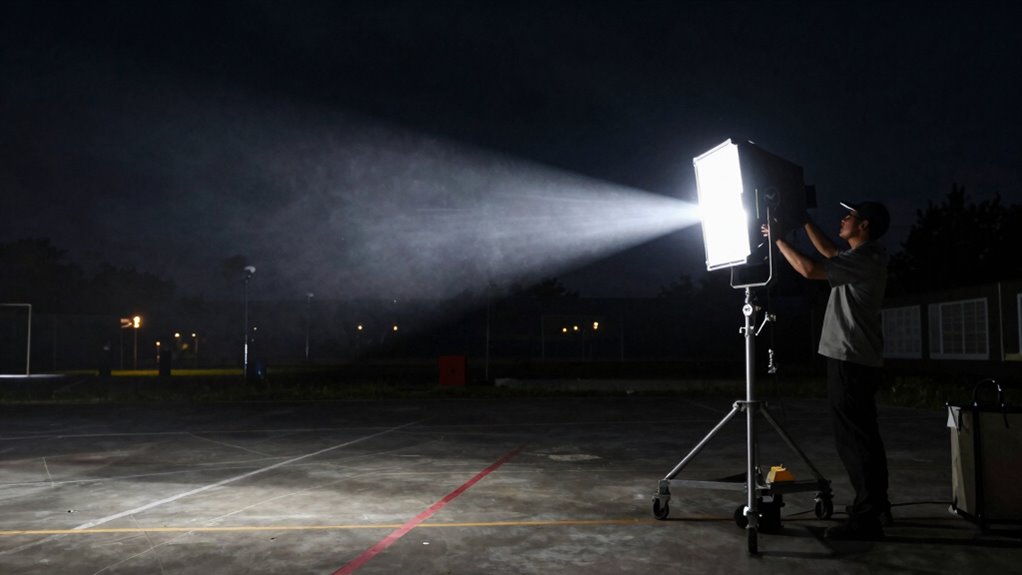
Have you ever wondered how well your vehicle’s headlights are aimed? Proper lighting aiming isn’t just about seeing clearly at night; it’s also about guaranteeing safety for everyone on the road. A real-world test for lighting aiming helps you determine if your headlights are correctly aligned, providing maximum visibility while minimizing glare for other drivers. This process isn’t complicated, but it requires attention to detail, especially when it comes to glare reduction and beam alignment.
Ensuring proper headlight aim boosts visibility and safety while reducing glare for everyone on the road.
When you perform a lighting aiming test, you want to check how your headlights illuminate the road ahead. If your beam pattern is too high or misaligned, it can cause glare that temporarily blinds oncoming drivers, increasing the risk of accidents. Conversely, if the headlights are aimed too low, your visibility diminishes, making it harder to see obstacles, pedestrians, or road signs. The goal is to find that perfect balance where your headlights provide ample illumination without causing discomfort for others.
Beam alignment plays a vital role in achieving this balance. Proper beam alignment ensures that the light pattern is correctly distributed on the road, focusing on the right spots without scattering light unnecessarily. During the test, you should park your vehicle on a flat surface facing a wall or garage door about 25 feet away. Turn on your headlights and observe the light pattern. Ideally, the beams should be level, with the brightest part slightly below the height of your headlight lenses. If the beams are uneven or pointing too high, adjustments are necessary.
Adjusting your headlights for proper beam alignment is straightforward but imperative. Most vehicles have adjustment screws or bolts that control the vertical and horizontal aim. Consult your owner’s manual for specific instructions. Once adjusted, perform the test again to verify if the light pattern is symmetrical and correctly aimed. Proper beam alignment reduces glare, ensuring other drivers aren’t dazzled, which enhances safety for everyone sharing the road. Regularly checking and adjusting your headlights can also help maintain your vehicle’s safety standards, and understanding how to perform a lighting aiming test can save you time and money by avoiding costly repairs or penalties.
In the real world, a well-aimed headlight system improves your nighttime driving experience by providing clear, consistent illumination. It also helps prevent accidents caused by misaligned beams that cause glare or insufficient visibility. Regularly checking and adjusting your headlights keeps your vehicle compliant with safety standards and guarantees you’re doing your part to keep the roads safe. When performing a lighting aiming test, it’s beneficial to understand how beam pattern affects your overall visibility and safety. Additionally, understanding the importance of proper beam alignment can help you identify issues early before they become serious safety hazards. So, when you next do a lighting aiming test, focus on glare reduction and beam alignment—these are the keys to safe, effective nighttime driving.
As an affiliate, we earn on qualifying purchases.
Frequently Asked Questions
What Tools Are Needed for a Lighting Aiming Test?
You need essential tools like a light meter or photometer for a lighting aiming test. These tools assist in precise lighting calibration, ensuring your lights are aimed correctly. Additionally, use a laser alignment tool or a theodolite for equipment calibration and accurate positioning. A checklist or camera can help document the setup and results. Properly calibrated equipment guarantees ideal lighting performance, making your aiming process more efficient and reliable.
How Often Should Lighting Aiming Tests Be Performed?
You should perform lighting aiming tests regularly, like tending a garden to keep it thriving. Every few months, check the color temperature and beam angle to guarantee your lights shine their best. Over time, vibrations and shifts can subtly alter aim, so routine adjustments keep everything aligned and vibrant. Consistent testing preserves ideal ambiance and safety, ensuring your lighting remains precise and effective, just like a well-tended landscape.
Can Weather Conditions Affect the Test Results?
Yes, weather conditions can markedly affect your lighting aiming test results. Weather impact, such as rain, fog, or strong winds, introduces environmental factors that can distort measurements and cause inaccuracies. Clear, stable weather ensures more reliable results, while adverse conditions might require you to repeat the test later. Always check the forecast and choose ideal weather to minimize environmental factors influencing your lighting alignment, guaranteeing precise and consistent outcomes.
Are There Industry Standards for Lighting Aiming Accuracy?
Guidelines for lighting aiming act as the compass guiding your calibration journey, setting standards for aiming precision. Industry standards emphasize strict lighting calibration protocols to guarantee consistency and safety across projects. You should adhere to these benchmarks, which serve as the North Star, helping you fine-tune your lighting setup accurately. Following established standards ensures your aiming precision aligns with professional expectations, creating a harmonious balance between illumination and visibility.
How Do You Correct Misaligned Lighting After Testing?
You correct misaligned lighting by applying proper adjustment techniques, such as fine-tuning the fixture angles and guaranteeing consistent positioning. Follow calibration procedures to verify the accuracy of your adjustments, using tools like light meters or aiming devices. Re-test after adjustments to confirm proper alignment. Regularly documenting your process helps maintain standards and prevents future misalignments. Consistent application of adjustment techniques and calibration procedures ensures precise lighting aiming.
headlight beam adjustment screws
As an affiliate, we earn on qualifying purchases.
As an affiliate, we earn on qualifying purchases.
Conclusion
Think of lighting aiming like tuning a guitar—every small adjustment changes the entire sound. When you get it right, everything aligns perfectly, illuminating your project’s potential. I once saw a technician spend extra time fine-tuning before a big event, and the difference was clear—bright, focused lights that drew everyone’s attention. Remember, a precise aiming test isn’t just about brightness; it’s about creating an experience that truly resonates. Trust the process, and your results will shine.
As an affiliate, we earn on qualifying purchases.
As an affiliate, we earn on qualifying purchases.
NFL season / tailgating Picks
team gear
As an affiliate, we earn on qualifying purchases.