
To make wrenching easier, position your work light in front of the area, close enough for clear visibility but not so close it causes glare. Use adjustable articulating arms for tight spots and combine overhead lights with smaller task lights to minimize shadows. Mount lights above eye level and shield or diffuse them to prevent glare. Strategic placement of portable lights and layered illumination will boost safety and efficiency—keep going to discover even more expert tips.
Key Takeaways
- Place task lights directly in front of the work area to minimize shadows and improve visibility.
- Use adjustable, articulated-arm lights for precise beam control around tight or recessed spots.
- Mount lights above eye level and angle to reduce glare and reflections during wrenching.
- Layer ambient overhead lighting with focused task lights for consistent, shadow-free illumination.
- Regularly reposition portable and mounted lights to ensure optimal coverage and safety during work.
Positioning Your Light Source for Optimal Visibility

To achieve ideal visibility, position your light source directly in front of the task rather than from the side or behind. This placement minimizes shadows cast by your tools and hands, providing a clearer view of the work area. Keep the light close enough to illuminate details without causing glare or reflections that could obscure your vision. Using adjustable articulated-arm lights helps you direct the beam precisely where needed, especially in tight or recessed spaces. Avoid placing lights behind the workpiece or at an angle that creates harsh shadows or reduces contrast. Instead, aim for a balanced, direct illumination that enhances visibility and reduces eye strain. Proper positioning ensures you see every detail clearly, making your work safer and more efficient. Incorporating energy-efficient lighting solutions can also contribute to safer and more sustainable work environments, especially when choosing smart lighting that can be customized and automated for optimal illumination. Additionally, selecting the right projector technology can significantly improve overall visibility and image clarity in your workspace. Understanding how lighting placement affects shadows and contrast can further optimize your setup for precision tasks, leading to better results and reduced fatigue.
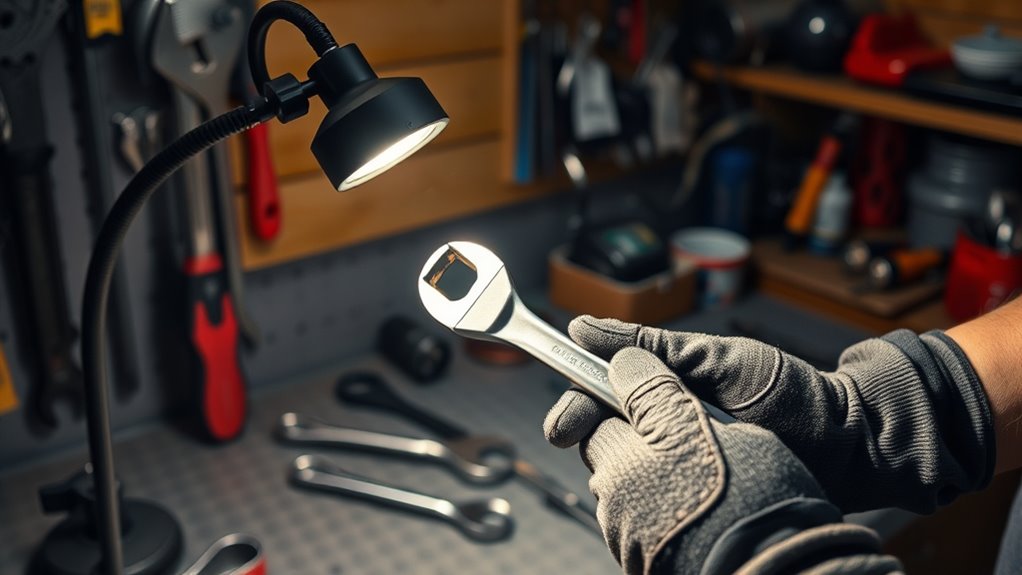
Using Articulated Arm Lights for Deep Recesses

When working in deep recesses or angled components, adjustable articulated-arm lights become essential tools for effective illumination. Their flexibility allows you to position light exactly where you need it, reaching tight spaces without casting unwanted shadows. You can easily maneuver the arm to avoid tool interference or glare, ensuring consistent brightness throughout the task. Use narrow-beam spotlights for focused illumination, and adjust the arm to prevent spills into adjacent areas. Combining multiple articulated lights provides layered coverage, reducing shadows and improving visibility. Their portable design makes repositioning quick and effortless, especially in complex environments. Overall, articulated-arm lights give you precise control, making tricky, deep-seated work safer and more efficient. Incorporating adjustable lighting systems can also minimize lighting inefficiencies and enhance overall workspace safety.
- Fine-tune light angles for ideal shadow control
- Avoid blinding reflections on shiny surfaces
- Combine with overhead or handheld lights for extensive coverage
- Use magnetic mounts for quick repositioning
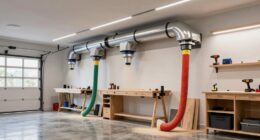
Balancing Overhead and Task Lighting to Minimize Shadows

Balancing overhead and task lighting is essential for reducing shadows and improving visibility during work. You should position overhead lights to provide broad, even illumination without creating glare, while task lights focus directly on specific areas. Using adjustable fixtures allows you to fine-tune angles, minimizing shadows cast by tools or hands. Distributing multiple small lights across the workspace prevents high-contrast shadow zones that can impair your view. Keep overhead lights slightly above eye level to reduce glare from shiny surfaces. Combine overhead ambient lighting with localized task lighting, adjusting their intensities as needed. This layered approach ensures consistent visibility, reduces eye strain, and helps you work more efficiently. Proper balance also prevents shadows from obstructing critical details, making your wrenching safer and more precise. Incorporating lighting design principles can further optimize your workspace for clarity and safety.
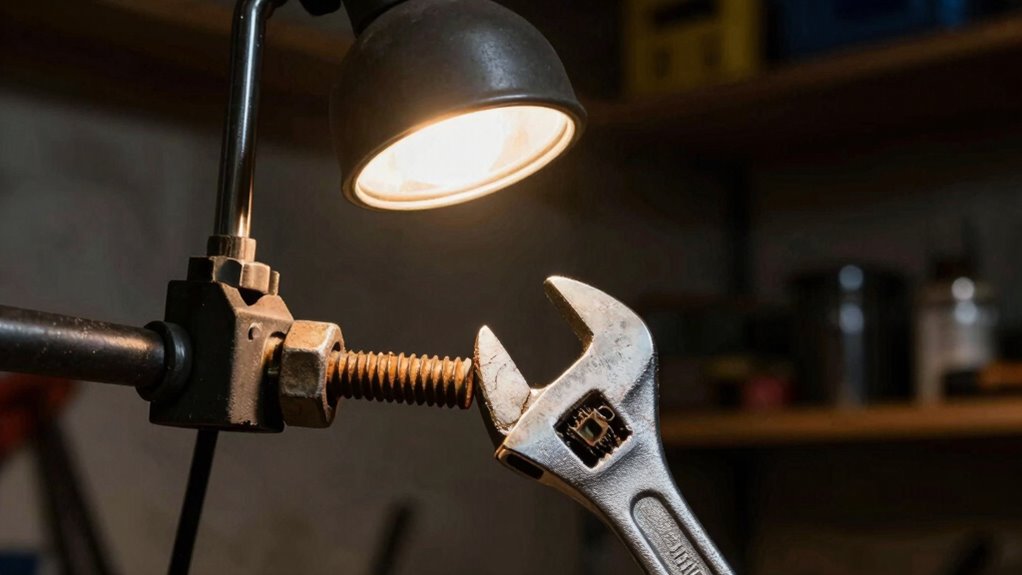
Avoiding Glare With Proper Mounting Heights and Shielding

Proper mounting height and shielding are key to minimizing glare in your work environment. When lights are mounted too low, they cause harsh reflections and discomfort, especially on shiny surfaces. Raising fixtures reduces direct glare, making the workspace more comfortable. Shielding, like louvers or diffusers, blocks direct views of bright bulbs, preventing eye strain. Position lights so beams don’t reflect off mirrors or polished parts. Use adjustable mounts to fine-tune angles, avoiding high luminance spots. Proper height and shielding work together to keep the workspace well-lit without causing visual discomfort.
- Mount fixtures above eye level to lower glare perception
- Use louvers or diffusers on high-output lights
- Position lights away from reflective surfaces
- Adjust angles to avoid direct line of sight to bulbs
Selecting the Right Light Type and Color Temperature

Choosing the right light type and color temperature is essential for effective work lighting. LED fixtures are your best choice because they offer high efficiency, stable brightness, and less flicker, making long work sessions easier on your eyes. For general tasks, aim for a color temperature between 4000K and 5000K; this range boosts alertness and enhances visual clarity. Use higher CRI ratings (80 or above) to accurately distinguish colors, especially for wiring or material identification. For detailed or color-critical work, consider fixtures with a CRI of 90 or higher. Dimmable and tunable LEDs give you flexibility to adjust brightness and spectral content based on the task or time of day. Proper selection ensures ideal visibility, reduces eye strain, and improves overall efficiency during wrenching. Additionally, selecting appropriate lighting can help create a comfortable and productive workspace.
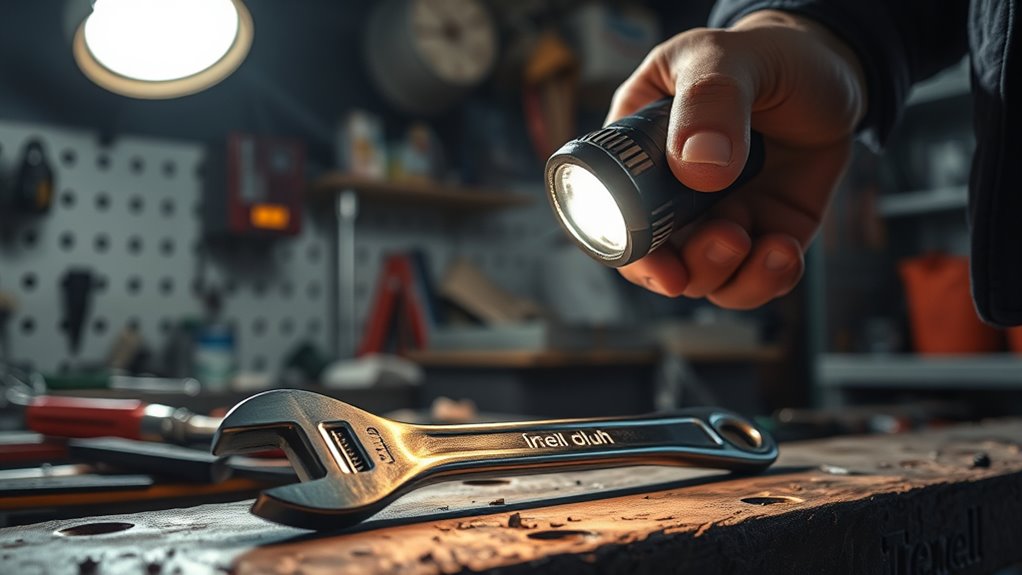
Strategically Placing Portable Lights for Flexibility
To maximize flexibility and guarantee ideal illumination across different work areas, you should strategically place portable lights where they can be easily repositioned. This allows you to adapt quickly to changing tasks and access hard-to-reach spots. Think about mounting lights on adjustable stands or attaching them with magnetic bases for quick relocation. Position lights in areas where shadows may fall or where direct light improves visibility. Use multiple smaller fixtures instead of one large light to prevent harsh shadows and provide even coverage. Keep cords managed to avoid tripping hazards and ensure quick access. Additionally, planning your lighting layout carefully can help you optimize coverage and reduce the need for constant readjustments. Well-planned light placement is essential for creating a safe and efficient workspace, saving you time and effort during projects. Considering the type of work you’re doing can further influence the best placement strategy, ensuring you have the right light in the right spot. Incorporating adjustable lighting solutions can further enhance flexibility and adapt to different tasks seamlessly. By planning your placement thoughtfully, you create a versatile lighting setup that responds to your needs without requiring constant readjustment. Proper light placement enhances safety and efficiency during your projects.
Combining Multiple Light Sources for Layered Illumination
Layered illumination combines different types of light sources to create a balanced and adaptable work environment. You should use a mix of ambient, task, and accent lights to guarantee even coverage and reduce shadows. Position overhead fixtures for general brightness, and add adjustable task lights at each work station for focused illumination. Incorporate smaller, local lights to target specific areas, especially recesses or tight spaces. Combining multiple sources prevents harsh shadows and high contrast, improving visibility and reducing eye strain. Use adjustable fixtures to fine-tune lighting levels based on the task at hand. Additionally, proper light placement enhances safety and efficiency during wrenching. Incorporating lighting control systems allows for customized brightness levels and scene presets, further optimizing your workspace. By layering lights, you create a flexible setup that adapts to different procedures, making wrenching easier, safer, and more efficient. Proper combination ensures consistent illumination across your work area. Integrating lighting design principles helps to maximize the effectiveness of your layered lighting setup.
Maintaining and Adjusting Lights for Consistent Performance

Regular maintenance and timely adjustments are essential to guarantee your work lights perform consistently and effectively. Over time, dust, oil, and vibrations can reduce light output or misalign fixtures. Regularly clean lenses and check connections to prevent lumen depreciation. Adjust fixture angles as needed to maintain ideal illumination and shadow control for each task. Ensure mounting heights stay appropriate to reduce glare and enhance visibility. Additionally, verify that dimmers, switches, and controls operate smoothly for precise light levels. Properly securing fixtures prevents shifts that could compromise lighting quality. Conduct periodic inspections to identify worn components or damage early. Understanding light output and how it degrades over time can help you schedule timely bulb replacements and upgrades. Monitoring light distribution helps identify uneven lighting that could impact work quality. Staying aware of lighting system performance and potential issues can further prolong the lifespan of your fixtures. Regularly inspecting lighting system components and ensuring they are in optimal condition can prevent unexpected failures. Additionally, maintaining proper light fixture alignment ensures consistent illumination across your workspace. Keeping your lighting system in top shape ensures consistent brightness, minimizes eye strain, and improves safety during wrenching or detailed work.
Frequently Asked Questions
How Do I Prevent Shadows From My Own Hands While Working?
To prevent shadows from your hands while working, position your light source in front of the work area, ensuring it’s slightly above eye level. Use adjustable, articulated-arm lights to direct illumination into recessed spots and avoid casting shadows. Incorporate multiple small fixtures or diffuse lighting to minimize harsh shadows. Keep your hands and tools well-lit from different angles, and consider using auxiliary lights inside cavities for even coverage.
What Is the Optimal Distance Between the Light and the Work Surface?
Imagine you’re wielding your wrench like a knight in shining armor; the best distance between your work light and the surface is typically 18 to 24 inches. Keep it close enough to provide bright, focused illumination, but not so close that it causes glare or heat buildup. Adjust height based on the task’s detail—closer for fine work, slightly higher for larger areas—to minimize shadows and maximize visibility.
How Can I Reduce Glare From Reflective Tool Surfaces?
To reduce glare from reflective tool surfaces, position your light sources so the beam axis is offset from shiny surfaces. Keep task lights at or slightly above eye level to minimize reflections. Use diffusers or indirect lighting to lower luminance contrasts, and shield high-output fixtures with louvers. Adjust your light angles and heights to prevent direct reflections, creating a softer, more comfortable working environment and improving visibility without harsh glare.
Which Color Temperature Enhances Focus During Detailed Repairs?
You should use a higher color temperature, around 4000–5000K, to enhance focus during detailed repairs. These cooler, bluish-white lights improve visual acuity and alertness, helping you see fine details clearly. They diminish eye strain and fatigue, especially during long tasks. Opting for LED fixtures with this color temperature guarantees consistent, bright illumination that keeps you focused and accurate, making intricate repairs more manageable.
How Often Should I Clean and Maintain My Work Lights?
Think of your work lights like the lens of a camera—clean and well-maintained for sharp focus. You should clean and inspect your lights regularly, ideally weekly, to prevent dust, oil, and debris from dimming their glow. Keep lenses clear and check wiring connections for safety. Routine maintenance guarantees consistent brightness, extends fixture life, and keeps your workspace well-lit and safe during every wrenching session.
Conclusion
Remember, a well-placed light is worth two in the bush. By strategically positioning your lights, balancing different sources, and keeping them maintained, you’ll make wrenching safer and easier. Don’t be afraid to experiment with placement and types to find what works best for you. When it comes to lighting, a little planning goes a long way—because as they say, light up your workspace, and work becomes a whole lot brighter.