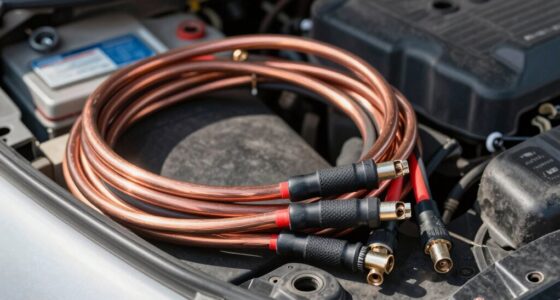

To quickly find bad cables causing slow cranks, perform a voltage drop test on your starting circuit. Set your multimeter to DC voltage, then measure voltage loss across the battery, cables, and ground connections under load. High readings indicate resistance from corroded, loose, or damaged cables. Following proper test procedures guarantees you pinpoint issues fast. Keep going, and you’ll discover how to master this simple yet effective diagnostic approach.
Key Takeaways
- Conduct a voltage drop test by measuring voltage loss across cables under load to identify high resistance.
- Place multimeter probes directly on metal contact points to ensure accurate readings.
- Keep voltage drops below 0.3V on power and 0.1V on ground circuits for proper operation.
- High voltage drops indicate bad cables, loose connections, or corrosion causing slow cranking.
- Repeating tests and inspecting suspect cables quickly pinpoints hidden issues affecting engine start.

YONHAN Battery Charger 20A 12V/24V LiFePO4 Lead Acid Fully Automatic Battery Maintainer, Car Battery Trickle Charger Automotive w/Repair, Winter Mode, for AGM, STD, Gel, Deep Cycle Batteries
[20A Suitable for LiFePO4 Lead-acid Battery Charger] 12V 20 Amp, 24V 10Amp 7-stage quick battery charger, Designed to...
As an affiliate, we earn on qualifying purchases.
Understanding the Importance of Voltage Drop Testing in Starting Systems

Understanding the importance of voltage drop testing in starting systems is crucial because it helps identify hidden electrical issues that can prevent your engine from starting reliably. When circuits develop resistance from corrosion, loose connections, or damaged cables, they cause voltage loss under load. This loss isn’t always visible during visual inspections but can considerably impact starting performance. Voltage drop testing measures the voltage loss across connections while the circuit is active, pinpointing problem areas quickly. Unlike resistance tests, it reveals how the system performs under real operating conditions. By accurately diagnosing issues with cables, connections, and terminals, you can prevent unnecessary repairs and avoid being stranded with a slow or failed start. Proper circuit diagnostics are essential for maintaining a reliable, efficient starting system. Additionally, understanding how to interpret voltage drop readings can help you make more informed maintenance decisions and improve overall electrical system longevity. Using voltage measurement techniques ensures that you are evaluating the system under actual working conditions rather than static states. Regular testing can also reveal hidden corrosion or loose connections that might not be evident otherwise. Incorporating these tests into routine maintenance can significantly enhance starting system reliability and prevent unexpected failures.

OPTIMA® Batteries Digital 400+ 12 Volt Battery Maintainer and Charger for AGM, Lithium, Automotive, Marine and Powersport Batteries
Digital battery type selector: OPTIMA AGM, OPTIMA Li, Auto/Marine, Power Sport Lead Acid batteries
As an affiliate, we earn on qualifying purchases.
Preparing Your Multimeter for Accurate Voltage Drop Measurements

Before taking voltage drop measurements, make sure your multimeter is set to the correct DC voltage range, such as 20V DC or auto-ranging. Proper probe placement is essential—connect the positive lead to the power source or component side and the negative lead to the load or ground. This guarantees accurate readings and reliable results during your testing. Additionally, ensure your multimeter is calibrated properly for accurate measurements, which is vital for diagnosing electrical issues effectively.
Proper Multimeter Settings
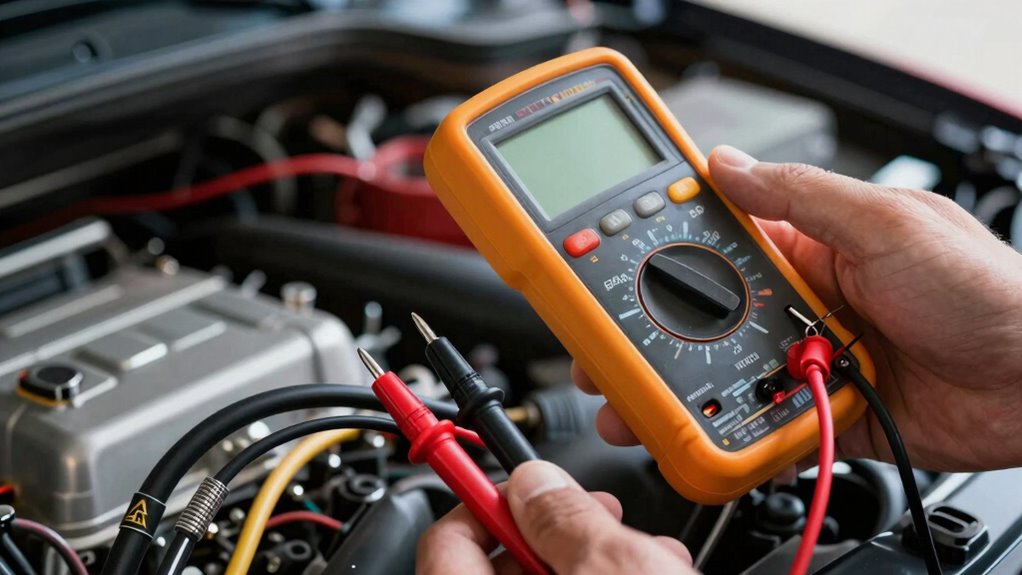
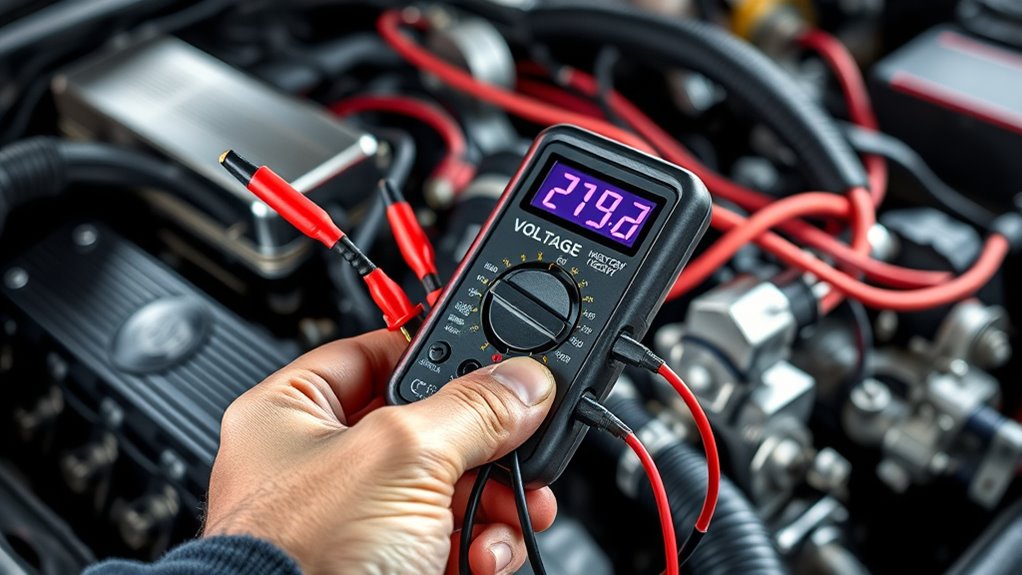
To get accurate voltage drop readings, you need to set your multimeter correctly. First, select the appropriate DC voltage setting, typically 20V DC or auto-ranging DC volts, to match the circuit’s voltage. Verify the leads are properly inserted into the multimeter’s ports: the red lead in the VΩmA port and the black lead in COM. Check that the meter’s display is functioning and zeroed if needed. Confirm the multimeter is in DC mode—look for the DC voltage symbol. Avoid using AC settings, which won’t give correct readings. Also, confirm the range is suitable; for most automotive tests, 20V DC is ideal. Proper settings prevent inaccurate readings and ensure you quickly identify bad cables or connections.
Correct Probe Placement
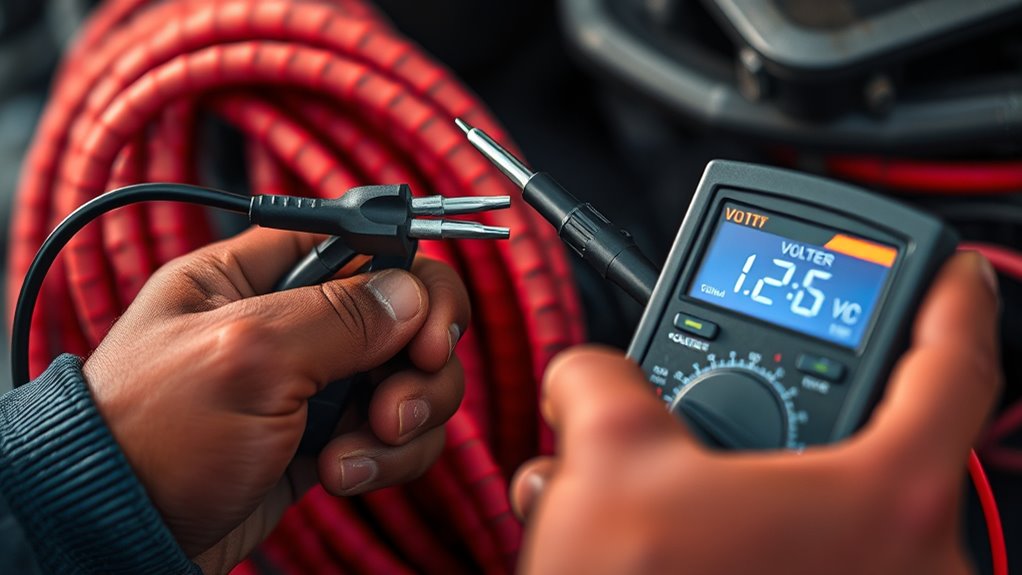
Proper probe placement is essential for obtaining accurate voltage drop readings. You want to place the multimeter probes directly on the metal contact points where resistance may occur. You can also use a multimeter to verify connections and ensure consistent contact during testing. For power side tests, connect the positive lead to the battery terminal or cable clamp and the negative lead to the load’s connection point, like the starter terminal. For ground tests, attach the positive lead to the component’s ground or housing and the negative lead to the battery negative terminal. Confirm the probes make firm contact with clean, bare metal surfaces—avoid paint or corrosion. Use the tips of the probes rather than the plastic handles to ensure good contact. Proper placement helps you detect actual voltage drops across connections, not just false readings caused by poor contact. Ensuring good contact points is crucial for reliable voltage drop measurements and accurate diagnosis of wiring issues. Additionally, understanding wave and wind effects can help interpret readings affected by environmental conditions during testing.

2 Bank Marine Battery Charger 5X2, 10A (5A/Bank) - 12V Waterproof Onboard Battery Charger, Battery Maintainer & Desulfator for SLA/AGM, Lithium (LiFePO4), Calcium & Deep-Cycle Battery- Charged 24/7
【5X2, 2-Bank, 5A Per Bank】: Marine battery charger for all types of lead-acid & lithium-ion 12V batteries, including...
As an affiliate, we earn on qualifying purchases.
Step-by-Step Guide to Testing Power and Ground Circuits
To test your power and ground circuits effectively, you need to follow a clear process. First, prepare your multimeter properly to make certain of accurate readings. Then, execute each circuit test systematically to identify any voltage drops that could cause slow cranking. Additionally, verifying the filtration system ensures that your testing equipment and connections remain free of debris, which can impact measurement accuracy. Regular inspection of cabling integrity helps prevent false readings and ensures reliable diagnostics. Incorporating proper testing techniques can further improve your ability to diagnose electrical issues accurately. Moreover, understanding battery condition is essential, as it directly influences voltage levels and testing outcomes. Being aware of electric bike performance can also assist in diagnosing underlying electrical problems that may affect voltage stability.
Preparing Your Multimeter
Getting your multimeter ready for testing power and ground circuits is a straightforward process that guarantees accurate readings. First, turn on your multimeter and set it to DC volts—either auto-ranging or a 20V scale. Make certain your batteries are fresh; a weak battery can skew results. Check the leads for damage or corrosion, replacing them if necessary. Make sure the connections are clean and secure for precise contact. Use the appropriate probes—sharp and sturdy—to avoid slipping or damaging terminals. Confirm your multimeter displays zero or close to zero when leads are shorted; this verifies proper functioning. Finally, familiarize yourself with the display and controls, so you can quickly interpret readings during testing. Proper preparation ensures reliable and consistent voltage drop measurements.
Executing the Circuit Test
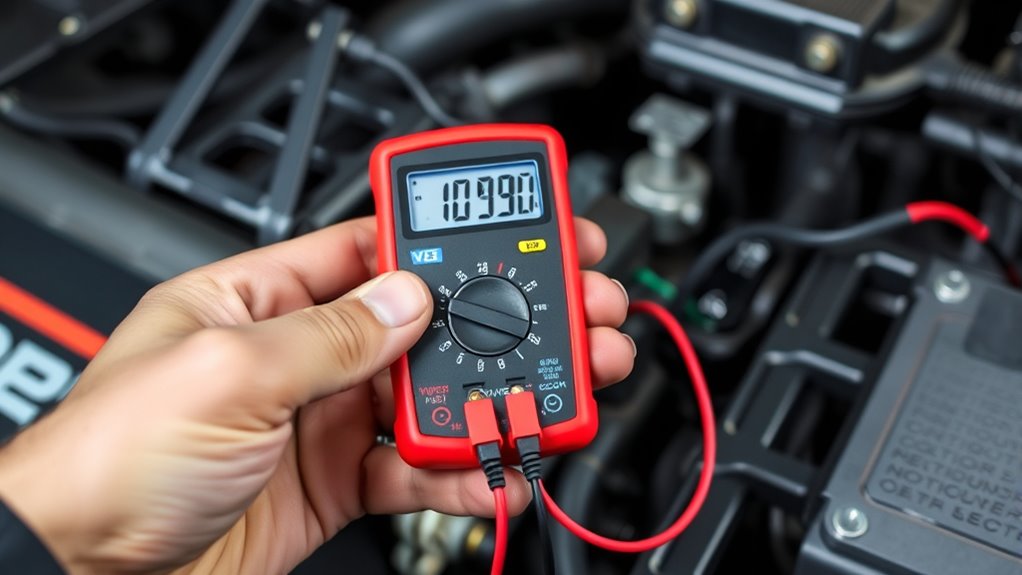
Have you ever wondered how to accurately measure voltage drops in your circuit? To do this, set your multimeter to 20V DC or auto-range. For the power side, connect the positive lead to the battery’s positive terminal and the negative lead to the load’s connection point, like the starter terminal. Crank the engine or activate the component to load the circuit. Record the voltage; repeat for verification. On the ground side, attach the positive lead to the component’s ground or housing, and the negative lead to the negative battery terminal. Operate the circuit under load, such as cranking. A high reading indicates resistance issues. Confirm your connections are solid and follow the acceptable voltage drop limits to identify bad cables or poor connections quickly. Additionally, using a high-quality multimeter ensures more accurate readings during your testing process.

NOCO GENIUS2: 2A 6V/12V Smart Battery Charger – Automatic Maintainer, Trickle Charger & Desulfator with Overcharge Protection & Temperature Compensation – for Lead-Acid & Lithium Batteries
THE ALL-NEW GENIUS2: Introducing the all-new GENIUS2, making it one of our the most powerful, highest-performing, energy-efficient, and...
As an affiliate, we earn on qualifying purchases.
Interpreting Voltage Drop Results to Identify Faulty Cables
Interpreting voltage drop results is essential for pinpointing faulty cables in your starting circuit. When you analyze your readings, look for values exceeding recommended limits. High voltage drops indicate resistance caused by corrosion, loose connections, or damaged wiring. To interpret results effectively:
- Compare power side and ground side readings; both should be below their respective limits.
- Note any voltage drops over 0.3V on the power side or 0.1V on the ground side—they signal issues.
- Check for differences between readings at different points; large discrepancies suggest bad cables.
- Remember, acceptable voltage drops vary by component but generally should stay below specified thresholds.
- Incorporating Free Floating testing methods can help identify issues more comprehensively, especially in complex wiring setups.
Common Causes of Excessive Voltage Drop and How to Fix Them
Excessive voltage drop often results from common issues like loose connections, corrosion, or damaged wiring. Loose terminals or connectors create resistance, causing voltage loss under load. Corrosion on cables, terminals, or connectors increases resistance and reduces conductivity. Damaged or frayed wiring can break the circuit’s integrity, leading to higher voltage drops. Improperly crimped connectors or poor solder joints also introduce resistance that hampers current flow. To fix these issues, start with a thorough visual inspection, tightening all connections. Clean corrosion with a wire brush or electrical cleaner. Replace damaged or undersized cables, ensuring they meet the required gauge for your load. Always use proper tools to make secure, reliable connections. Paying attention to circuit integrity and ensuring all components are in good condition helps eliminate resistance and restore proper voltage flow, preventing slow cranking caused by bad cables. Additionally, understanding electrical resistance and how it affects circuit performance can guide more effective troubleshooting and repairs. Recognizing the role of support breakfast in maintaining energy levels can also improve your overall troubleshooting mindset, especially during long repair sessions.
Tips for Ensuring Reliable and Safe Testing Procedures

To guarantee reliable and safe testing, you must follow proper procedures and use the right tools. Start by inspecting your equipment—use a high-quality digital multimeter set to the correct DC voltage range. Make sure the battery is fully charged to prevent inaccurate readings. Always wear safety gear like gloves and eye protection to avoid injury. During testing, keep your hands clear of moving parts and hot surfaces. Use proper probe placement—touch only the metal contacts, not wires or connectors—to prevent damage. Confirm your readings by repeating tests and comparing values. Finally, document your results carefully, noting any irregularities. By following these tips, you’ll ensure accurate diagnostics and avoid potential hazards, making your testing both safe and effective.
Frequently Asked Questions
Can Voltage Drop Testing Detect All Types of Electrical Faults?
Voltage drop testing can detect many electrical faults like bad cables, corrosion, loose connections, and undersized wiring. However, it might not identify all issues, such as internal component failures or intermittent faults. You should combine it with visual inspections and other diagnostic methods for a thorough assessment. Regular testing helps catch wiring problems early, ensuring your electrical system functions reliably and prevents unexpected breakdowns.
What Tools Are Necessary Besides a Multimeter for Accurate Testing?
Besides a multimeter, you’ll need test leads with proper probes to make certain contact and avoid damage. A fully charged battery is essential for consistent results, so verify your battery’s state beforehand. Additionally, a wiring diagram helps you identify the correct circuits to test. Using a flashlight or work light can improve visibility in tight spaces. These tools together help you perform precise, reliable voltage drop tests and diagnose electrical issues effectively.
How Often Should Voltage Drop Tests Be Performed on Starting Systems?
You should perform voltage drop tests on your starting system at least once a year or whenever you notice slow cranking or electrical issues. Regular testing helps catch problems early, like corroded or loose connections, preventing unexpected breakdowns. After any repairs or cable replacements, recheck the system to guarantee everything’s functioning properly. Consistent testing maintains peak performance and extends the lifespan of your vehicle’s electrical components.
Can High Temperatures Affect Voltage Drop Readings and Test Accuracy?
High temperatures can affect voltage drop readings and test accuracy because heat causes cables and connections to expand, increasing resistance. As resistance rises, you might see higher voltage drops even if the cables are in good condition. So, when testing in hot conditions, be aware that readings could be skewed. It’s best to perform tests in a cooler environment or after allowing components to cool down for more accurate results.
Is There a Specific Time Duration for Cranking During the Test?
You should crank the engine for about 5 to 10 seconds during the test. This duration guarantees enough current flows through the circuit to measure voltage drop accurately without causing unnecessary wear on the starter. Keep an eye on the engine’s response, and avoid excessive cranking, which can heat up cables and skew your readings. Consistent, short cranking periods give you reliable results.
Conclusion
Think of voltage drop testing as your car’s health check-up. When you catch faulty cables early, you prevent your starting system from turning into a stubborn mule. Regular testing keeps your engine running smoothly, avoiding unexpected stalls. Just like tending a garden prevents weeds from taking over, consistent checks nurture a reliable ride. Embrace these tests as your secret weapon—keeping your vehicle’s heartbeat strong and dependable for every journey ahead.