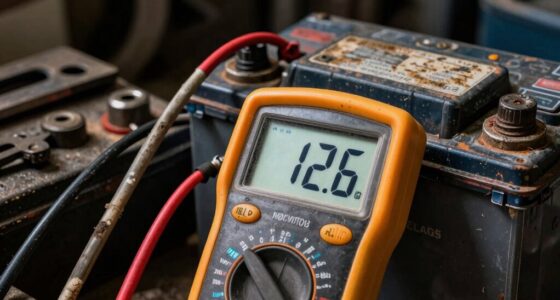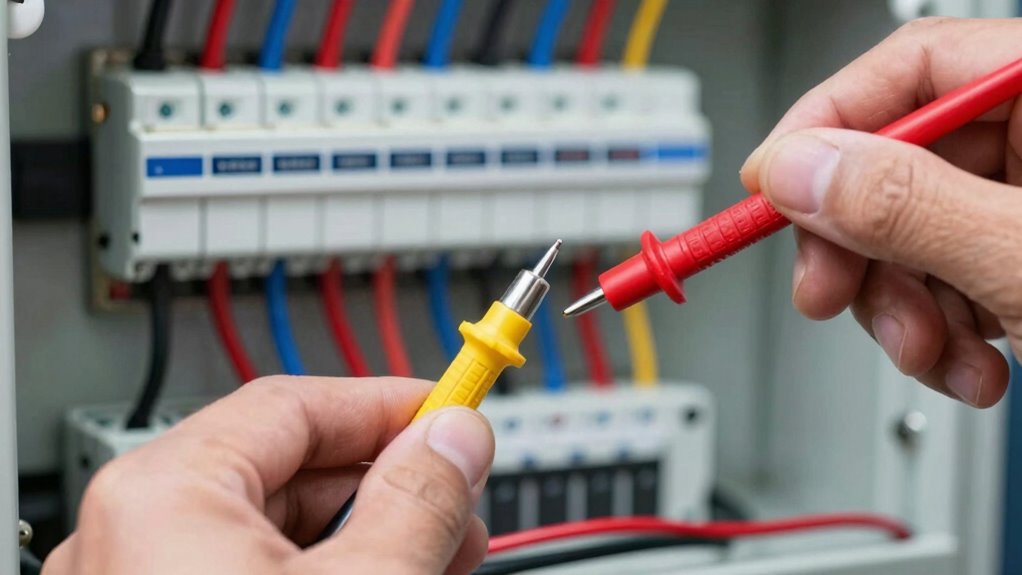

When performing voltage drop testing, always remember to test on the correct side—positive or ground—based on what you’re diagnosing. Connect your multimeter’s positive lead to the power source and the negative to the test point when checking for voltage loss. Testing on the wrong side can lead to incorrect results and confusion. Understanding the purpose of each side will *guarantee* accurate measurements. Keep exploring to get even better at pinpointing circuit issues.

Get business pricing on garage and car supplies
- Business-only prices and quantity discounts
- Tax-exempt purchasing
- Multiple users, one account, clear invoices
Key Takeaways
- Always identify and mark the positive (power) and ground sides before testing.
- Test on the same side consistently to avoid confusing voltage drop directions.
- Use wiring diagrams to confirm correct test points and circuit flow.
- Remember high voltage on positive indicates resistance; on ground, it suggests poor grounding.
- Connect multimeter positive lead to power source and negative to test point for clarity.
Have you ever wondered how to identify electrical issues in a circuit? Voltage drop testing is an essential method that helps you pinpoint where problems are occurring. To do this effectively, you need to understand the basics of circuit analysis and how wiring diagrams guide your testing process. When you start testing, you’re fundamentally measuring how much voltage is lost as current flows through different parts of the circuit. This can reveal whether a component or connection is causing resistance or if a wire is compromised. The key is to know which side of the circuit you’re testing—positive or ground—and how to interpret the readings.
When performing voltage drop testing, it’s vital to test on the correct side of the circuit. The positive side, or power feed, supplies voltage to the components, while the ground side completes the circuit back to the battery or power source. Confusing these two can lead to incorrect conclusions. Usually, a wiring diagram becomes your best tool here; it shows you the exact routing of wires and connections. By following the diagram, you can identify test points and guarantee you’re measuring voltage drop across the right parts. Remember, the goal is to find excessive voltage loss, which indicates resistance or poor connections.
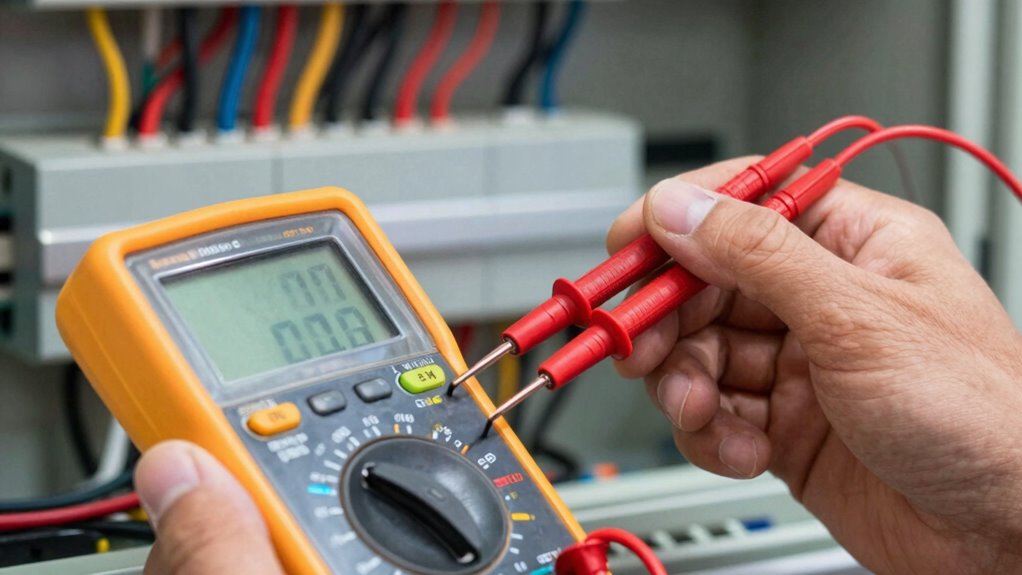
To start, turn on the circuit and connect your multimeter’s positive lead to the power source side, then the negative lead to the component or wire you’re testing. If you’re testing on the positive side, a high reading suggests resistance in the wiring or component. When testing the ground side, you’re checking for voltage loss as current flows back toward the source. A significant voltage drop on the ground side often points to a poor ground connection or corroded wire. Be consistent in your testing approach—test on the same side each time to avoid confusion. Additionally, understanding the positive vs ground side concept is crucial for accurate diagnosis. Recognizing the circuit flow direction and how current moves through the circuit helps you interpret your measurements more effectively.
Start by connecting the multimeter to the power source and wire; test consistently on the same side for accurate results.
Knowing how to interpret your readings is essential; it guides your troubleshooting process and helps you pinpoint the exact problem area. Using wiring diagrams during this process helps you quickly locate the problem area, saving time and reducing guesswork. To ensure accurate results, it’s also beneficial to familiarize yourself with the typical acceptable voltage drop thresholds for different circuits. Remember that understanding the circuit analysis fundamentals can dramatically improve your diagnostic accuracy and efficiency.
digital multimeter for voltage drop testing
As an affiliate, we earn on qualifying purchases.
As an affiliate, we earn on qualifying purchases.
Frequently Asked Questions
What Tools Are Best for Voltage Drop Testing?
You should use a high-quality digital multimeter or a specialized voltage drop tester for accurate readings. These test equipment options are reliable and easy to use. Always follow safety precautions, such as wearing insulated gloves and ensuring the circuit is de-energized before testing. Proper test equipment and safety measures help you identify voltage drops effectively, preventing electrical issues and ensuring your safety during the process.
How Do Temperature Variations Affect Test Results?
Temperature troubles can twist testing results, causing confusion and concern. When temperatures fluctuate, temperature effects can alter resistance, impacting testing accuracy. Cold conditions might increase resistance, falsely indicating higher voltage drops, while heat can lower resistance, masking issues. You need to account for these variations, ensuring your testing environment remains stable or adjust your readings accordingly. Properly managing temperature effects helps you get precise, reliable voltage drop results every time.
Can Voltage Drop Testing Identify All Wiring Issues?
Voltage drop testing is a useful tool for wiring diagnostics and circuit analysis, but it can’t identify all wiring issues. It effectively detects high resistance, loose connections, or damaged wires, but won’t reveal problems like broken conductors, faulty components, or poor insulation. To guarantee thorough troubleshooting, combine voltage drop testing with other methods like visual inspections and continuity tests, giving you a complete picture of your wiring health.
Is Special Training Needed for Accurate Testing?
You don’t need special training for basic voltage drop testing, but having some training improves your skill level and accuracy. Understanding electrical systems and proper testing techniques helps prevent mistakes. If you’re new, consider taking a course or seeking guidance from experienced technicians to build confidence. Advanced testing or troubleshooting complex issues might require more in-depth training. Overall, a good foundation and careful practice guarantee reliable results.
How Often Should Voltage Drop Testing Be Performed?
You should perform voltage drop testing regularly, especially during routine inspections or if you notice circuit issues. It’s vital to check insulation resistance and circuit continuity during these tests to guarantee safety and proper function. Ideally, testing should be done annually or whenever you suspect wiring problems. Frequent testing helps catch potential faults early, preventing failures, and maintaining peak electrical system performance.
As an affiliate, we earn on qualifying purchases.
Conclusion
By understanding the subtle nuances between testing on the positive and ground sides, you can navigate electrical troubleshooting with confidence. Think of voltage drop testing as a gentle guide, revealing hidden truths without causing unnecessary disturbance. With this knowledge, you’ll approach each circuit with a calm clarity, ensuring your repairs are both precise and reliable. Embrace these insights, and you’ll find the journey smoother, turning potential confusion into a quiet, confident mastery.
As an affiliate, we earn on qualifying purchases.
As an affiliate, we earn on qualifying purchases.
Fall Picks
fall essentials
As an affiliate, we earn on qualifying purchases.