When inspecting a crimp, look for a uniform and smooth profile without bulges, cracks, or irregularities, which indicate proper crimping. Check that the wire is fully seated with no strands hanging out, and make certain insulation isn’t damaged or overly stripped. Watch for signs of corrosion or oxidation like discoloration or powdery residues. If you notice these cues, it could predict a connection failure; keep exploring to learn more about preventing issues.
Key Takeaways
- Check for a uniform, smooth crimp profile without bulges, cracks, or irregularities.
- Ensure the wire is fully seated within the terminal with no strands hanging out.
- Look for proper gauge match; the wire should fit snugly without protrusion or looseness.
- Inspect for signs of corrosion, discoloration, or powdery residues indicating oxidation.
- Confirm insulation is intact, with no tears or damage near the crimped area.
When inspecting a crimp, paying close attention to visual cues is crucial to guarantee a secure and reliable connection. The first thing you should check is whether the wire gauge used matches the specifications for the terminal. Using the wrong wire gauge can lead to improper crimping, which might not provide sufficient contact area, increasing the risk of failure. If the wire is too thick or too thin for the terminal, you’ll notice it doesn’t sit properly or may even protrude beyond the crimp, indicating a poor fit. Proper matching ensures a snug fit and ideal electrical contact.
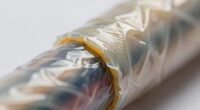
Next, examine the crimp for any signs of insulation damage. If the insulation around the wire is nicked, torn, or has cracks, it can compromise the integrity of the connection. Insulation damage might allow moisture or contaminants to reach the conductor, increasing corrosion risk and potentially causing intermittent or complete electrical failure over time. When inspecting, look for any parts of the insulation that have been crushed or cut during the crimping process. A well-made crimp should securely hold the wire without damaging or removing the insulation beyond what’s necessary to make a solid electrical connection.
Check for insulation damage like tears or cracks to ensure a secure, corrosion-free connection.
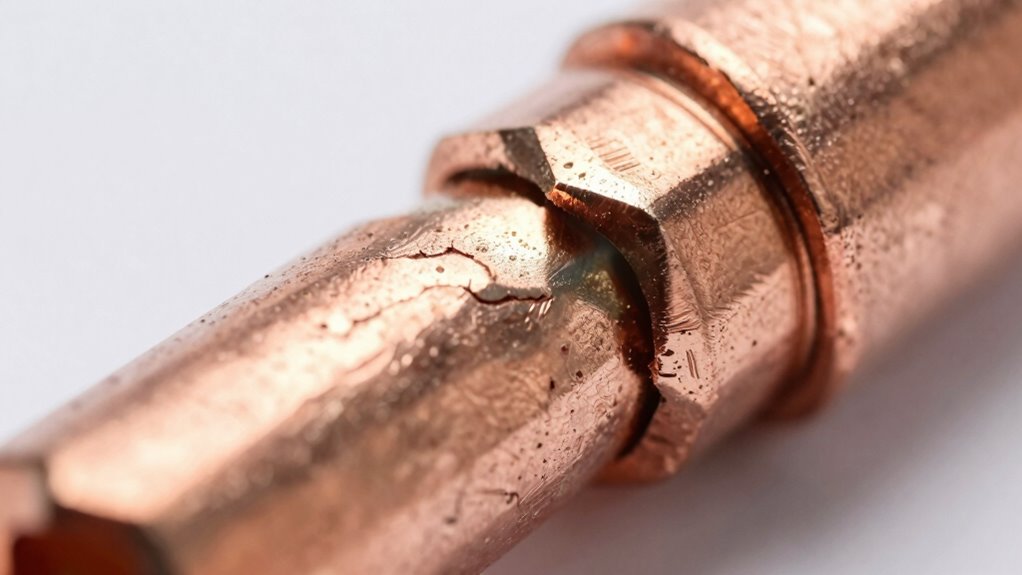
You should also look at the overall appearance of the crimp. A proper crimp will have a uniform, smooth profile without any bulges, cracks, or uneven areas. If the crimp appears deformed or uneven, it’s a sign that the crimping process wasn’t executed correctly, which could lead to poor contact and eventual failure. Pay special attention to the edges of the crimp; they should be clean and well-formed, with no jagged or loose sections. Such irregularities often indicate insufficient pressure during crimping or the use of incompatible tools.
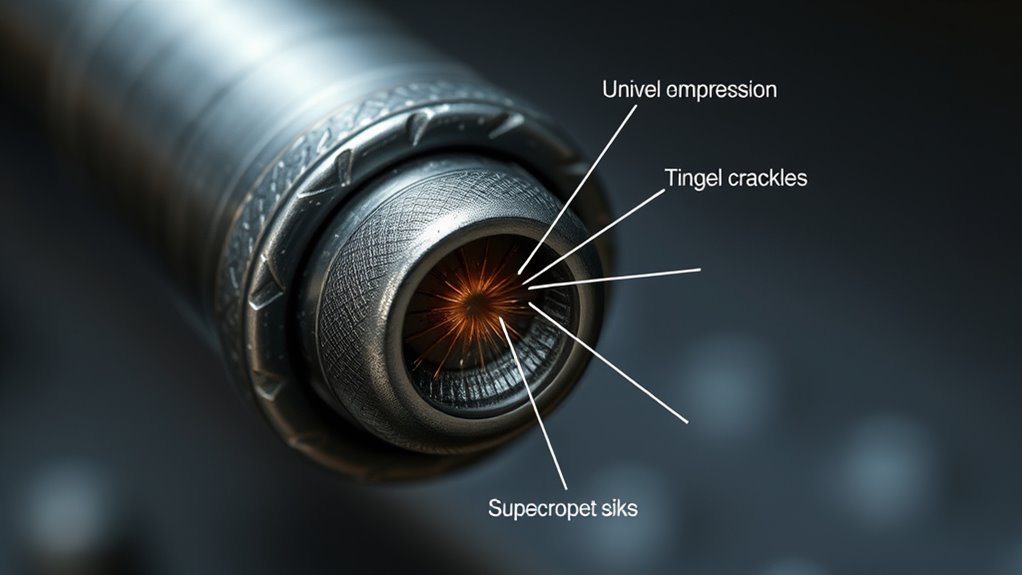
Another critical visual cue is whether the wire is fully seated within the crimp. The conductor should be fully enclosed, with no strands hanging out or exposed. Exposed strands can cause short circuits or increase resistance, both of which undermine the connection’s reliability. Conversely, if the wire is pushed too far into the terminal, it can damage the insulation or bend the wire, impeding proper contact.
Finally, check for any signs of corrosion or oxidation on the crimp or the wire. These can appear as discoloration or a powdery substance, and they indicate environmental exposure that might weaken the connection. Regularly inspecting for these visual cues helps you catch potential issues early, ensuring stable, long-lasting electrical connections. Additionally, understanding the importance of contrast ratio and other optical properties can help evaluate the quality of the visual inspection process for electrical components.
Milwaukee Shockwave 100pcs Impact Driver Bit Set Packout
As an affiliate, we earn on qualifying purchases.
Frequently Asked Questions
What Tools Are Best for Inspecting Crimps Visually?
You should use a magnifying glass or a jeweler’s loupe for detailed visual inspection of crimps. A high-quality crimp tool selection with precision tips helps guarantee proper crimping, making inspections easier. Good lighting is essential to spot cracks, gaps, or incomplete compression. Combining these visual inspection techniques with equipment like digital microscopes can give you a clearer view, helping you identify issues before they lead to failure.
How Often Should Crimps Be Inspected in Routine Maintenance?
Crimp quality is like a delicate dance, so you should inspect it regularly to catch issues early. For routine maintenance, check crimps every 3 to 6 months, depending on usage and environment. Consistent inspection frequency helps guarantee reliable connections and prevents failures. Keep a close eye on any signs of wear or damage, and remember, the more often you inspect, the better you can maintain peak crimp integrity.
Can Improper Crimping Cause Electrical Failures?
Improper crimping can definitely cause electrical failures because it compromises crimp quality, leading to poor connections. When you perform a visual inspection, look for signs like uneven or cracked insulation, loose wires, or incomplete crimps. These issues indicate that the crimp may not be secure, risking failure over time. Ensuring proper crimping during installation and regularly inspecting with a keen eye helps maintain reliable electrical connections.
Are There Specific Standards for Acceptable Visual Cues?
When it comes to inspection standards, yes, there are specific visual criteria you should follow. You need to keep your eyes open for proper crimp deformation, smooth and consistent wire strands, and secure terminal seats. Think of it as hitting two birds with one stone—following these standards helps prevent failures down the line. Always compare your visual cues against established guidelines to guarantee your crimps meet quality and safety requirements.
How Does Environmental Exposure Affect Crimp Integrity Over Time?
Environmental exposure can markedly impact crimp integrity over time. Corrosion effects, caused by moisture and chemicals, weaken the metal, increasing the risk of failure. UV degradation from sunlight can cause the insulation and even the crimp material to become brittle and crack, reducing overall durability. You should regularly inspect for signs of corrosion and UV damage, especially in outdoor or harsh environments, to guarantee the crimp remains reliable.
Full Skid Plate Kit with Engine & Transmission Protection Plate Compatible with 2015-2022 Ford F150 4WD 2.7L EcoBoost, 3.3L, 3.5L EcoBoost, Steel Under Guard Splash Shield with Install Accessories
Fitment: Full skid plate compatible with 2015-2022 Ford F150 4WD 2.7L EcoBoost, 2015-2022 F150 3.3L, 2015-2017 F150 3.5L...
As an affiliate, we earn on qualifying purchases.
Conclusion
Remember, a picture is worth a thousand words when inspecting crimps. By paying close attention to the visual cues like proper alignment, smooth surface, and secure connections, you can catch issues before they cause failure. Don’t forget the saying, “A stitch in time saves nine”—identifying small flaws early saves you from bigger problems down the line. Stay vigilant, trust your eyes, and keep your crimps reliable and safe.

Rough Country Front Skid Plate Kit for Chevy Silverado 1500 4WD (2019-2026) - Fits Models with 0-3.5" Lift, Skid & Differential Plates, Easy Bolt-on Install
Off-Road Protection: Tackle the toughest trails with confidence, as the heavy-duty 14-gauge steel skid plate shields your undercarriage...
As an affiliate, we earn on qualifying purchases.

High-Strength Steel Full f150 Skid Plate for Ford 2015-2022,with Engine Front, Drivetrain Centerand and Rear Axle Protection Skid Plate,Easy Installation
1. Precision OEM Fitment for Ford F150 Engineered using Ford OEM specifications for perfect fit on 2015-2022 F150...
As an affiliate, we earn on qualifying purchases.