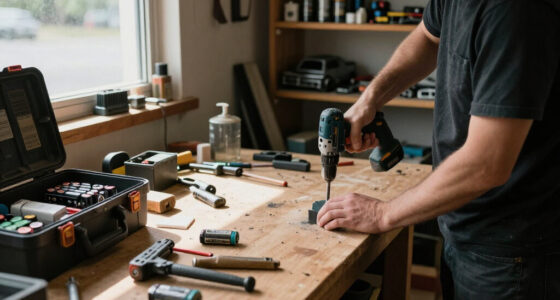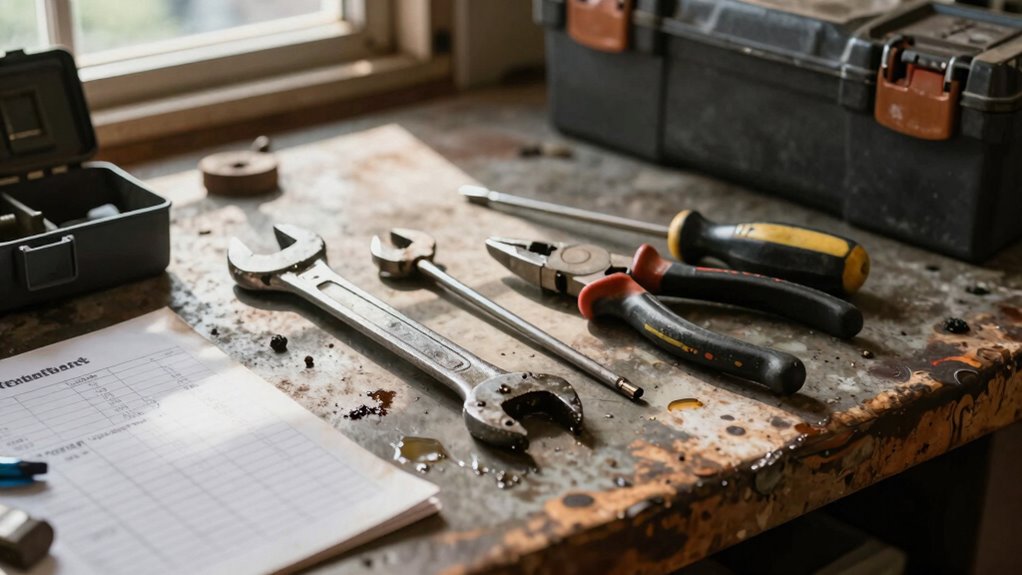

To test your skills before starting DIY maintenance, evaluate if your tools fit the task and guarantee you’re comfortable handling them safely. Assess accessibility around plumbing or electrical fixtures, and stop if anything feels awkward or unsafe. Always switch off power and wear protective gear. Planning, safety checks, and a clear step-by-step approach help ensure success. Keep honing your skills and stay vigilant—more tips await to help you tackle projects confidently and safely.

Get business pricing on garage and car supplies
- Business-only prices and quantity discounts
- Tax-exempt purchasing
- Multiple users, one account, clear invoices
Key Takeaways
- Verify tools fit the project scope and are in good working condition through a practical test.
- Assess accessibility and safety of the area before starting any maintenance task.
- Pause and reassess if tasks feel awkward, unsafe, or difficult to prevent accidents.
- Use safety gear and follow precautions specific to the task, such as switching off power or wearing gloves.
- Complete a dry run or simulation to ensure readiness and confidence before the actual repair.
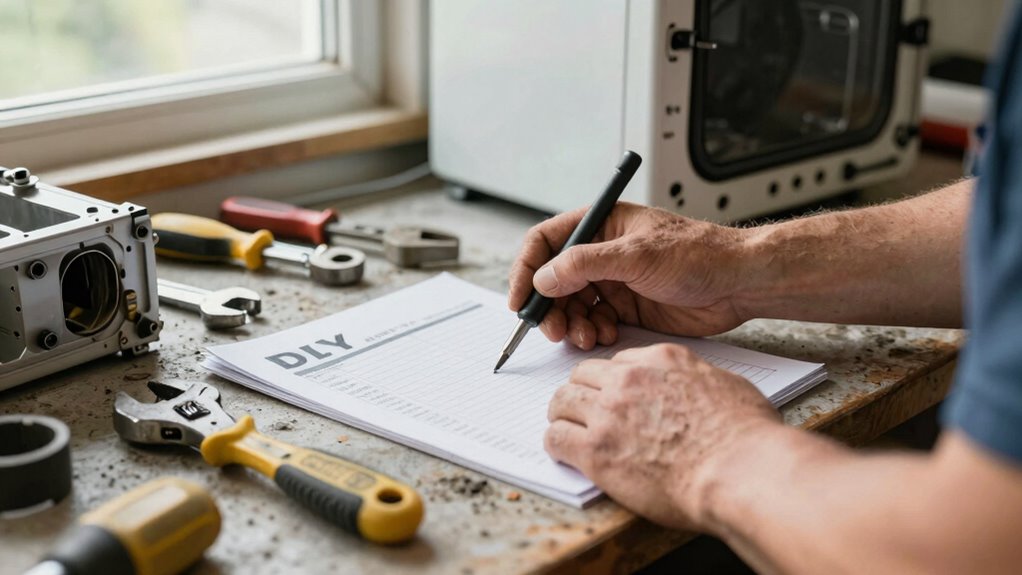
Are you ready to take control of your home’s upkeep? Tackling maintenance tasks yourself can be rewarding, but it also demands preparation and awareness. Before jumping into any project, it’s essential to have the right tools needed and to prioritize safety precautions. Gathering the proper tools ensures you can handle the job efficiently and reduces the risk of injury. For most basic tasks, you’ll want a screwdriver set, pliers, a utility knife, a wrench, a level, and perhaps a drill. Having these tools on hand makes the process smoother and minimizes frustration. Remember, using the right tools not only speeds up the work but also helps prevent damage to your home or injury to yourself.
Having the right tools makes DIY home repairs safer, easier, and more effective.
Safety should always be your top priority when performing DIY maintenance. Before starting, review safety precautions relevant to each task. For example, if you’re working on electrical fixtures, switch off the power supply and wear insulated gloves. When handling sharp tools or working at heights, wear protective goggles and sturdy footwear. Venturing into confined spaces or working with chemicals requires additional precautions, such as proper ventilation and gloves. Never skip safety gear or ignore warnings—your well-being depends on it. Taking a moment to plan your approach and check safety measures can save you from accidents and costly mistakes later. Incorporating proper safety procedures can make a significant difference in preventing mishaps.
Once you’ve gathered your tools and reviewed safety precautions, the real-world test begins. You’ll quickly learn whether your preparations were sufficient and if you’re comfortable with the scope of your project. For example, if you’re fixing a leaky faucet, you’ll need to assess how easily you can access the plumbing and whether your tools fit the task. If something feels awkward or unsafe, don’t force it. Sometimes, pausing to reassess or calling in a professional is the smarter move. The key is to stay attentive to your limits and to work methodically. Taking your time, following safety guidelines, and using the right tools will help you succeed and build confidence for future projects.
In the end, the real-world test of your DIY maintenance checklist isn’t just about completing the task; it’s about learning and improving your skills safely. When you approach each project with preparation, safety, and a clear plan, you turn home maintenance from a daunting chore into an achievable routine. This process not only saves money but also gives you a sense of accomplishment and independence. Keep refining your approach, stay vigilant about safety, and soon, tackling home repairs will become a more manageable, even enjoyable, part of maintaining your space. Additionally, understanding home repair fundamentals can further boost your confidence and effectiveness in handling various projects.
As an affiliate, we earn on qualifying purchases.
Frequently Asked Questions
How Often Should I Perform DIY Maintenance on My Vehicle?
You should perform DIY maintenance on your vehicle every 5,000 to 7,500 miles. During this, change the oil and rotate the tires to guarantee even wear and peak performance. Regular oil changes prevent engine damage, while tire rotations extend tire life. Keep an eye on your vehicle’s manual for specific intervals, but sticking to these guidelines helps maintain your vehicle’s health and saves you money in the long run.
What Tools Are Essential for a Basic DIY Maintenance Kit?
Think of your DIY maintenance kit as your vehicle’s heartbeat—organized and reliable. You’ll need essential tools like a wrench set, screwdrivers, pliers, and a jack for tool organization. Don’t forget safety gear such as gloves and goggles to protect yourself. These basics guarantee you can handle common repairs confidently, keeping your car running smoothly. With the right tools and safety gear, you’re prepared for any small issue that comes your way.
Can I Perform Complex Repairs Without Professional Training?
You can attempt complex repairs without professional training, but it’s risky. Advanced diagnostics and specialized repairs often require specific skills and knowledge. If you don’t have experience, you might cause further damage or compromise safety. Consider researching thoroughly, watching tutorials, or consulting experts before proceeding. For critical or intricate issues, hiring a professional guarantees the repair is done correctly and safely, saving you time and potential costs down the line.
How Do I Safely Dispose of Used Automotive Fluids?
You should safely dispose of used automotive fluids by taking them to a certified recycling center or hazardous waste facility. This prevents environmental impact and guarantees you follow disposal regulations. Never pour fluids down the drain, onto the ground, or into storm drains, as it can harm ecosystems. Always store fluids in sealed containers and check local regulations for specific disposal guidelines, making certain you’re handling waste responsibly.
What Signs Indicate My Vehicle Needs Professional Servicing?
Your vehicle’s warning signs are like sirens warning of trouble. If you notice strange noises, persistent warning lights, decreased fuel efficiency, or rough engine performance, it’s time for professional help. Advanced diagnostics will pinpoint issues you can’t see, and engine tuning can restore performance. Don’t ignore these signs; seek expert service before minor problems turn into costly repairs. Trust your instincts—your car’s health depends on it.
safety gear for home maintenance
As an affiliate, we earn on qualifying purchases.
As an affiliate, we earn on qualifying purchases.
Conclusion
So, there you have it—your foolproof DIY maintenance checklist, guaranteed to turn minor mishaps into major disasters with just a splash of confidence and a dash of neglect. Just remember, when in doubt, ignore the manual; after all, who needs professional help when you can expertly turn a simple fix into an epic saga of frustration? Happy tinkering—may your tools stay intact and your patience stay intacter!
As an affiliate, we earn on qualifying purchases.
As an affiliate, we earn on qualifying purchases.
Fall Picks
fall essentials
As an affiliate, we earn on qualifying purchases.