
To label your 12V system for quick troubleshooting, start by creating a clear, consistent labeling scheme using durable labels or tape resistant to heat and vibrations. Write legibly with a permanent marker and include circuit purposes like “Battery Positive” or “Ignition Switch.” Use color-coding to distinguish circuits, and place labels near connection points. Always disconnect power before labeling to guarantee safety. If you keep these tips in mind, you’ll find troubleshooting becomes much faster and easier.
Key Takeaways
- Develop a clear, consistent labeling system for wires, terminals, and components using durable, weather-resistant labels.
- Use color-coding to visually distinguish different circuits for quick identification during troubleshooting.
- Place labels near connection points and junctions, ensuring they are neat, legible, and easily accessible.
- Always disconnect power and verify circuits are de-energized before applying labels to prevent accidents.
- Maintain labels in good condition and update them if modifications occur to ensure ongoing clarity.
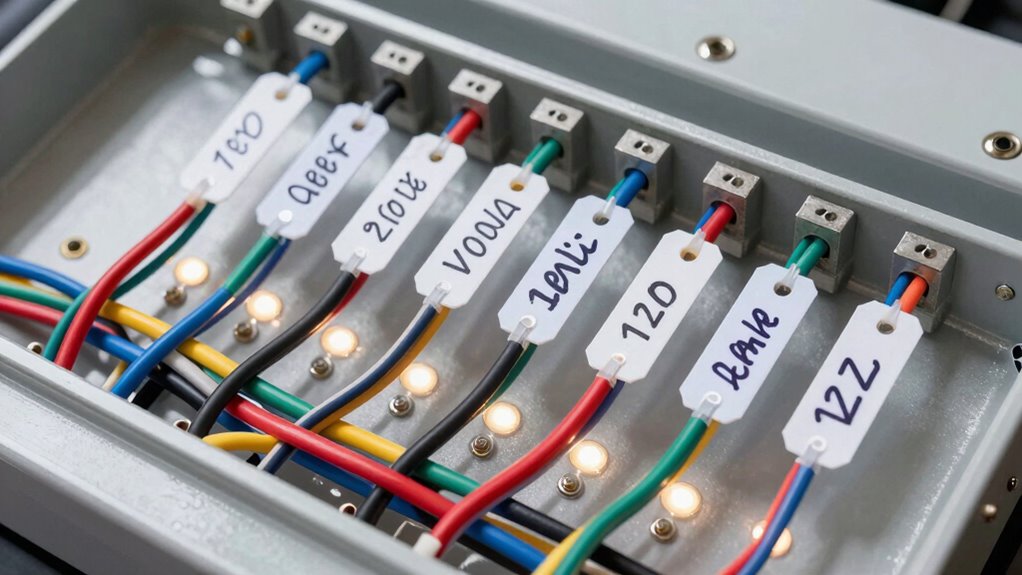
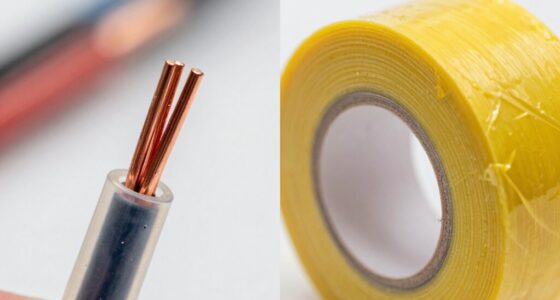
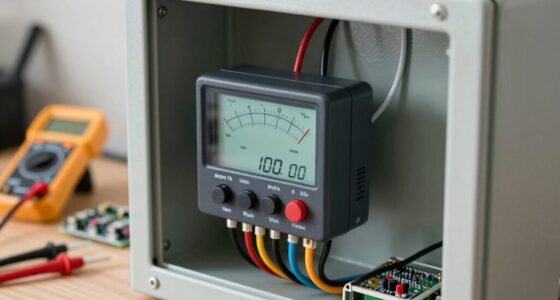
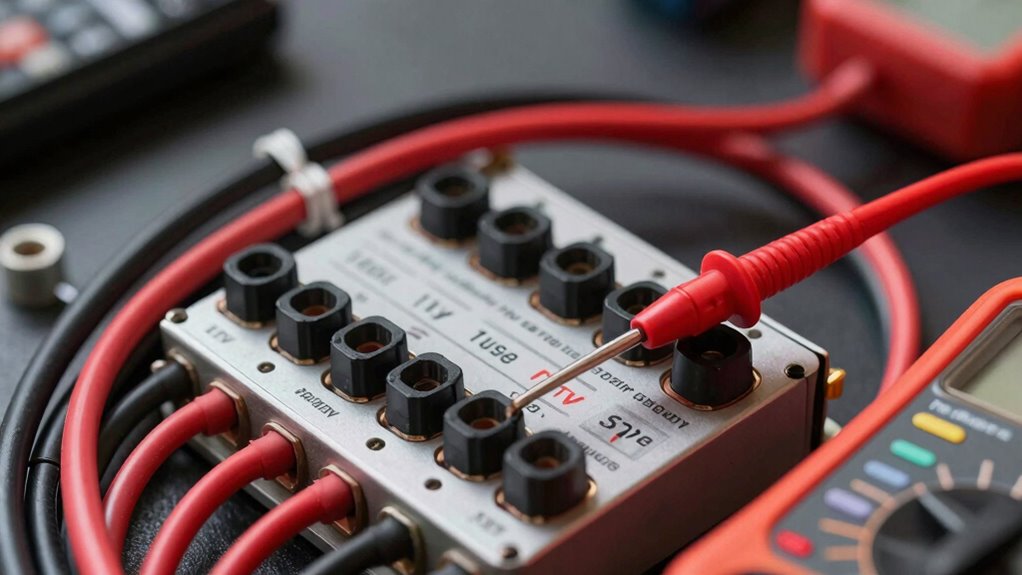
When you’re dealing with a 12V system, proper labeling can make all the difference during troubleshooting. Clear circuit identification helps you quickly locate the source of a problem, saving you time and preventing potential mistakes. You want to guarantee every wire, terminal, and component is labeled accurately so that when you need to diagnose an issue, you’re not left guessing or risking damage to the system. The first step is to develop a consistent labeling scheme. Use durable labels or tape that can withstand vibrations, heat, and exposure to elements. Write legibly with a permanent marker or use pre-made labels designed for electrical systems. Make sure each label clearly indicates the circuit’s purpose or connection point, such as “Battery Positive,” “Ignition Switch,” or “Accessory Outlet.” When labeling, consider color-coding wires to visually distinguish different circuits, which can further simplify troubleshooting. Always keep your labels neat and in an accessible location, especially near connection points or junctions. Proper circuit identification ensures efficient diagnostics and prevents miswiring during maintenance. Additionally, understanding the electrical system layout can improve your troubleshooting efficiency and safety. Safety precautions are essential when working with 12V systems. Before you start labeling, disconnect the power source to prevent accidental shorts or sparks. Wear insulated gloves and eye protection to guard against electrical shocks or debris. Keep a fire extinguisher nearby, just in case. When working on the wiring, make sure your tools are insulated and in good condition. Avoid working in wet or damp environments, as moisture greatly increases the risk of electrical shock. Double-check your system’s voltage and confirm that power is off before handling any wires or components. Properly isolating circuits not only protects you but also ensures you don’t accidentally create new issues while labeling. When you’re done, restore power cautiously, verifying that no tools or labels are left in positions that could cause shorts or shorts.

16 Sheets Breaker Panel Labels Electrical Box Sticker Numbers Breaker Panel Labels Electrical Sticker Number Catalog Load Center Adhesive Waterproof Reusable(Mix Colors)
Easy to use: the label can be cut into different sizes according to the needs, and can be…
As an affiliate, we earn on qualifying purchases.
As an affiliate, we earn on qualifying purchases.
Frequently Asked Questions
What Tools Are Best for Labeling a 12V System?
You should use permanent markers or waterproof labels to guarantee labeling durability. Labeling techniques like color coding and clear, concise wording help you easily identify components. A label maker with laminated tape provides professional, durable labels that withstand vibrations and moisture. By choosing the right tools, like a quality label maker or weatherproof markers, you make troubleshooting quick and efficient, saving you time and preventing confusion in your 12V system.
How Often Should I Update My System Labels?
They say “a stitch in time saves nine,” and that applies to your labels too. You should update your system labels every 6 to 12 months, depending on labeling frequency and label durability. Regular updates guarantee labels stay clear and accurate, preventing confusion during troubleshooting. If your environment is harsh or labels show signs of wear, replace them sooner. Stay proactive to keep your system running smoothly.
Can Waterproof Labels Be Used Outdoors?
Yes, waterproof labels can be used outdoors. Look for labels with weatherproof adhesives that withstand rain and moisture, ensuring they stay put. Additionally, choose labels printed with UV resistant ink to prevent fading from sun exposure. These features help your labels remain legible and secure over time, making outdoor troubleshooting easier. Properly selected weatherproof adhesive labels with UV resistant ink are essential for durable, long-lasting outdoor labeling.
How Do I Label Complex Wiring Diagrams?
Imagine unraveling a tangled web—complex wiring diagrams can feel just as confusing. To guarantee schematic clarity, use clear, consistent wire identification labels at each connection point. Color-code wires, use numbered tags, and create a detailed legend. This approach streamlines troubleshooting, making it easy to trace circuits quickly. Proper labeling transforms chaos into clarity, saving you time and frustration when diagnosing or repairing your 12V system.
What Color Coding Standards Are Recommended for 12V Systems?
For 12V systems, follow color coding standards like red for positive, black for negative, and yellow or blue for auxiliary wires. Consistent color coding enhances troubleshooting efficiency, so stick to these conventions throughout your wiring. Adopting labeling best practices—clear, durable labels paired with standardized colors—ensures quick identification. This consistency minimizes errors, speeds up repairs, and keeps your 12V system organized and safe, making troubleshooting much faster.

270 PCS Tear Resistant Cable Labels, 9 Colors Waterproof Cable Tags Wire Labels for Management, Cord Label Can Write On, Self Adhesive Wire Label Printable for Laser Printer and Handwriting
Size and Quantity: Contains 9 colors, including red, orange, yellow, blue, light blue, purple, light green, green, and…
As an affiliate, we earn on qualifying purchases.
As an affiliate, we earn on qualifying purchases.
Conclusion
So, now you’re all set to label your 12V system like a pro—no more guessing games or frantic flashlight searches. Just remember, a well-labeled system isn’t just for your sanity; it’s for emergency heroes—like you—who want to avoid turning a simple fix into a full-blown treasure hunt. With these tips, you’ll troubleshoot faster than you can say “blown fuse,” and maybe even impress your friends with your newfound labeling wizardry. Happy wiring!
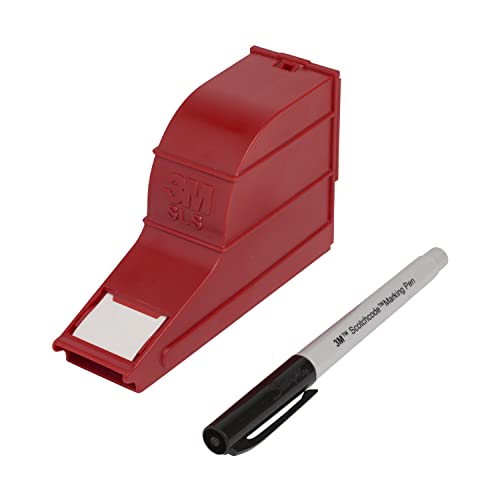
3M ScotchCode Wire Marker Write-On Dispenser with Tape and Pen SLS
Mark industrial wires and cables or household items like plumbing, automotive or sporting equipment with permanently marked adhesive…
As an affiliate, we earn on qualifying purchases.
As an affiliate, we earn on qualifying purchases.

240 PCS Cable Labels for Cords in 8 Colors – Self-Adhesive Wire Labels Tags for Cable Management | Cord Label Set for Chargers and Routers and Electronics, Wire Tags for Desk Cords and Power Adapters
Quick Device Sorting: Sort chargers, adapters, and media leads fast with cable tags for cords that keep desks…
As an affiliate, we earn on qualifying purchases.
As an affiliate, we earn on qualifying purchases.