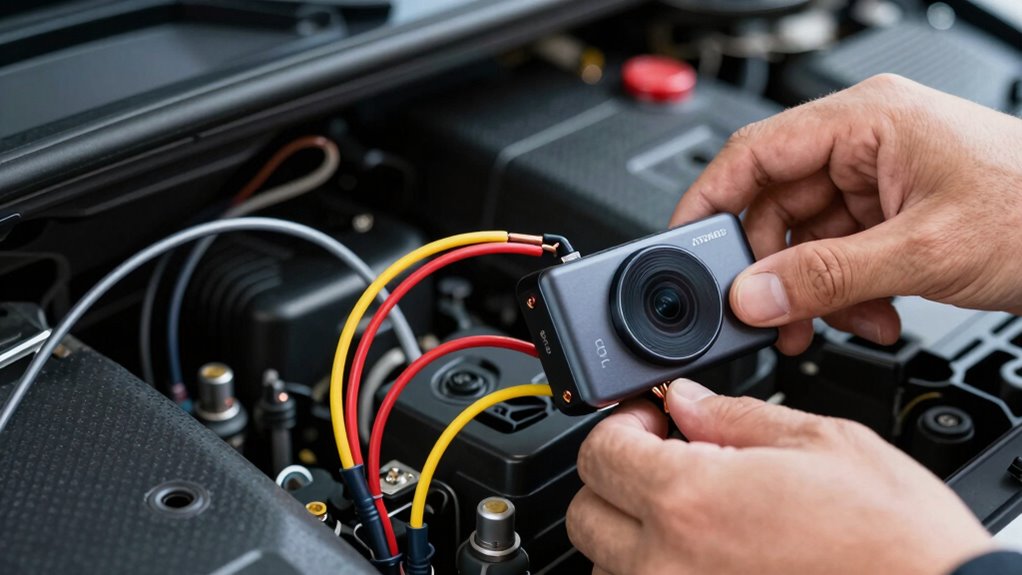
To hardwire your dash cam without guesswork, start by identifying constant power circuits that stay on even when the vehicle is off, connecting to a fused 12V source. Then find an ACC circuit that only powers when the ignition is on, making sure your dash cam operates correctly in parking mode. Using fuse taps properly and making secure ground connections are key. Keep wires organized and safe—learn more to guarantee a smooth installation.
Key Takeaways
- Use a fuse tap to connect the dash cam to a constant power circuit (BAT/B+), ensuring continuous operation.
- Identify a suitable ACC circuit by testing for power only when ignition is on to prevent battery drain.
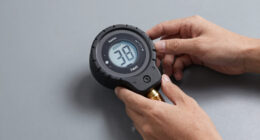
- Verify voltage with a multimeter before connecting wires to ensure proper power source.
- Secure a reliable ground connection on unpainted metal chassis to maintain stable power and reduce noise.
- Plan wire routing carefully to avoid hot areas, airbags, and moving parts for safety and a clean installation.

Gebildet Dash Cam Hardwire Kit, Type C USB Hard Wire Kit 12V-24V to 5V Hardwire Kit with Low Voltage Protection 13ft/320cm Car Dash Camera Charger Power Cord for Dashcam Supply Radar Detectors
【Low Voltage Protection】 Once the input voltage drops below 11.6V (23.2V for 24V input), the battery drain protection...
As an affiliate, we earn on qualifying purchases.
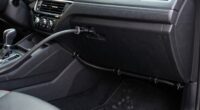
Understanding Constant Power Circuits
Understanding constant power circuits is essential for ensuring your dash cam stays powered even when your vehicle is off. To do this, you connect the red wire to a fuse slot that provides 12V even with the ignition off. Use a multimeter set to DC volts to verify this; check for a steady 12V reading at the fuse box when the vehicle is off. When installing, insert the original fuse into a fuse tap slot positioned away from metal sheets, ensuring a secure connection. This setup allows your dash cam’s parking mode to activate when parked, providing continuous power for recording. Constant power circuits are common in hardwiring kits labeled BAT or B+. Properly wired, they keep your dash cam operational without draining your battery unnecessarily. Additionally, understanding power supply requirements of these circuits can help prevent common installation issues. Knowing fuse types and their ratings can further ensure a safe and reliable connection. Moreover, selecting the right circuit connection method can improve overall system reliability and performance. A clear understanding of vehicle electrical systems can also assist in troubleshooting any potential issues during installation.

Dash Cam Hardwire Kit USB C, 12V-24V to 5V/3A Adapter Power Cable with Voltage Display, 24/7 Parking Mode, Acc Detection, 4-Level Low Voltage Protection (11.6V/11.9V/12.2V/12.5V)
24/7 Parking Monitor: This power adapter system provides 24/7 parking surveillance, recording incidents like hit-and-runs, vandalism, or theft...
As an affiliate, we earn on qualifying purchases.
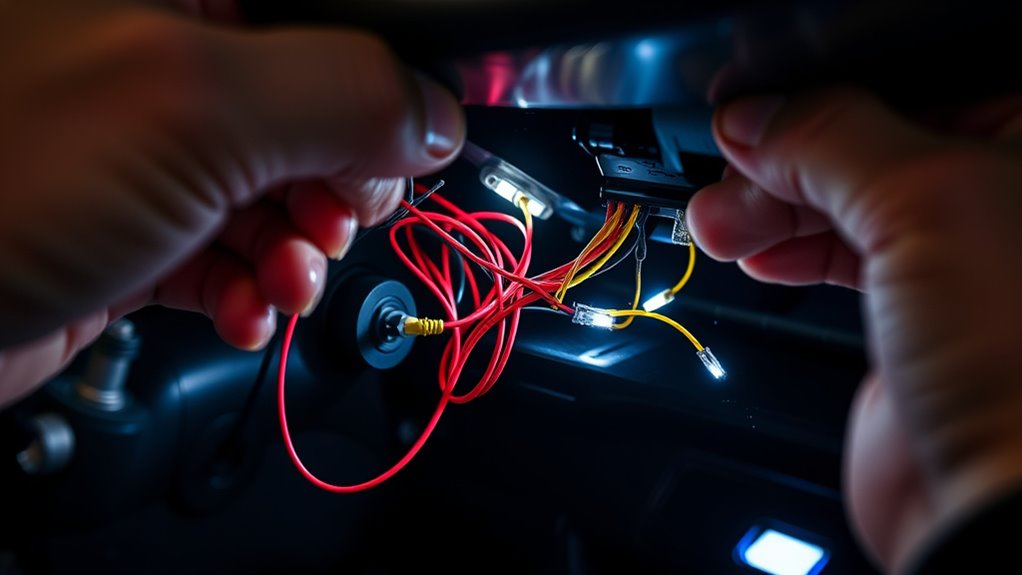
Identifying and Using ACC Circuits

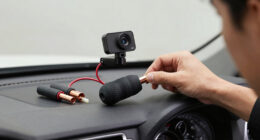
To identify an ACC circuit for your dash cam, you’ll need to locate a fuse slot that supplies power only when the ignition is turned on. Use a multimeter set to DC volts to verify this: test the fuse with the vehicle off (no voltage) and then with the ignition in the RUN position (12V). Consult your vehicle’s fuse diagram to pinpoint the correct fuse, typically labeled for accessories or radio. When installing the fuse tap, ensure it’s oriented correctly, with the metal sheet end toward the power input. Confirm the fuse provides power only when the ignition is on, preventing unnecessary battery drain. Finally, insert the fuse tap securely, avoiding loose connections that could cause power interruptions. Remember that understanding your vehicle’s electrical system can help ensure proper installation and reliable operation.

TERUNSOUl Dash Cam Acc Multi-Size Hardwire Kit with Voltage Indicator for Dash Camera 9.8Ft, Red: Acc Power, Yellow:Constant Power
*Friendly reminder: If you want to use the hardwire kit, since it involves the fuse box, we recommend...
As an affiliate, we earn on qualifying purchases.
Properly Installing Fuse Taps for Reliable Power
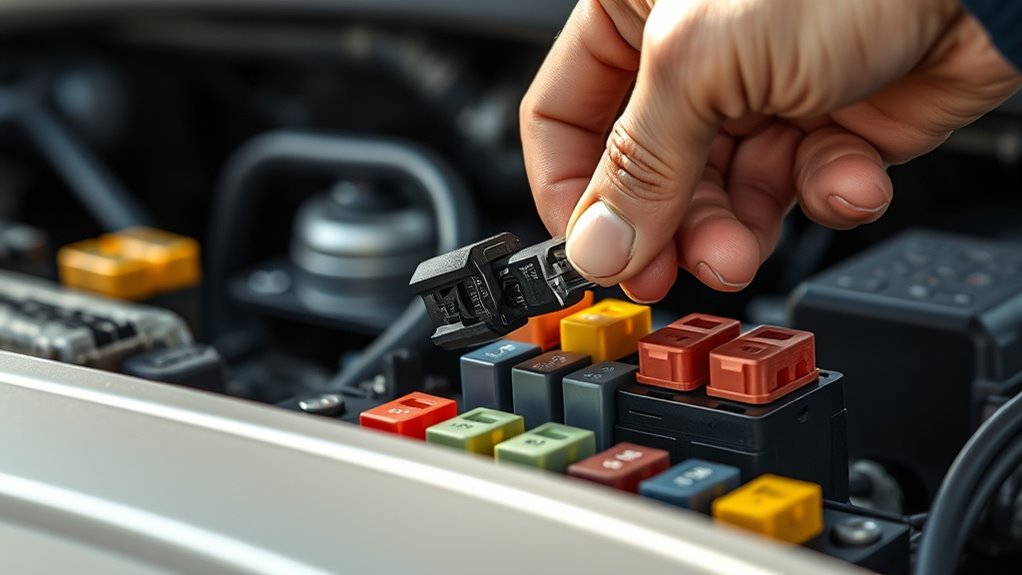
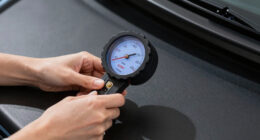
Properly installing fuse taps is essential for a reliable dash cam setup, ensuring consistent power without risking damage to your vehicle’s electrical system. Start by turning off the vehicle and removing the relevant fuse using a fuse puller or pliers. Insert the original fuse into the fuse tap’s designated slot, making sure it seats securely. Then, insert the fuse tap into the original fuse slot, aligning it correctly with the metal contact end facing the power source. Use a multimeter to verify the circuit’s voltage before connecting your dash cam wires. Push the wires fully into the fuse tap, tugging gently to confirm a secure connection. Proper orientation and matching fuse size prevent electrical issues and make certain your dash cam receives stable, reliable power. Ensuring the correct load‑planning of your electrical system helps avoid overloads and potential damage. Additionally, double-checking the circuit compatibility can prevent possible electrical faults and ensure your installation remains safe and effective. Incorporating free floating wiring techniques can also help reduce clutter and improve the overall safety of your setup, especially when considering the field‑of‑view and positioning for optimal camera coverage. Regularly inspecting your connections and understanding your vehicle’s electrical circuits can further enhance the longevity and reliability of your dash cam system.

USB C Hardwire Kit for Dash Cam with Low Voltage Protection,Acc Detection,4-Level Adjustable Voltage (11.6V-12.5V)&Digital LED Voltmeter,3-Lead Cable for Dash Camera Parking Mode,Fuse Taps Included
This product is a special pressure drop line for driving data recorder.Through the step-down function of 12-24V voltage...
As an affiliate, we earn on qualifying purchases.
Ensuring a Secure Ground Connection

A secure ground connection is essential for your dash cam to function reliably and avoid power issues. Without a proper ground, your device may experience erratic operation or fail to power on. To ensure a solid connection, attach the black wire to a clean, unpainted metal surface on the vehicle’s chassis. Use a crimp connector or ring terminal to secure the wire tightly. Avoid painted, rusty, or plastic surfaces, as these can cause poor contact or noise. Regularly inspect the connection for corrosion or looseness. Good grounding ensures consistent power flow and reduces electrical noise that can affect video quality. Proper grounding is critical for stable operation and long-term reliability of your dash cam system. Additionally, understanding electrical grounding principles can help optimize your vehicle’s electrical system for better performance. Ensuring a proper connection can also prevent voltage fluctuations that may harm sensitive electronics. To further enhance system stability, consider using grounding techniques designed for automotive applications. Properly grounded systems help mitigate electrical interference and maintain consistent voltage levels, safeguarding your dash cam’s operation.
Tips for Safe and Effective Wire Routing
When routing wires for your dash cam, careful planning helps prevent damage and maintain a clean look. Start by identifying the best path, avoiding sharp edges, moving parts, and airbag zones. Use trim removal tools to tuck wires under panels gently, preventing cracks or scratches. Secure the cable with zip ties, clips, or tape at regular intervals to prevent sagging or snagging. Keep wires away from hot or moving components, and leave some slack for vehicle movement. Follow the table below to ensure proper routing:
| Tip | Area to Avoid | Securing Method |
|---|---|---|
| Plan the route | Airbag zones | Zip ties or clips |
| Use trim tools | Hot engine parts | Tape or adhesive clips |
| Secure at intervals | Moving parts | Crimp connectors |
| Maintain slack | Sharp edges | Gentle bends |
| Hide cables effectively | Door hinges | Tuck under panels |
Proper routing guarantees safety and a professional finish. Additionally, considering household cleaning robots can inspire innovative ways to manage wire concealment and organization within your vehicle, leveraging smart technology for more efficient solutions.
Being aware of wire insulation properties can also help prevent electrical issues and ensure durability over time.
Furthermore, choosing high-quality cables and connectors can improve longevity and reduce the need for frequent adjustments or repairs, especially when considering proper wire gauge to handle electrical load safely.
Frequently Asked Questions
Can I Use a Different Fuse Tap Model Than Recommended?
Yes, you can use a different fuse tap model than recommended, but make sure it matches your vehicle’s fuse size and type. Check that the tap fits securely into the fuse slot and allows proper insertion of the original fuse. Avoid cheap or incompatible models that could cause electrical issues or damage. Always verify the connection is solid, and test the circuit with a multimeter before finalizing the installation.
What if I Can’t Find an Unpainted Grounding Point?
If you can’t find an unpainted grounding point, don’t panic—think of it as a challenge, not a crisis. You can create your own by attaching a ring terminal to a clean, bare metal spot like a bolt or screw near your dash. Just buff away paint or rust first, ensuring a solid connection. Remember, a good ground is like a good joke—best when it’s clean and solid!
How Do I Prevent Electrical Noise From the Ground Wire?
To prevent electrical noise from the ground wire, make sure you connect it to a clean, unpainted metal surface free of rust or debris. Use a ring terminal or crimp connector for a solid connection, and tighten the bolt securely. Avoid painted or plastic surfaces. Consider adding a noise filter or ferrite bead if noise persists, and regularly inspect your ground connection for corrosion or looseness to keep your dash cam functioning smoothly.
Is It Necessary to Disconnect the Vehicle Battery Before Wiring?
You should disconnect the vehicle battery before wiring your dash cam to prevent electrical shorts and accidental shocks. Turning off the vehicle and removing the negative terminal guarantees safety and protects your electronics. This step minimizes risk during installation, especially when working with fuse taps, grounding points, and exposed wires. Always double-check that the battery is disconnected before starting to avoid damaging your vehicle’s electrical system or causing injury.
How Do I Troubleshoot if the Dash Cam Doesn’t Power On?
Imagine your dash cam as a vigilant eye waiting to activate; if it doesn’t, you need to troubleshoot. First, check your fuse connections—make certain the fuse tap is seated properly and the fuse is intact. Use a multimeter to verify power at constant and ACC circuits. Confirm the ground is secure and wires are properly routed. If issues persist, recheck your wiring and fuse ratings to ensure everything aligns.
Conclusion
By understanding constant power and ACC circuits, you can hardwire your dash cam confidently—like a skilled electrician. Just remember to choose the right circuits, use proper fuse taps, and secure your ground connection. Take your time with wire routing to keep everything neat and safe. With these tips, you’ll have a reliable setup that’s as solid as a rock, giving you peace of mind every time you hit the road.