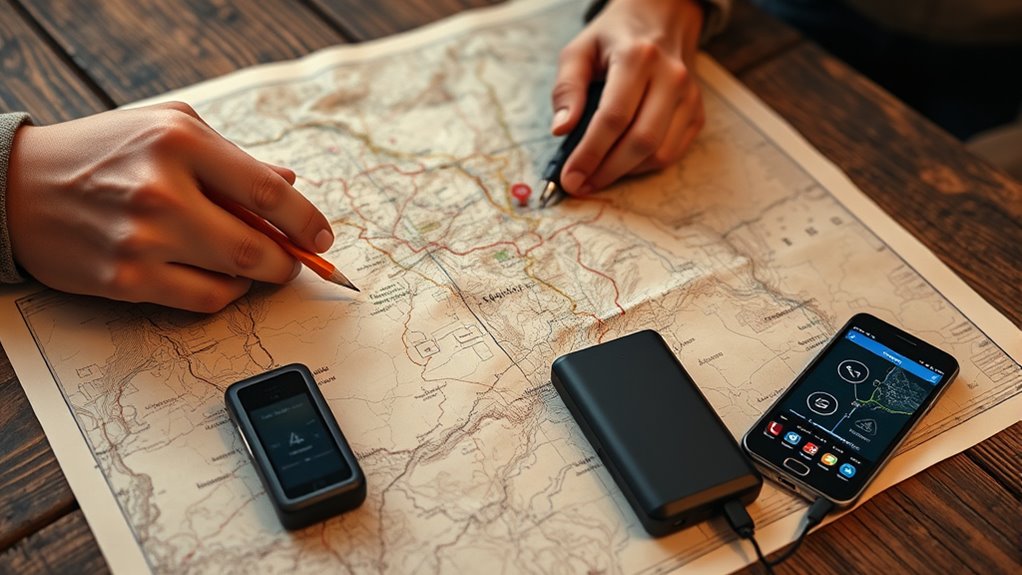
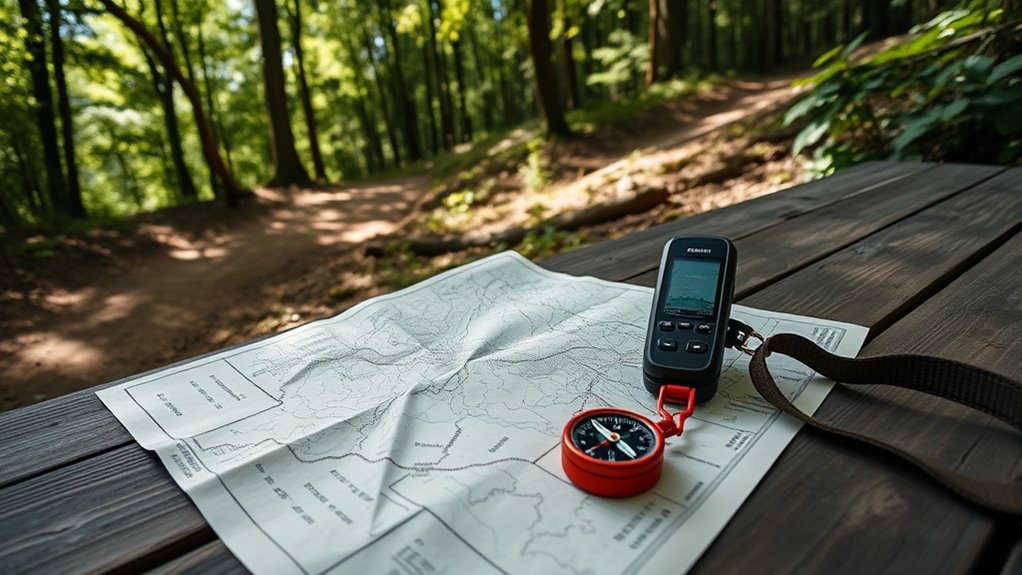
To navigate backroads safely, you need a good map, a reliable GPS device, and an essential backup—usually a compass. Learn to read topographic maps, adjust for declination, and take accurate bearings. Use your GPS for precise positioning, but always check landmarks and terrain features in case of signal loss. Combining these tools helps keep you on track and prepared for emergencies. For expert tips on mastering each method, keep exploring further.
Key Takeaways
- Always carry a detailed paper map and compass as a reliable backup to electronic navigation tools.
- Learn to read terrain features and match them with map details for ground-truthing your position.
- Understand how to set and follow bearings while adjusting for magnetic declination for accurate navigation.
- Use GPS devices offline with up-to-date maps, but verify their data with traditional methods regularly.
- Practice dead reckoning and landmark identification to maintain orientation if electronic tools fail.

Topographic Map Black Grip Tape With White Lines Contour Geographic Skateboard 33×9 Inch Non-Slip Sandpaper for Longboard Roller Board Stair Treads
Professional Anti-Skid:The black skateboard grip tape size is 33 inch x 9 inch / 84 cm x 23…
As an affiliate, we earn on qualifying purchases.
As an affiliate, we earn on qualifying purchases.
Understanding Topographic Maps and Their Features
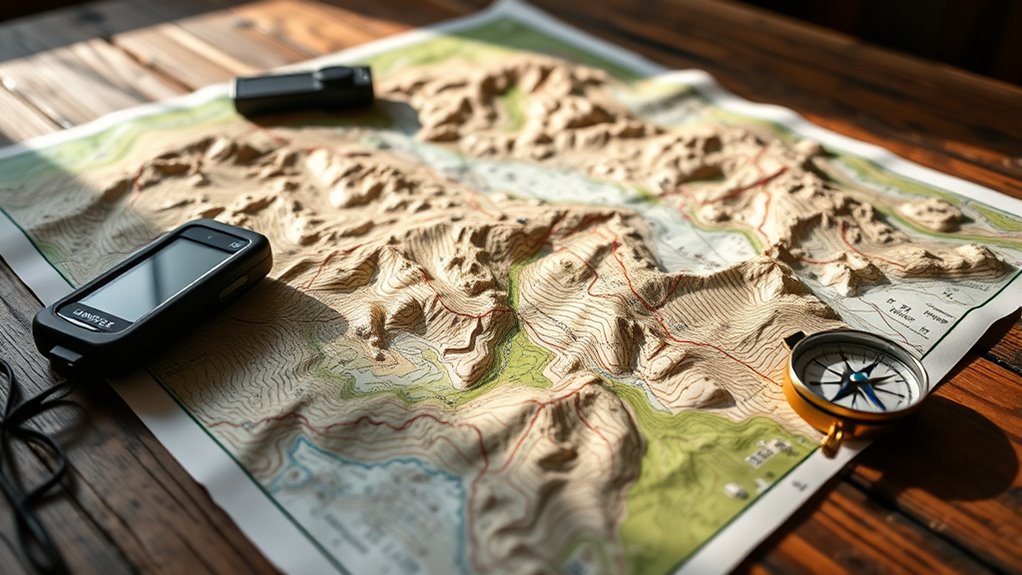
Topographic maps are essential tools for backcountry navigation because they display detailed terrain features and elevation changes. They use contour lines to represent the shape and height of the land, helping you visualize ridges, valleys, and slopes. Spot symbols indicate features like streams, lakes, forests, and man-made structures. The map’s grid system, usually based on latitude and longitude or UTM coordinates, allows precise location pinpointing. Elevation markers and contour intervals show how steep or flat the terrain is, guiding your route planning. When you study a topographic map, you’ll see how terrain influences travel, helping you choose the safest and most efficient path. A good understanding of contrast ratio can also help you interpret shaded relief features for better terrain visualization. Additionally, familiarity with map scales enhances your ability to estimate distances accurately on the terrain. Recognizing terrain features such as cliffs, depressions, and ridges is crucial for effective navigation. Understanding these features is fundamental for navigating confidently and interpreting your surroundings accurately. Moreover, topographic data provides critical details for assessing terrain difficulty and planning safe routes. Being aware of how body elevation changes impact travel can further improve your navigation decisions.

Garmin 010-02256-00 eTrex 22x, Rugged Handheld GPS Navigator, Black/Navy
Explore confidently with the reliable handheld GPS
As an affiliate, we earn on qualifying purchases.
As an affiliate, we earn on qualifying purchases.
Mastering Map Orientation and Declination Adjustment
To navigate effectively, you need to properly align your map to north and adjust for magnetic declination. Using your compass, you can orient the map by matching north markers and correct for declination to guarantee your bearings are accurate. Mastering these steps helps you stay on course, even when terrain and magnetic variations challenge your navigation skills. Being familiar with navigation technology can further enhance your ability to find your way in unfamiliar areas. Incorporating digital mapping tools can provide real-time updates and improve your navigation precision. Understanding world clock concepts can also help you coordinate times across different regions when planning your route. Additionally, understanding how adaptive lighting and circadian support can optimize your rest during long journeys may enhance overall navigation experience.
Aligning Map to North
Ever wonder how to guarantee your map correctly aligns with reality in the field? The key is properly orienting your map so north points toward your actual heading. First, identify the map’s north arrow, usually at the top. Hold your compass flat on the map, with the base plate aligned with the map’s edge, and rotate the map until the compass needle’s north aligns with the map’s north arrow. This process ensures that the map’s north matches the real-world direction. Confirm that the map’s grid lines are parallel to your compass’s orienting lines. Once aligned, your map’s features will match ground features accurately, making navigation more straightforward. Properly orienting your map reduces errors and keeps you confidently moving in the right direction.
Adjusting for Magnetic Declination
Adjusting for magnetic declination is essential for accurate navigation because magnetic north and true north rarely align. Without this adjustment, your bearings may be off, leading you astray. To rectify this, find the declination value for your area, which varies annually. You can look it up on maps, online, or in navigation apps. When using your compass, rotate the housing so that the declination is accounted for—either by setting the declination dial or adjusting your bearing. Some compasses have adjustable declination settings; if yours doesn’t, simply remember to add or subtract the declination from your compass reading. Correcting for declination ensures your compass and map stay aligned, keeping your navigation precise and reliable in the backcountry.
Using a Compass Effectively
Mastering compass use begins with proper map orientation, which guarantees your navigation aligns with the terrain. Start by placing your compass on the map, aligning the base plate’s straight edge with your route line. Rotate the compass housing until the orienting lines are parallel to the map’s north-south grid lines, making sure the north arrow points to true north if you’ve adjusted for declination. Hold the compass flat, and turn your body until the magnetic needle aligns with the orienting arrow. Keep the needle stable, and read your bearing. When in the field, rotate your map so the terrain features match the map’s orientation. Always double-check your bearing and landmarks to confirm your direction before proceeding. Proper compass technique keeps you on course and reduces navigation errors.

Eyeskey Multifunctional Military Sighting Navigation Compass with Inclinometer | Impact Resistant & Waterproof Compass for Hiking, Camping
【Easy to Handle & Read】- With its liquid-filled compass, this compass delivers reliable and accurate readings. The luminous…
As an affiliate, we earn on qualifying purchases.
As an affiliate, we earn on qualifying purchases.
Using a Compass for Accurate Bearings

To get on the right track, you need to set an accurate bearing by lining up your compass with your chosen route. Adjust for declination so your compass points true north, not magnetic north, ensuring your heading is correct. Then, follow your bearing carefully, keeping the needle aligned with the orienteering arrow to stay on course. For added confidence, understanding spiritual retreats can help you find mental clarity and focus during your navigation practice. Incorporating proper safety measures is also essential to prevent mishaps while exploring backroads. Additionally, familiarizing yourself with sticking wall decor techniques can help you prepare your gear and environment for safe and effective navigation. Recognizing the importance of bioluminescent organisms can also inspire a deeper appreciation for the natural phenomena you may encounter along your journey. Being aware of the Gold IRA markets can also help you make informed decisions if you want to diversify your investments before heading out.
Setting the Proper Bearing
Setting the proper bearing is crucial for accurate navigation, and it all starts with correctly reading your compass. First, identify your target point on the map and place the straight edge or sighting line along the route from your current position to that point. Rotate the compass housing until the orienting lines are parallel with the map’s grid lines, confirming the north arrow points to true north if you’ve adjusted for declination. Hold the compass steady, and turn your body until the magnetic needle aligns with the orienting arrow. Keep the compass level and rotate your body until the needle’s red end matches the orienting arrow. Now, follow your bearing in the field, keeping the needle aligned to stay on course. Proper setup ensures you move accurately toward your destination.
Adjusting for Declination
Adjusting for declination is essential because magnetic north doesn’t align with true north, and failing to account for this difference can lead you off course. To correct this, follow these steps:
- Find the declination value for your location on a current map or online source.
- Turn the compass housing to align the declination angle—add it if east, subtract if west.
- Rotate the compass until the orienting lines are parallel to the map’s north-south grid lines.
- When taking bearings, remember to adjust your compass reading by the declination value before following your route.
- Remember that Free Floating environments can sometimes cause subtle magnetic variations, so it’s important to stay aware of local conditions.
Following the Correct Path
Following the correct path with a compass requires you to accurately follow your bearing in the field. Start by aligning your compass with your map’s route line, adjusting for magnetic declination if needed. Hold the compass flat in your hand and rotate your body until the magnetic needle lines up with the orienting arrow. Keep the compass steady, then turn your body until the red magnetic needle is aligned with the orienting arrow. Follow the direction of travel arrow, keeping the needle aligned as you move. Constantly check your bearing, using terrain features and landmarks to confirm your direction. This process ensures you stay on course, especially in featureless terrain or areas with limited visibility. Mastering this technique minimizes errors and keeps you confidently following your intended route.

Land Nav Kit with Lensatic Compass, Protractor, Pace Counter & Map Markers
FIELD READY – Crush your next land navigation course with The Land Nav Kit designed specifically for the…
As an affiliate, we earn on qualifying purchases.
As an affiliate, we earn on qualifying purchases.

Mastering the progression from map to ground begins with understanding how to interpret your compass effectively. To do this:
- Align your compass with your map by setting the declination, ensuring magnetic north matches true north.
- Take a bearing by lining up the compass needle with your route on the map, then rotate the housing until the orienting lines match the map’s grid.
- Hold the compass flat in your hand, keeping the direction of travel arrow pointed straight ahead.
- Follow the bearing in the field by turning your body until the magnetic needle aligns with the orienting arrow, then move forward along your chosen path.
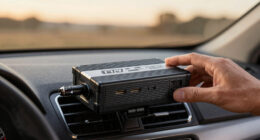
Setting Up and Using GPS Devices Effectively
Setting up your GPS device correctly is essential for reliable navigation in the backcountry. Start by updating its firmware and downloading necessary maps, including topo or satellite imagery, for offline use. Configure the device’s settings, such as units of measurement and coordinate formats, to match your planning needs. Input your waypoints and routes before heading out; verify they’re saved properly and exported as GPX files for easy import. Turn on airplane mode to conserve battery life, but keep GPS and essential functions active. Regularly check your device’s signal strength and accuracy. Familiarize yourself with its features, like measuring elevation, tracking your path, and marking waypoints. Proper setup and understanding of your device guarantee you stay on course and can quickly adapt if conditions change. Also, understanding power management techniques can help extend your device’s battery life during long trips.
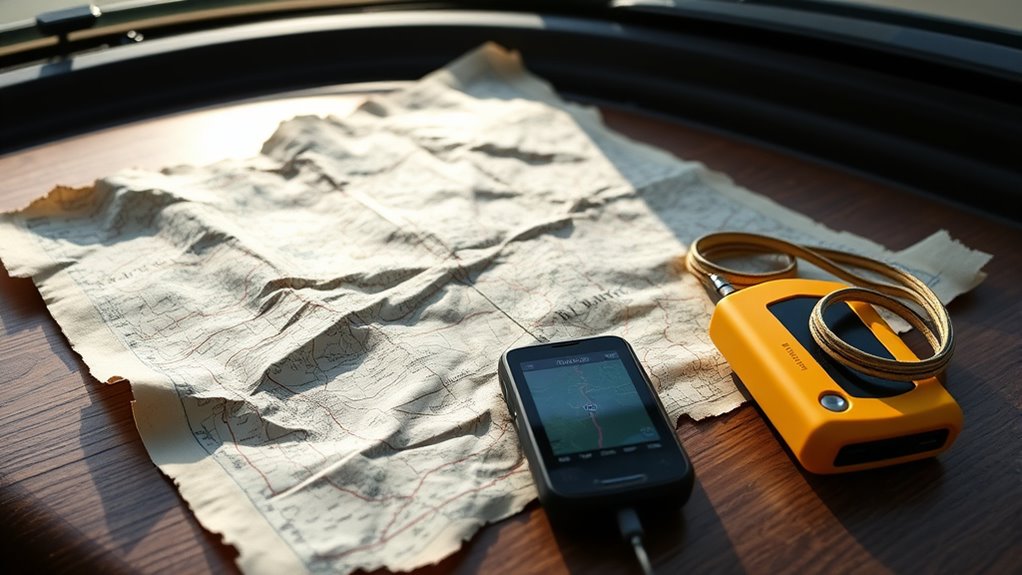
Preparing Your Devices for Offline Navigation
To guarantee reliable navigation in remote areas, you need to prepare your devices for offline use before heading out. Here’s how:
- Download detailed topo and trail maps in your preferred apps, like Gaia GPS or CalTopo, ensuring they’re stored locally.
- Save GPX files for your planned routes, waypoints, and tracks so you can access them without internet.
- Charge your devices fully and enable battery-saving modes; consider carrying portable chargers or extra batteries.
- Test your apps and maps offline beforehand, practicing how to locate your position, follow routes, and switch between features.
- Managing your files effectively ensures you have quick access to vital navigation data when connectivity is unavailable. Additionally, understanding nanotechnology can inspire innovative solutions for durable, miniaturized GPS devices in the future. Proper device maintenance can extend the lifespan and reliability of your navigation tools in rugged conditions.
This way, your navigation tools stay functional, even without cell service, giving you confidence in backcountry adventures.
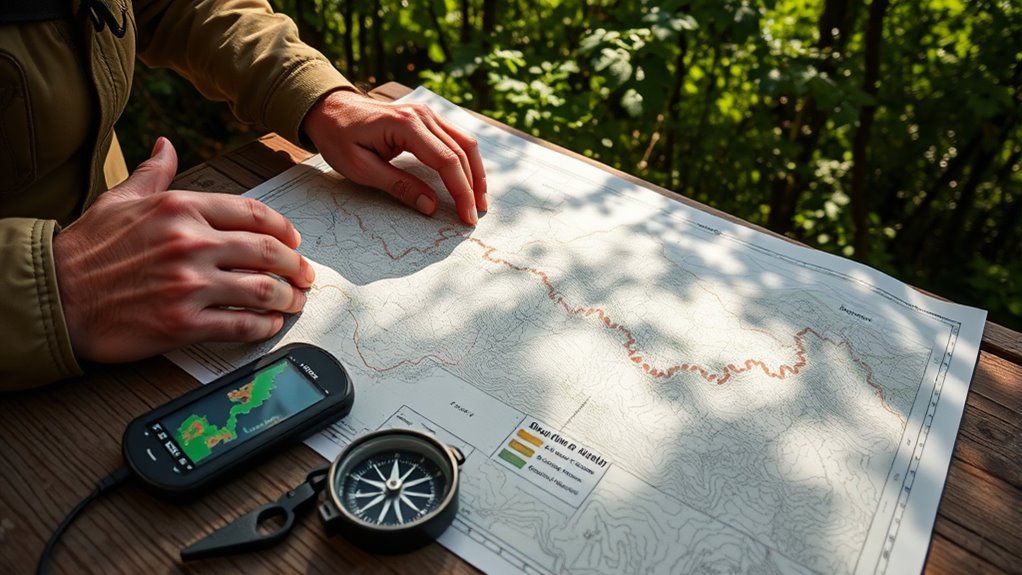
Combining Map, Compass, and GPS for Reliable Navigation

Combining map, compass, and GPS enhances your navigation reliability by leveraging each tool’s strengths and compensating for their weaknesses. Use your map and compass to establish your direction and confirm your position when GPS signals falter, such as in dense cover or deep valleys. Keep your map oriented with a compass, then cross-check landmarks with your GPS location to verify accuracy. When tracking progress, rely on GPS for precise data but always carry your map as a visual reference. Creating a mental picture of terrain features enhances confidence and helps spot discrepancies. Incorporating simple navigation routines into your practice ensures you stay prepared for unexpected challenges. By integrating these tools, you develop a flexible approach that adapts to changing conditions, reduces reliance on any single device, and ensures you stay oriented and safe during backcountry adventures.
Techniques for Triangulation and Confirming Location

To confirm your location, start by identifying clear landmarks that stand out on your map and in the terrain. Use your compass to take bearings to at least two of these landmarks, ensuring they are spaced at least 60 degrees apart for accuracy. By triangulating your position with these points, you can verify your location more reliably and avoid getting lost. Remember, understanding comparative advantage can help you better utilize available resources when navigating unfamiliar areas. Additionally, recognizing electric power generation options like bike generators can be helpful in remote situations where electronic devices are necessary. Employing creative storytelling techniques can also aid in memorizing routes and landmarks for future reference. Recognizing the importance of community in map reading and navigation can provide valuable support and shared knowledge during your journey.
Identifying Suitable Landmarks
Identifying suitable landmarks is essential for accurate triangulation and confirming your location in the field. To do this effectively, focus on prominent features that are easily recognizable from a distance. Here’s how:
- Choose landmarks with distinct shapes or colors, like a large rock formation or a unique tree.
- Ensure landmarks are visible from multiple directions to verify your position.
- Select features that are stationary and unlikely to change over time.
- Cross-reference landmarks with your map to confirm their locations and avoid misidentification.
Confirming Position Effectively
Triangulating your position accurately requires using multiple landmarks spaced at least 60 degrees apart to reduce ambiguity. To confirm your location, identify at least three visible features like peaks, trees, or structures. Measure bearings to each landmark with your compass, then compare these to your map. When bearings intersect at a point, you’ve confirmed your position. Use the table below to visualize the process:
| Landmark | Bearing to Landmark | Intersection Point | |
|---|---|---|---|
| Mountain A | 45° | Point X | |
| Tree B | 105° | Point Y | |
| Tower C | 165° | Your location | |
| Note: | Verify landmarks are 60° apart for accuracy. |
Confirm your position by checking all bearings align with your map features. Stay proactive in verifying your location before proceeding.
The Importance of Backup Tools and Techniques
Backcountry navigation can be unpredictable, so relying solely on electronic devices leaves you vulnerable if batteries die, signals fade, or equipment fails. That’s why backup tools and techniques are essential. First, always carry a detailed paper map and compass—these don’t depend on batteries or signals. Second, practice dead-reckoning with an altimeter or GPS watch to track your progress when electronic signals are lost. Third, create and store offline maps and waypoints on your device before heading out, ensuring you can navigate without internet. Fourth, keep a datasheet with key route information, such as distance and elevation changes, for quick reference. Combining these methods guarantees you can stay oriented and safe, even if your primary electronic tools falter.
Practical Tips for Staying Found and Navigating Safely

To stay found and navigate safely, you need to constantly verify your position by comparing ground features with your map and compass. Look for prominent landmarks like ridges, streams, or clearings, and match them to your map’s details. Regularly check your compass bearing and ensure it aligns with your route, especially when terrain changes or visibility worsens. Keep track of your progress by noting distance traveled and elevation gain, using your altimeter or GPS data. Stay alert and avoid distractions, maintaining situational awareness. If you feel unsure, triangulate your position by identifying multiple landmarks at least 60 degrees apart. Remember, proactive confirmation helps prevent getting lost, so develop a habit of frequent checks and cross-referencing to navigate confidently and safely.
Frequently Asked Questions
How Do I Determine Magnetic Declination for My Area?
To determine magnetic declination for your area, check online resources like the NOAA Magnetic Field Calculators or your national geological survey. You can also use smartphone apps designed for declination info. Input your location coordinates, and the tool will give you the current declination value. Remember, declination changes yearly, so update it regularly to guarantee accurate navigation when adjusting your compass.
What Are the Signs I’ve Lost My Way Despite Navigation Tools?
If you’re truly lost, it feels like you’re wandering in a maze with no exit. You may notice your map and compass don’t align, landmarks seem unfamiliar or vanish, or your GPS signal drops unexpectedly. You might feel disoriented, your bearings off, and your sense of direction faltering. Trust your instincts, reorient with your compass, check landmarks, and use triangulation—these signs mean you’ve lost your way despite your tools.
How Often Should I Update or Check My GPS Device’s Firmware?
You should check and update your GPS device’s firmware at least once every three to six months. Regular updates fix bugs, improve accuracy, and add features. Before your trip, verify your device’s firmware is current to avoid glitches in the field. Connect to Wi-Fi or a computer to download updates, and follow the manufacturer’s instructions for installation. Staying updated keeps your GPS reliable and ready when you need it most.
What Should I Do if My Compass Needle Is Wobbling or Inconsistent?
If your compass needle wobbles or is inconsistent, first check for nearby magnetic interference like metallic objects or electronics. Move away from these sources and hold the compass flat at eye level. Calibrate it if possible, and verify the needle’s stability. If it still wobbles, replace the compass or use a different one. Always have a backup navigation method, like a map and another compass, to stay safe.
How Can I Effectively Combine Map and GPS Data During Fast-Paced Navigation?
Sure, juggling map and GPS during a sprint through the wilderness is like herding cats. First, keep your map oriented with compass, then cross-check your GPS location. Use your map to confirm landmarks and your GPS for precise coordinates. When speed is critical, trust your compass and terrain cues more than digital blips. Always stay aware, combining your tools’ strengths, so you don’t end up chasing imaginary trails.
Conclusion
By mastering these navigation basics, you’ll always find your way, even when the unexpected strikes. Sometimes, the simplest tools—like a map or a compass—can unexpectedly save your day. Trust your skills and keep your backup handy; after all, the best adventures often come from the surprises along the way. Stay prepared, stay confident, and enjoy every backroad journey, knowing that with the right techniques, you’ll always find your way home.