
To press a ball joint straight without damaging the boot, start by aligning the joint and tools carefully to guarantee a smooth, straight push. Use the correct adapters and lubricate contact surfaces to reduce friction. Take your time and apply steady, even pressure—never force! Keep everything aligned throughout the process and double-check if you encounter resistance. If you follow these steps, you’ll minimize the risk of tearing the boot. Continue exploring for more tips to master the process.
Key Takeaways
- Align the ball joint and press tools precisely to ensure a straight, centered press.
- Use appropriate adapters and avoid forcing if resistance occurs, rechecking setup first.
- Apply penetrating oil or light grease to contact surfaces to reduce friction and facilitate smooth pressing.
- Keep components and boots properly aligned during pressing to prevent tearing or deformation.
- Proceed with steady, even pressure, stopping immediately if misalignment or excessive resistance is noticed.
Have you ever struggled to remove or install a ball joint on your vehicle? If so, you’re not alone. Many DIY enthusiasts and even seasoned mechanics find this task challenging, especially when trying to press the ball joint straight without damaging the boot or causing alignment issues later on. The key is understanding how to use a ball joint press properly and applying effective lubrication techniques to make the process smoother.
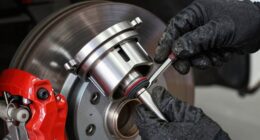
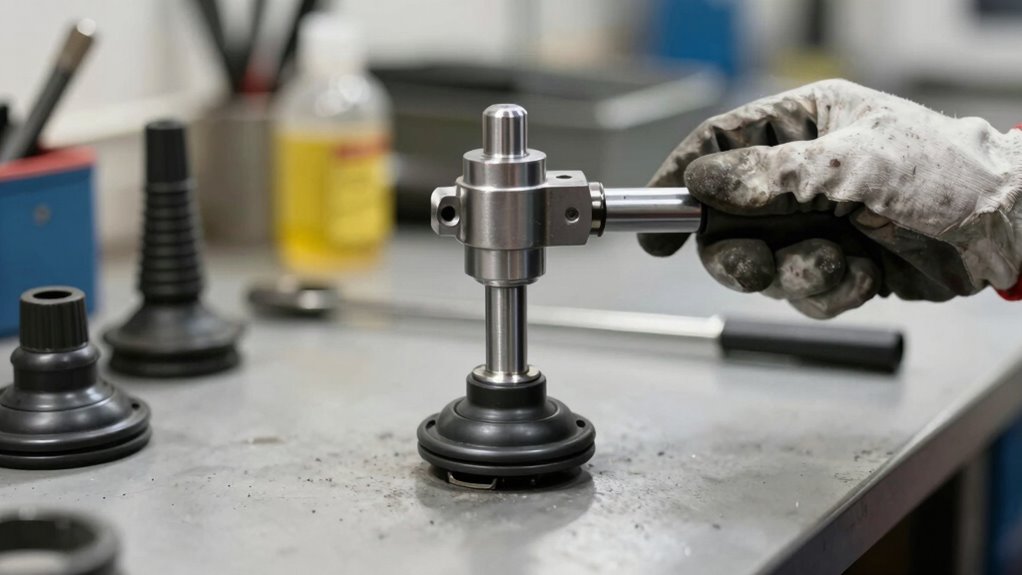
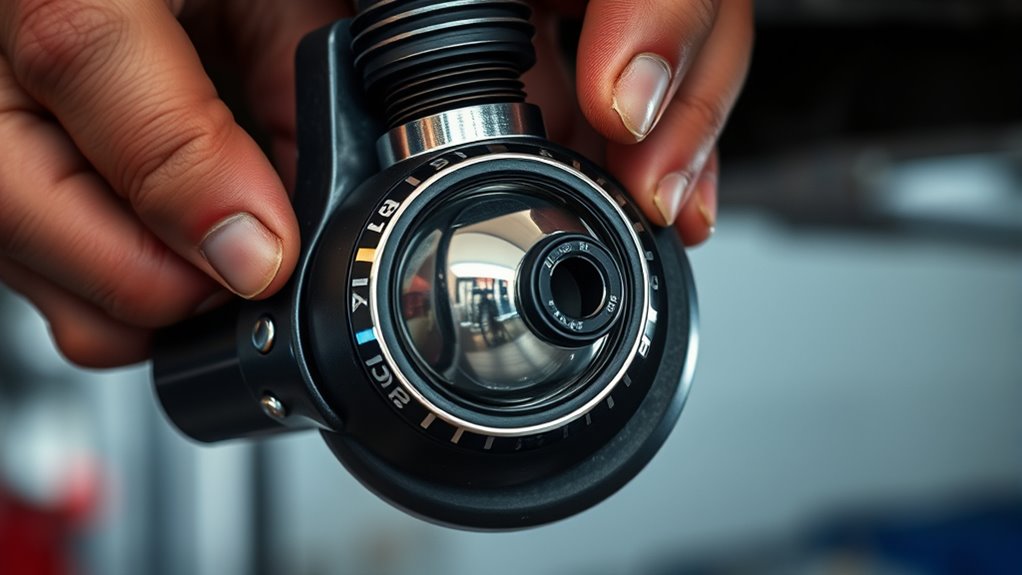
First, it’s essential to prepare your work area and tools. A good ball joint press kit includes a hydraulic or C-clamp-style press, various adapters, and sometimes a ball joint separator. Before you start, examine the joints and surrounding components. If you’re replacing a worn or damaged ball joint, removing the old one carefully is imperative to avoid harming the control arm or steering knuckle. During installation, pressing the new joint in straight is critical to prevent alignment issues down the road. Misaligned press forces can cause uneven wear or premature failure, which might lead to costly repairs later. To guarantee a straight press, always line up the joint and tools precisely, and use the proper adapters recommended for your vehicle’s make and model.
Prepare your tools, examine components, and ensure precise alignment for a straight, damage-free ball joint press installation.
Lubrication techniques play a significant role in making the pressing process easier and protecting your parts. Applying a suitable lubricant, like penetrating oil or a light application of grease, helps reduce friction and prevents the boot from tearing during installation. Before pressing the ball joint in, coat the contact surfaces and the inside of the control arm with lubricant. This reduces the force needed and minimizes the risk of damaging the boot or the joint itself. When using the press, apply steady, even pressure. Rushing can cause misalignment or damage. If the joint resists, double-check your setup and consider applying more lubricant or warming the part slightly to expand the metal for easier pressing. Properly aligning and lubricating parts can also help prevent damage to the boot and ensure a smooth, straight press.
Throughout the process, stay attentive to the alignment of the parts. Pressing a ball joint at an angle can cause deformation or damage to the boot, which may lead to grease leaks or dirt contamination. Keep the joint and the press aligned properly, and don’t force it if resistance persists. Instead, recheck your setup, make sure everything is clean and lubricated, and proceed gently. Proper lubrication techniques combined with careful alignment guarantee that you press the ball joint straight without ruining boots or creating future steering issues. With patience and the right approach, pressing in a ball joint becomes a manageable task that sets your vehicle up for smoother handling and longer-lasting components.
Frequently Asked Questions
What Tools Are Essential for Pressing Ball Joints Safely?
You need essential ball joint tools like a quality ball joint press kit, including adapters and a hydraulic press or C-clamp, to press ball joints safely. Proper pressing techniques involve aligning the tool correctly and applying steady pressure to avoid damaging the boots or surrounding components. Always verify you have the right size adapters and follow manufacturer instructions to prevent mishaps. Using these tools and techniques guarantees a smooth, damage-free installation.
How Can I Prevent Damage to the Control Arm During Pressing?
Imagine guiding the press gently, like a steady hand through delicate glass. To safeguard damage during pressing, use a proper pressing technique that applies even force, avoiding sudden jolts. Place protective sleeves or blocks around the control arm to shield it, guaranteeing control arm preservation. Keep everything aligned perfectly, and press slowly, checking often. This careful approach helps maintain the integrity of your control arm and ensures a successful, damage-free press.
What Signs Indicate a Ball Joint Needs Replacement?
You should replace a ball joint when you notice excessive play or looseness, uneven tire wear, or if your vehicle handling feels off, like steering feels loose or unresponsive. Check for wear indicators, such as torn boots or rust, which signal deterioration. If you notice clunking noises when turning or hitting bumps, it’s time to inspect and likely substitute the ball joint to ensure safe driving and proper handling.
Can I Press Ball Joints Without Removing the Wheel Assembly?
You shouldn’t press ball joints without removing the wheel assembly first. Start by removing the wheel to access the joint properly. This makes the process safer and more precise, reducing the risk of damaging other suspension components. Always follow safety precautions, like wearing gloves and eye protection, and make sure the vehicle is securely supported. Proper wheel removal simplifies the pressing process, so don’t skip this step for a safe, effective repair.
How Do I Reassemble and Lubricate Ball Joints Properly After Pressing?
After pressing in the ball joints, you should apply lubrication techniques like using a high-quality grease to guarantee smooth movement. Follow the reassembly steps carefully, aligning the joint correctly before pressing it in. Be sure to coat the contact surfaces and boots with grease, avoiding over-lubrication. This will protect the joint from dirt and moisture, extending its lifespan and maintaining peak performance.
Conclusion
Mastering ball joint pressing is essential for a smooth, safe repair. When done correctly, you can avoid damaging boots and ensure a long-lasting fit. Did you know that improper pressing can lead to premature wear, reducing a ball joint’s lifespan by up to 30%? By following these basics, you’ll save time and money while keeping your vehicle running smoothly. So, take your time, stay patient, and get that press just right—your car will thank you!