To avoid leaks after an oil change, make sure you fully drain the old oil by warming the engine and removing the drain plug carefully. Use the correct, high-quality filter, lubricate its gasket, and tighten it properly. Don’t overfill or underfill the oil—measure accurately. Inspect gaskets and seals to verify they’re intact and replace any that look worn. Avoid poor installation practices, and you’ll prevent leaks and costly repairs down the line. More tips lie ahead.
Key Takeaways
- Ensure complete oil drainage by warming the engine and removing the drain plug fully; incomplete drainage traps contaminants.
- Use the correct oil filter with proper gasket lubrication and verify proper installation to prevent leaks.
- Accurately measure oil level and avoid overfilling or underfilling to prevent pressure issues and engine damage.
- Inspect and replace old gaskets and seals; clean mating surfaces thoroughly for proper sealing.
- Tighten filters and drain plugs to specified torque, and double-check for leaks after installation.

HENGST – Oil Filter E121H D01 – Oil Filter Insert for Cars – High Quality Engine Oil Filter for Cars with Petrol or Diesel Engine – Robust Oil Filter with High Dirt Absorption Capacity
Oil filters from Hengst Filtration effectively free the oil circuit of impurities. Our filter inserts guarantee optimal filtration…
As an affiliate, we earn on qualifying purchases.
As an affiliate, we earn on qualifying purchases.
Neglecting Proper Drain and Oil Removal Procedures
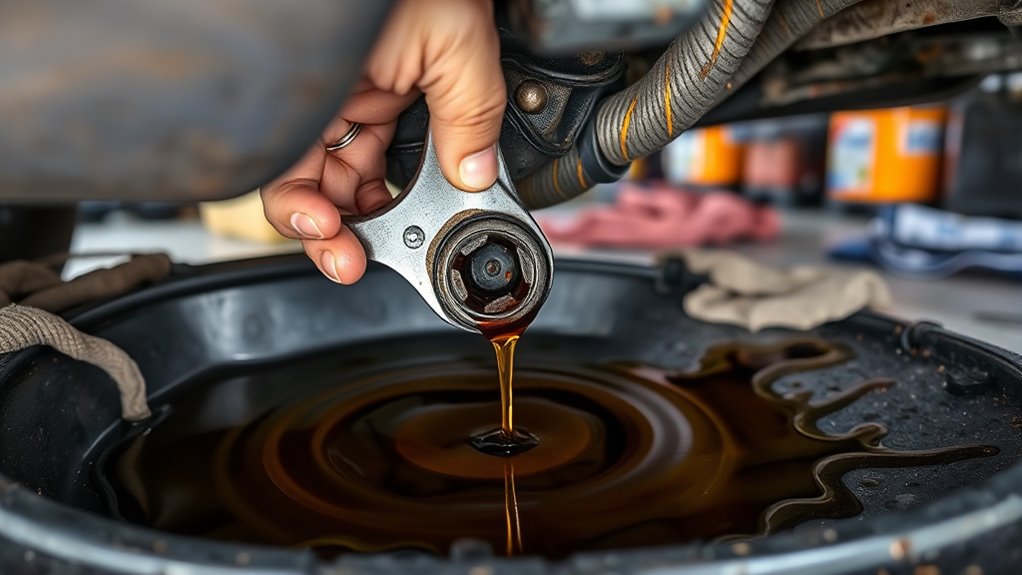
Neglecting proper drain and oil removal procedures can lead to incomplete drainage, leaving old oil and contaminants in the pan. If you don’t fully drain the oil, remnants of sludge and debris stay behind, which can degrade new oil faster and cause seal wear. Failing to warm the engine properly before draining slows the flow, trapping thick, dirty oil in the pan. Skipping the removal of the oil filler cap creates a vacuum that hampers complete drainage. Also, rushing the process or not allowing enough time for the oil to fully drain leaves residual oil that can leak out when you restart the engine. Always ensure the engine is warm, the drain plug is completely removed, and the oil is fully drained before refilling. Proper technique prevents leaks caused by leftover contaminated oil. Additionally, understanding the importance of oil flow dynamics can help you improve your draining technique for better results. Recognizing how fluid mechanics influence oil movement can lead to more effective drainage methods.
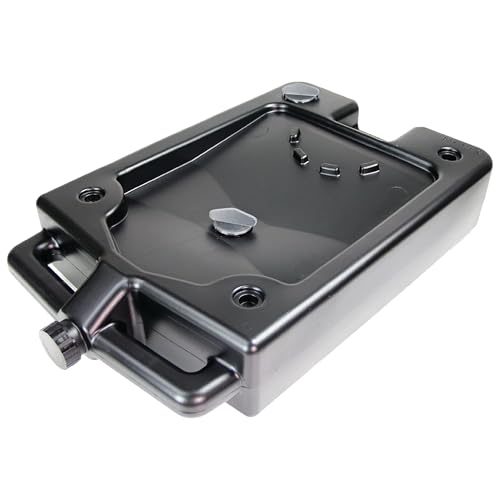
Chapin 78005 Oil Drain Pan, 12‑Quart Low‑Profile Automotive Drain Container, Recycled Polymer Construction, Large Splash‑Free Target Area & Built‑In Carry Handles for Easy Oil & Coolant Changes
Low‑clearance access: easily slide under ATVs, tractors, lawn mowers and motorcycles thanks to the low‑profile design under 5…
As an affiliate, we earn on qualifying purchases.
As an affiliate, we earn on qualifying purchases.
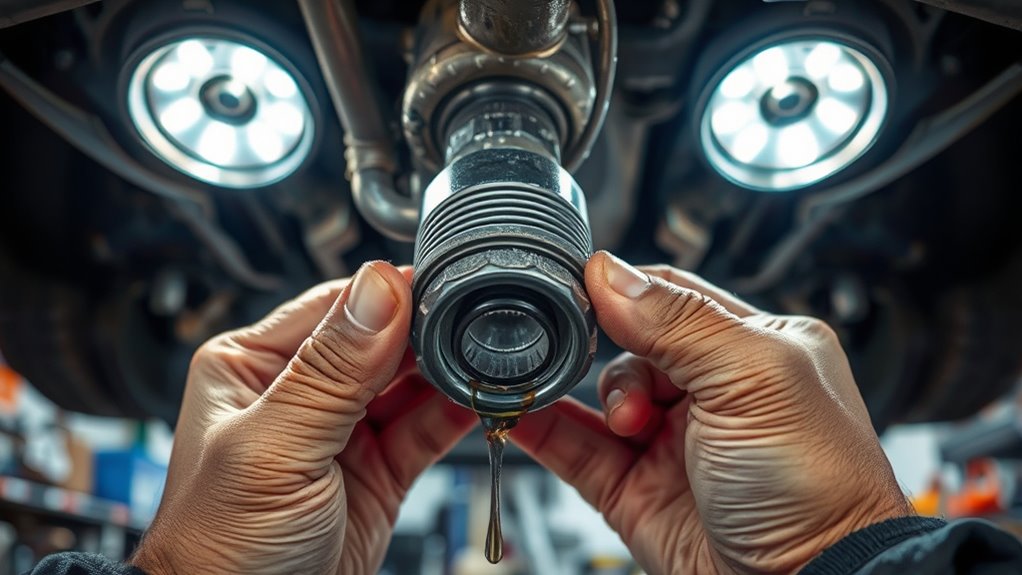
Using the Wrong or Damaged Oil Filters

Using the wrong or damaged oil filters during an oil change can lead to immediate leaks and long-term engine issues. An improperly fitted filter or one with defects prevents a proper seal, risking oil leaks right after startup. To avoid problems, consider these points:
- Use the correct filter size and gasket type specified for your vehicle.
- Ensure the filter gasket is lubricated with oil before installation to prevent sticking or deformation.
- Avoid cross-threading or installing damaged filters, which can cause persistent leaks.
- Replace old or damaged filters with high-quality, OEM, or reputable brands to guarantee proper sealing.
- Regularly verify that the filter is properly installed and check for leaks after the oil change, as proper installation practices are essential for preventing future issues.
- Being aware of common installation errors can help you identify potential problems early and maintain a leak-free system. Proper tightening and handling also ensure a secure seal that prevents future leaks.
- Failing to follow these steps can result in external leaks, contaminated oil bypassing the filter, or even engine damage over time. Proper installation is crucial to a leak-free oil change.
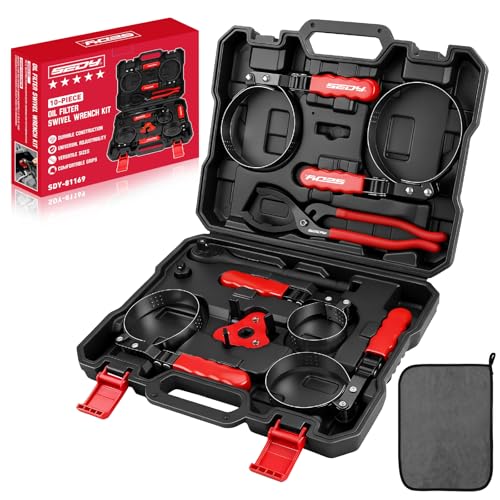
10-Piece Oil Filter Wrench Set 2-3/8"to 4-3/4", 12-Inch Adjustable Oil Filter Plier, Universal 3-Jaw Oil Filter Wrench, 1/2"Quick Release Ratchet Handle, 1/2"-3/8" Adapter, Towel in Storage Case
VERSATILE SIZES – The SEDY 10-Piece Oil Filter Wrench Set includes 5 swivel oil filter wrenches (2-3/8" to…
As an affiliate, we earn on qualifying purchases.
As an affiliate, we earn on qualifying purchases.
Overfilling or Underfilling Oil Levels

Overfilling or underfilling engine oil during a change can cause significant issues that affect your vehicle’s performance and longevity. When you overfill, excess oil creates foam and aeration, raising internal pressure and forcing oil past seals and gaskets. This can lead to leaks, blue smoke from the exhaust, and early gasket failure. Conversely, underfilling leaves insufficient lubrication, increasing engine wear and risking damage. Always check the oil level after adding oil, especially once the engine has run briefly and oil has settled. Avoid relying solely on dipstick markings; use the manufacturer’s recommended capacity and your vehicle’s specific guidelines. Properly measuring oil guarantees your engine remains properly lubricated, reducing the risk of leaks and costly repairs later. Additionally, understanding ads and SEO strategies can help you find resources for proper maintenance tips and vehicle care.
10-Piece Oil Filter Wrench Set 2-3/8"to 4-3/4", 12-Inch Adjustable Oil Filter Plier, Universal 3-Jaw Oil Filter Wrench, 1/2"Quick Release Ratchet Handle, 1/2"-3/8" Adapter, Towel in Storage Case
VERSATILE SIZES – The SEDY 10-Piece Oil Filter Wrench Set includes 5 swivel oil filter wrenches (2-3/8" to…
As an affiliate, we earn on qualifying purchases.
As an affiliate, we earn on qualifying purchases.
Overlooking Gasket and Seal Conditions

Are you inspecting the condition of your gaskets and seals during an oil change? Neglecting this step can lead to leaks and costly repairs. Check for cracks, brittleness, or deformation in valve cover gaskets, oil pan seals, and main seals. Confirm old gaskets aren’t reused, as they often degrade and cause seepage. Clean mating surfaces thoroughly to promote a proper seal. Also, inspect for signs of wear on surrounding components, like warped covers or bent flanges. Missing these details increases the risk of leaks later.
- Examine gaskets for cracks, tears, or brittleness.
- Replace old gaskets instead of reusing them.
- Clean mating surfaces before installing new seals.
- Inspect surrounding components for damage or warping.
Employing Incorrect Parts or Poor Installation Techniques
Employing incorrect parts or poor installation techniques can undermine the effectiveness of your oil change and lead to leaks or engine damage. Using low-quality or aftermarket filters with substandard gaskets increases the risk of leaks from the filter base or gasket area. Forgetting to tighten filters or drain plugs to proper torque can cause them to loosen over time, resulting in oil seepage. Installing the wrong filter size or gasket type prevents proper sealing, leading to immediate or future leaks. Skipping lubrication of new filter gaskets or failing to inspect O-rings and seals leaves weak points unaddressed. Additionally, not verifying torque specifications or neglecting post-installation checks can allow small leaks to develop into bigger problems, risking engine damage and costly repairs. Proper installation techniques and selecting the correct parts are essential for preventing leaks and ensuring long-term engine health.
Frequently Asked Questions
How Often Should I Replace My Oil Drain Plug Crush Washer?
You should replace your oil drain plug crush washer every time you change your oil. Reusing it risks improper sealing, which can cause leaks later. Crush washers are designed to deform during tightening, ensuring a proper seal. Over time, they lose their shape and effectiveness. So, make it a habit to install a new washer with each oil change to prevent leaks and guarantee a tight, secure seal.
Can Using Synthetic Oil Cause Leaks if Not Compatible?
Using incompatible synthetic oil is like fitting a puzzle piece wrong; it won’t seal properly. If the oil isn’t formulated for your engine, it may cause seals and gaskets to swell or shrink unexpectedly, leading to leaks. Always check your manufacturer’s recommendations. When you use the right synthetic oil, you guarantee a snug fit that keeps everything sealed tight, preventing leaks and protecting your engine’s health.
What Are Signs of a Over-Tightened Oil Drain Plug?
If you’ve over-tightened your oil drain plug, you’ll notice it might be difficult to loosen during your next oil change. You could also see signs of stripped threads or a cracked oil pan, which may leak oil unexpectedly. Sometimes, over-tightening warps the pan or crushes the gasket, causing seepage. Pay attention to any difficulty in removal, and inspect the plug and pan for damage to prevent costly repairs.
How Can I Tell if My Oil Filter Is Installed Correctly?
You’ll notice if your oil filter is installed correctly when there’s no seepage or drips after running your engine. Tighten it snugly by hand, then use a wrench to give it that final quarter turn—no more. Check for a proper seal by inspecting around the base; if you see oil or a leak, it’s loose or cross-threaded. A secure, even fit guarantees no oil escapes during engine operation.
Is It Necessary to Change Seals During Every Oil Change?
You don’t need to change seals during every oil change, but you should inspect them regularly. If seals are brittle, cracked, or show signs of wear, replace them to prevent leaks. Reusing old seals can cause future problems, so it’s best to replace them when you notice damage or during major repairs. Proper inspection and timely replacement ensure your engine stays sealed tight and avoids costly leaks down the road.
Conclusion
To avoid costly leaks down the road, always follow proper oil change procedures, use quality parts, and double-check gasket conditions. Did you know that nearly 70% of oil leaks are caused by simple mistakes during oil changes? By paying attention to these details, you can prevent leaks, protect your engine, and save money in the long run. Don’t rush—your engine will thank you for it!