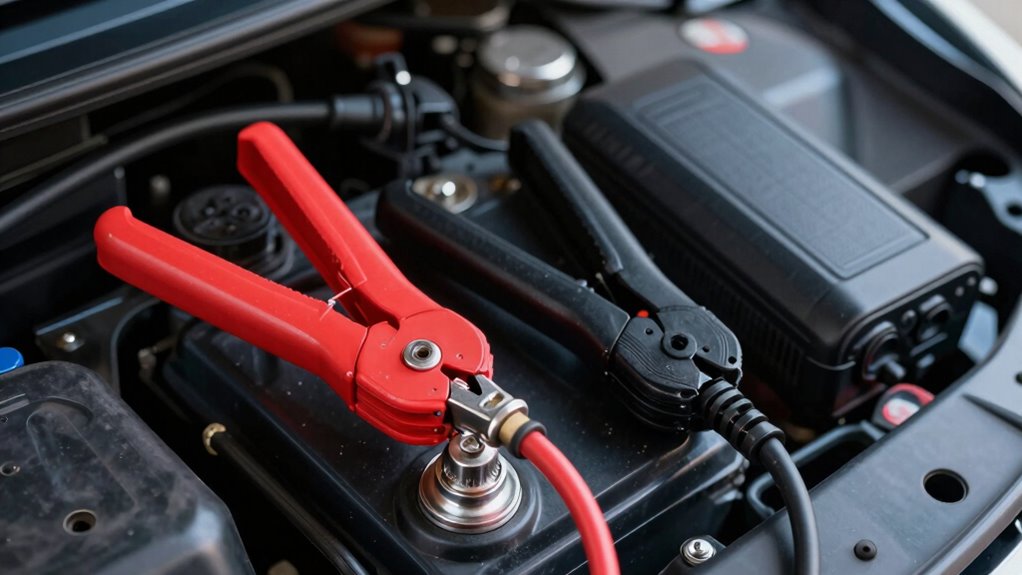
To avoid frying your electronics during jump-starts, you need to follow the proper connection and disconnection order. First, connect the red clamp to the dead battery’s positive terminal, then attach the other red clamp to the donor’s positive. Next, connect the black clamp to the donor’s negative terminal, and finally, attach the last black clamp to an unpainted metal surface on the dead vehicle. When disconnecting, reverse the order carefully. Continuing with these steps helps prevent costly damage—more essential details follow.
Key Takeaways
- Connect positive (red) clamp to the dead battery’s positive terminal first.
- Attach the negative (black) clamp to a grounded, unpainted metal surface on the vehicle, not the battery.
- Connect the other negative clamp to the donor vehicle’s negative terminal.
- Turn on the jump starter or donor vehicle before starting the dead vehicle.
- Remove clamps in reverse order: negative ground first, then negative terminal, then positive.
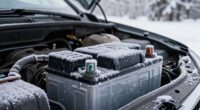
Understanding the Risks of Improper Jump-Starting

Improper jump-starting can cause serious damage to your vehicle’s electrical system or even pose safety hazards. If you connect the cables in the wrong order, you risk creating sparks, short circuits, or reverse polarity that can fry sensitive electronic modules, including the ECU. This can lead to costly repairs or total vehicle failure. Incorrect connections may also ignite hydrogen gas emitted from the battery, causing dangerous explosions. Additionally, reversing the sequence can produce high current spikes, damaging wiring harnesses and sensors. Sparks near the battery increase the chances of igniting flammable gases, risking fire or injury. Even small mistakes, like touching clamps together, can cause arcs, heat buildup, and permanent damage. Following the proper procedure is vital to protect your vehicle’s electronics and ensure your safety. Properly managing the electrical flow can significantly reduce the risk of damage and hazards during jump-starting. To prevent these issues, understanding the order of connections and how each step impacts the overall process is essential. Using knowledge of the market can help you choose the safest and most reliable jump-starting practices. Incorporating smart safety features, such as automatic shutoff or voltage regulation, can further enhance your safety during this process. Familiarity with navigation and mapping of your vehicle’s electrical system can also aid in avoiding common mistakes.
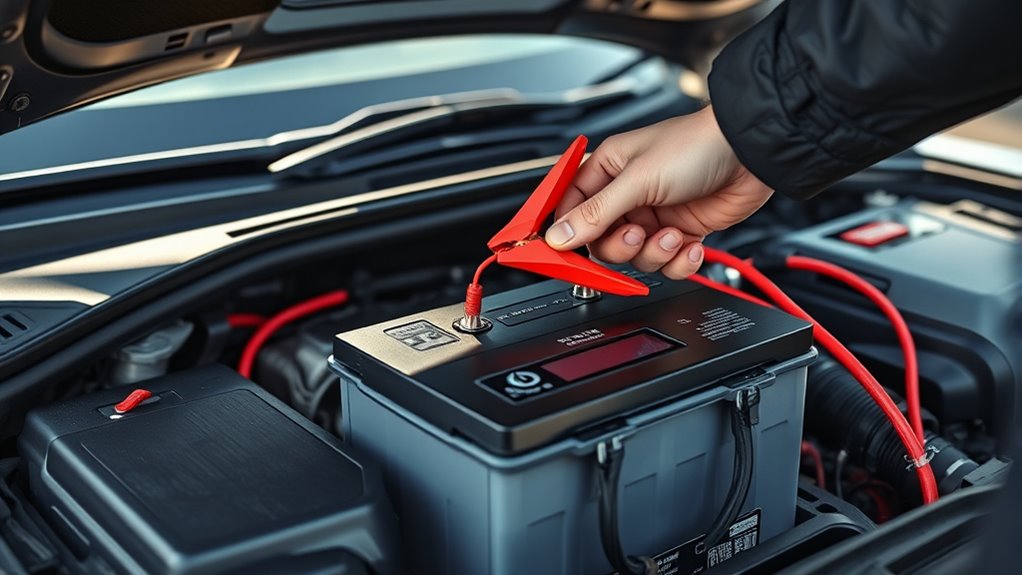
The Correct Sequence for Traditional Jumper Cables

To safely jump-start a vehicle using traditional jumper cables, you need to follow a specific connection sequence that minimizes the risk of sparks, shorts, and damage to your vehicle’s electronics. First, connect the positive (red) clamp to the dead battery’s positive terminal. Then, attach the other positive clamp to the donor vehicle’s positive terminal. Next, connect the donor vehicle’s negative (black) clamp to its negative terminal. Finally, attach the last clamp to an unpainted metal surface on the dead vehicle’s chassis or engine block, away from the battery. When removing the cables, disconnect in reverse order: chassis ground first, then the donor negative, and finally both positive clamps. This sequence reduces spark risks, prevents short circuits, and protects sensitive electronics during the jump-start process.
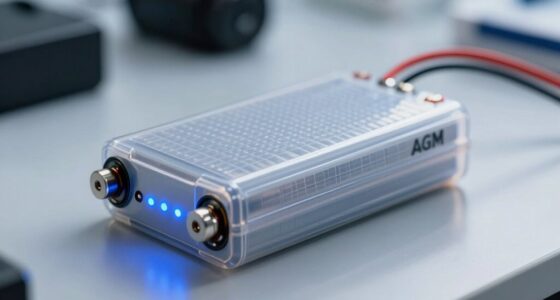
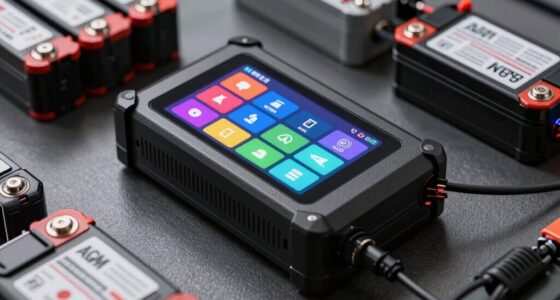
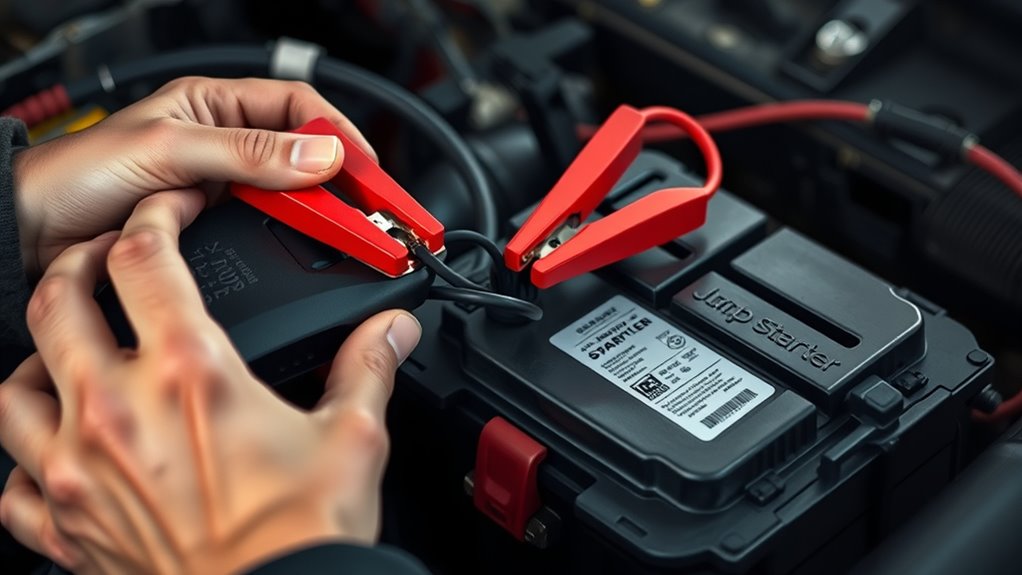
Safe Practices With Portable Jump Starters and Booster Packs
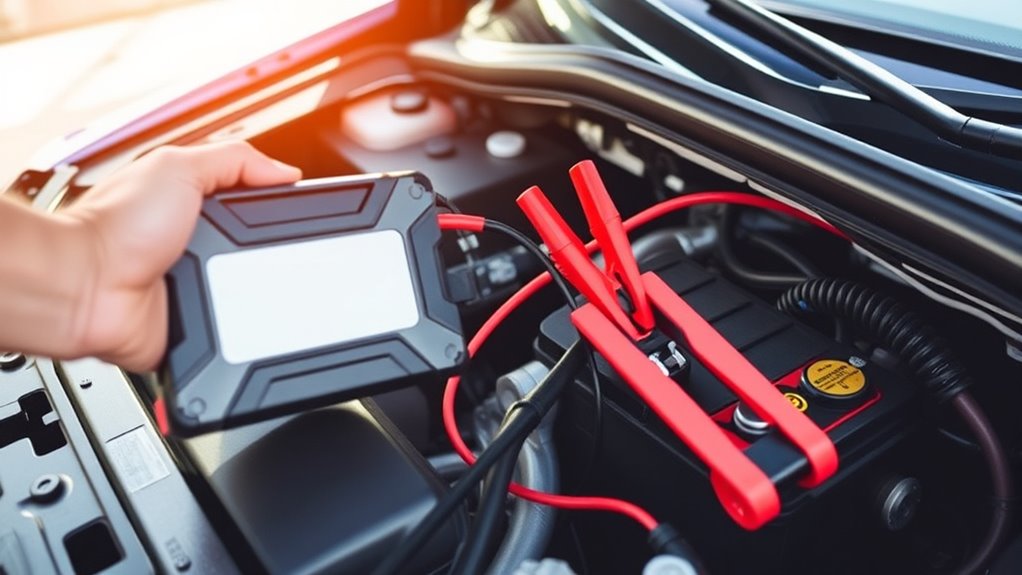
Using a portable jump starter or booster pack can be a safer alternative to traditional jumper cables, but it requires careful attention to the correct connection procedures. First, verify the device is turned off before making any connections to prevent sparks or damage. Attach the red (positive) clamp to the dead battery’s positive terminal, then connect the black (negative) clamp to a solid, unpainted metal grounding point away from the battery. Once clamps are secure, turn on the jump starter. Start your vehicle, then turn off the booster pack and disconnect clamps in the proper order: negative grounding point first, then the positive terminal. Always follow the manufacturer’s instructions and safety indicators, and avoid touching clamps together during the process to prevent short circuits or sparks. Proper connection order is essential to prevent electrical damage and ensure safety during jump-starting. Properly checking the device before use can help prevent mishaps and ensure the process goes smoothly. Remember that understanding the correct connection order is crucial for safe and effective use of portable jump starters. Ensuring all connections are secure and correct helps prevent accidental electrical damage and potential injuries. Additionally, inspecting the jump starter’s safety features can provide extra protection during operation.
Special Considerations for Modern Vehicles and Electronics
Modern vehicles rely heavily on electronic modules and sensitive components that can easily be damaged by careless jump-start procedures. To protect your electronics, always consult your owner’s manual for manufacturer-specific guidance and preferred jump-start points. Many modern cars feature dedicated remote terminals or jump studs designed to isolate jump current from delicate modules—use these whenever available. Avoid connecting directly to the battery if advised against it, and never use high-voltage or unprotected jump starters on hybrid or electric vehicles without professional help. Using an intelligent booster pack with built-in protections minimizes the risk of reverse polarity, overcharge, or short circuits. After starting the engine, let it run to stabilize the electronics before driving, and monitor warning lights for any irregularities. Additionally, understanding wiring basics can help ensure you connect safely and correctly during the process, especially since modern electrical systems often include complex fusing and relay configurations that are critical for safety.
Post-Start Checks to Protect Your Vehicle’s Electronics
After successfully starting your vehicle, it’s essential to perform post-start checks to make certain your electronics remain safe. First, remove the jumper or booster clamps in the correct order—ground first, then negatives, followed by positives—to prevent sparks. Next, let your engine run or drive for a few minutes to recharge the battery and stabilize electrical systems. Check your dashboard for warning lights or irregularities, and verify that all electronics—radio, lights, sensors—operate normally. If any warning persists, shut down and seek professional diagnostics. Use the table below as a quick reference:
| Step | Action | Purpose |
|---|---|---|
| Remove clamps | In reverse connection order | Prevent arcing and surges |
| Idle or drive | 3-5 minutes | Recharge battery, stabilize systems |
| Check electronics | Observe warning lights, operation | Ensure no latent damage |
| Seek diagnostics | Persistent issues | Prevent long-term damage |
Additionally, understanding the proper connection order can significantly reduce the risk of electrical damage during jump-starting. Proper adherence to recommended procedures also helps avoid electrical surges that could harm sensitive electronics. It’s also helpful to consult your vehicle’s owner’s manual for specific guidance tailored to your make and model. Knowing the load calculations involved in jump-starting can further enhance safety and prevent accidental overloads. Being aware of voltage stability during the process ensures your vehicle’s electrical system remains protected.
Frequently Asked Questions
Can I Jump-Start My Electric or Hybrid Vehicle Safely?
You generally can’t safely jump-start your electric or hybrid vehicle unless the manufacturer explicitly approves it. Many hybrids and EVs prohibit conventional jump-starting because it can damage sensitive electronics or battery systems. Always consult your owner’s manual or contact the manufacturer before attempting any jump-start procedure. If unsure, seek professional roadside assistance to avoid risking costly repairs or voiding your vehicle warranty.
What Should I Do if My Vehicle’s Warning Lights Stay on After Jump-Starting?
If your warning lights stay on after jump-starting, you should turn off the engine and check your vehicle’s manual for specific troubleshooting steps. Avoid driving until a professional inspects the vehicle, as lingering warning lights can indicate electronic system issues or faulty sensors. Schedule a diagnostic scan promptly to identify and resolve any underlying problems, preventing potential damage to your vehicle’s electronic modules and ensuring safe, reliable operation.
Are There Specific Cables or Clamps Recommended for Modern Vehicles?
For modern vehicles, you should use high-quality, heavy-duty cables with thick, well-insulated clamps designed for electronics safety. Look for cables with built-in protections like reverse polarity and overcurrent safeguards. Use clamps that securely grip terminals to prevent arcing, and avoid cheap or worn-out cables that may cause sparks or poor connections. Always follow manufacturer recommendations and verify the clamps are compatible with your vehicle’s battery terminals for safe, effective jump-starting.
How Do I Know if My Battery Is Too Damaged to Jump-Start?
You can tell if your battery is too damaged to jump-start if it’s cracked, leaking, or frozen, which means it needs professional attention. Also, if the battery shows corrosion, a foul smell, or if your vehicle still won’t start after a proper jump, it’s likely beyond rescue. In such cases, replacing the battery is safer than risking further damage or attempting multiple jump-starts.
Is It Safe to Jump-Start a Vehicle Indoors or in Enclosed Spaces?
Jump-starting indoors might seem convenient, but it’s risky because of potential hydrogen gas buildup from the battery, which can ignite with a spark. You’re safer outside in a well-ventilated area, where fumes dissipate quickly. Sparks near a battery vent increase explosion risk, so always prioritize proper outdoor setup. Keep cell phones and electronics away to avoid ignition sources, and follow safety guidelines to protect yourself and your vehicle.
Conclusion
Now that you know the right steps, why risk damaging your vehicle’s electronics with careless jump-starting? By following the correct sequence and safety tips, you can start your car confidently without frying sensitive components. Are you ready to jump-start smarter, not harder? Remember, taking a little extra time to do it right protects your investment and keeps you on the road longer. Safe jumping!