
By performing a 30-second load test on your vehicle’s battery, you can predict if it might fail to start tomorrow. During the test, apply a load that matches 50-100% of the CCA rating while monitoring voltage. If it dips below about 9.6 volts quickly, your battery likely has internal resistance or capacity issues that threaten a no-start condition. To guarantee reliable vehicle starts, understanding these testing steps and thresholds is essential—keep going to get the full picture.
Key Takeaways
- During the 30-second load test, a voltage below 9.6 V indicates a high risk of no-start conditions the next day.
- Ensuring the battery is fully rested and free of surface charge is essential for accurate load testing results.
- Applying a load of 50-100% CCA for 15-30 seconds helps predict imminent starting failures.
- A significant voltage drop during the test reveals internal resistance issues that can cause no-start scenarios.
- Consistently low load voltage readings signal the need for battery replacement before a failure occurs.
Understanding Resting Voltage and Its Significance

Understanding resting voltage is crucial because it provides a reliable snapshot of a battery’s state of charge (SOC) at rest, without the influence of recent use or charging activity. When you measure voltage with the vehicle off and no accessories running, you get an accurate baseline of the battery’s true condition. A fully charged lead-acid battery should read around 12.7 volts; lower readings indicate partial or full discharge. If the resting voltage drops below 12.4 volts, it signals the battery isn’t fully charged and may struggle to start your vehicle. Monitoring this voltage helps you identify weak batteries before they cause starting problems. Regular checks ensure you catch declining battery health early, reducing the risk of unexpected no-starts and avoiding roadside failures. Additionally, understanding the resting voltage can help you evaluate the overall health of your home theater projector’s power supply system, ensuring consistent performance. Keep in mind that a battery’s internal resistance also increases as it ages, which can impact its ability to deliver sufficient power even if the resting voltage seems adequate. In some cases, a voltage test can be complemented by other diagnostic measures to more accurately assess battery health.
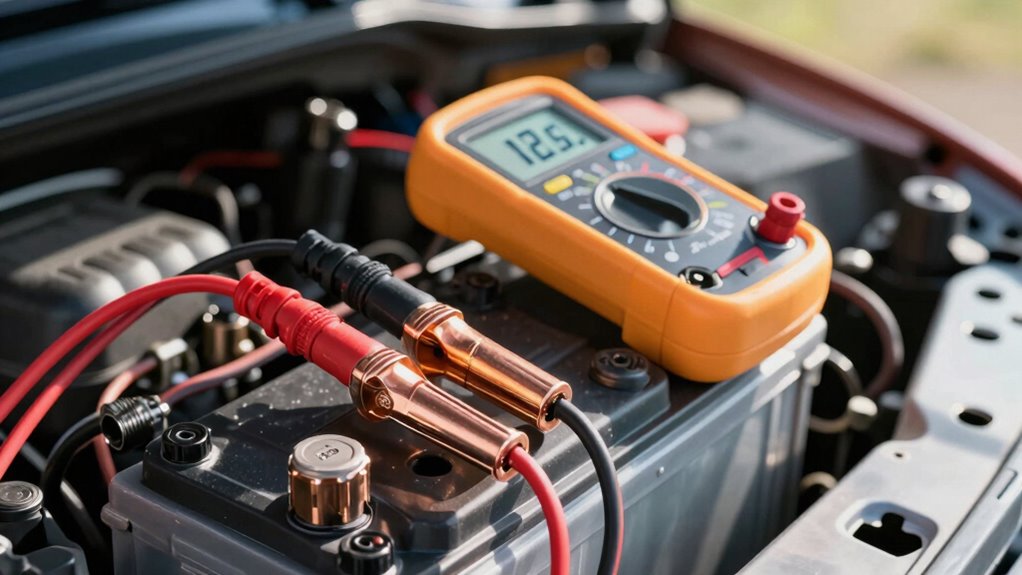
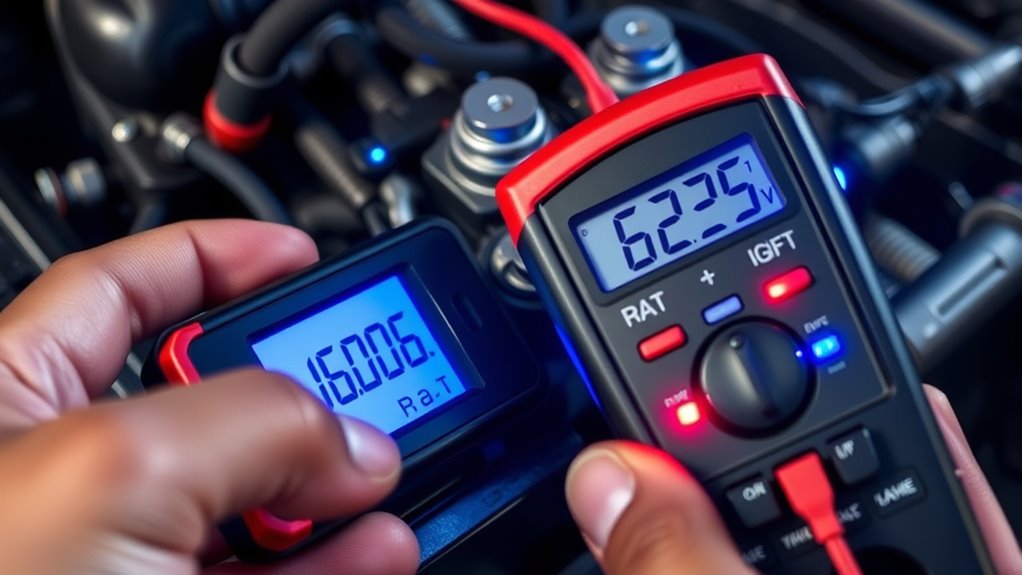
Performing the 30-Second Load Test Correctly

To perform the 30-second load test accurately, start by ensuring the battery is at rest and has a stable voltage reading. Remove any surface charge by turning on headlights for about two minutes or waiting 30 minutes after charging. Set your multimeter to DC volts on the 20 V range, and confirm leads are on the correct terminals. Apply a load equivalent to roughly 50% of the battery’s CCA for 15 seconds or up to 100% CCA for 30 seconds using a carbon-pile tester or starter. Watch the voltage during the test, noting the lowest point. The goal is to keep voltage above ~9.6 V. If it drops appreciably below this, the battery may fail to start reliably the next day, signaling a need for recharge or replacement. Additionally, understanding the battery’s health can help prevent unexpected failures and ensure reliable operation.
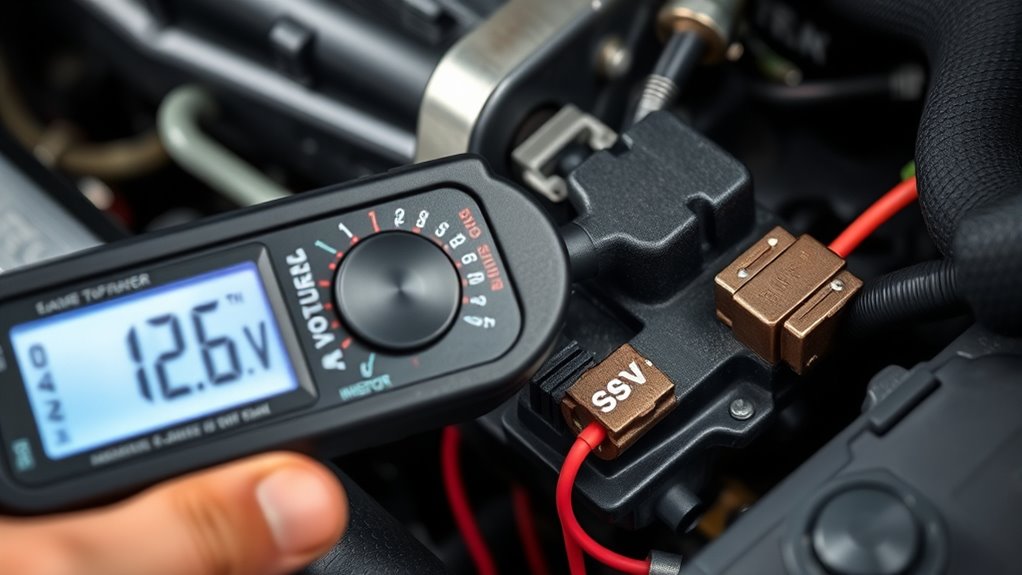
Key Voltage Thresholds for Predicting No-Start Conditions

Understanding key voltage thresholds helps you predict no-start conditions more accurately. Resting-voltage benchmarks indicate the battery’s overall charge, while load-voltage thresholds reveal how well it can handle starting demands. Monitoring these values guarantees you identify weak batteries before they fail unexpectedly. Recognizing battery performance factors can further improve your ability to diagnose issues early. Additionally, being aware of thermal behavior during testing can help interpret voltage readings more precisely under different conditions. Considering test conditions is also crucial, as environmental factors can influence voltage measurements and lead to more accurate diagnostics. Being mindful of cookie impact can also enhance your understanding of how background data collection may influence your diagnostic process. Incorporating thermal effects into your analysis can help account for temperature-related voltage variations, leading to more reliable assessments.
Resting-Voltage Benchmarks
Resting-voltage benchmarks serve as critical indicators of a battery’s health and its likelihood to start reliably the next day. If your battery measures around 12.7 V, it’s fully charged and in good shape. A reading near 12.4 V suggests roughly 75% state of charge, meaning it’s still usable but needs attention soon. When the voltage drops to approximately 12.1 V, the battery is about 50% charged, increasing the risk of starting issues. Below 11.6 V indicates the battery is discharged and unlikely to start without charging. Regularly monitoring battery voltage thresholds can help prevent unexpected no-start scenarios. Understanding these resting-voltage benchmarks allows for proactive maintenance and can save you from inconvenient breakdowns.
Load-Voltage Thresholds
During a 30-second load test, maintaining voltage above specific thresholds is crucial for predicting if a battery will start reliably the next day. Under typical starter load conditions, a healthy 12 V lead-acid battery should stay above approximately 9.6 V during the test. If the voltage drops below this point, it indicates insufficient capacity or internal resistance issues, increasing the risk of a no-start. When applying a full-CCA load, expect the voltage not to fall below around 7.2 V; failing this suggests the battery may need replacement. A rapid voltage drop below 9.6 V during the test signals a high probability of starting failure. Persistent low readings, both at rest and under load, strongly predict a no-start condition unless the battery is recharged or replaced. Understanding voltage thresholds is essential for interpreting test results accurately, especially when considering battery performance metrics during diagnostics. Recognizing these voltage thresholds can help prevent unexpected vehicle failures and guide timely maintenance decisions. Additionally, regularly performing such tests can help identify early signs of battery degradation before a complete failure occurs, which can be further supported by proper battery maintenance practices.
Interpreting Results: When to Be Concerned

Knowing when to be concerned about your battery’s health hinges on interpreting the voltage test results accurately. If your resting voltage is below 12.4 V, your battery may be undercharged, increasing the risk of failure. During the 30-second load test, a voltage dropping below 9.6 V signals poor load response, indicating internal issues. Additionally, if the minimum voltage during the test falls below 7.2 V under full load, it strongly suggests imminent no-start conditions. Keep an eye on these key thresholds: 1. Resting voltage <12.4 V signals reduced charge and possible trouble. 2. Load voltage <9.6 V during testing indicates poor capacity. 3. Voltage <7.2 V under full load predicts a high likelihood of failure. Regularly monitoring and maintaining the battery can help prevent unexpected breakdowns, especially if you perform routine checks to catch issues early. Understanding battery capacity and how it declines over time can also help you plan replacements before failure occurs. Recognizing battery aging trends can enable proactive maintenance and extend your battery’s lifespan. A comprehensive approach, including smart monitoring tools, can provide real-time insights and alerts to keep your vehicle reliably powered. Respond promptly to these signs: recharge, retest, or replace to prevent unexpected breakdowns.
Common Causes of Poor Load Response
Poor load response often signals underlying issues that go beyond simple charge levels. When your battery’s voltage drops sharply during a load test, it indicates internal problems. Common causes include sulfated or aged plates reducing capacity and internal conductance. Corrosion, loose terminals, or degraded connections increase internal resistance, causing voltage collapse under load. Insufficient charging from parasitic draw or a faulty alternator can leave the battery undercharged before testing. Cold temperatures also worsen performance by lowering effective CCA, leading to rapid voltage drops. Inside the battery, a weak or failing cell can disproportionately sag under load, signaling imminent failure. Recognizing these causes helps you target repairs or replacements before a no-start situation occurs. Internal resistance can sometimes be a comforting and energizing start to your day when diagnosing vehicle issues. Additionally, battery age often correlates with increased internal resistance, further impacting load response. Regularly monitoring battery health can provide early warnings before failure.
Practical Steps for Fleet and Maintenance Managers
Implementing regular 30-second load voltage tests is essential for proactive fleet management. It helps you identify weak batteries before they cause no-start issues. To maximize effectiveness:
- Schedule tests during pre-shift or post-park routines to catch early signs of failure.
- Prioritize batteries with resting voltages below 12.4 V or load-minimums under 9.6 V for immediate charging or replacement.
- Track battery age, CCA ratings, and test results over time to establish maintenance trends and plan replacements proactively.
Safety Considerations and Test Limitations
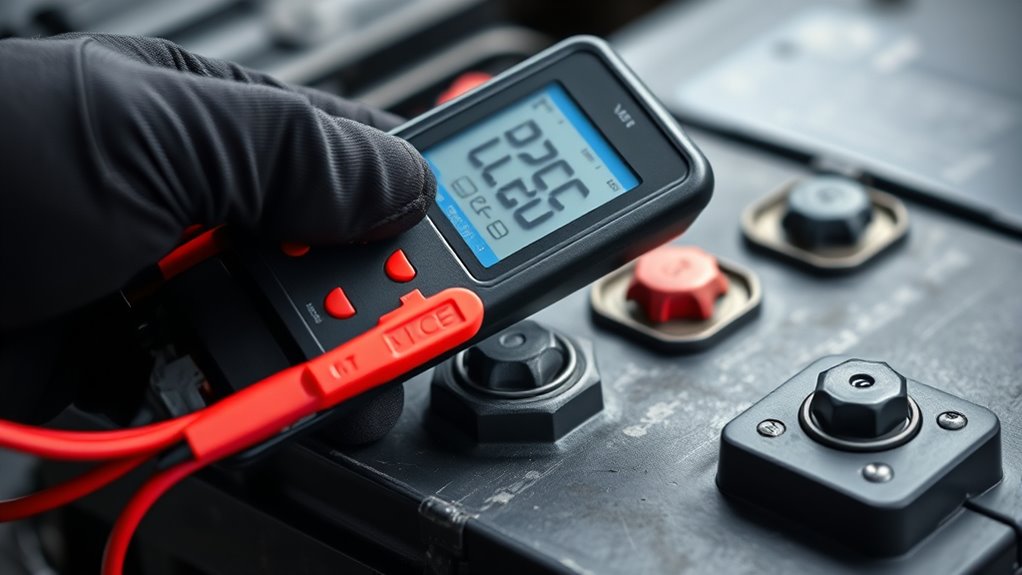
You need to follow proper safety precautions, like wearing eye protection and avoiding sparks near the battery, to prevent accidents. Keep in mind that test results can be affected by environmental factors such as temperature or recent charging, which may lead to misinterpretation. Always interpret your readings carefully and consider additional tests to confirm battery health, especially when results are borderline.
Battery Safety Precautions
Conducting battery safety precautions is essential to prevent injury and guarantee accurate test results. First, always wear eye protection and gloves to guard against acid splashes or sparks. Second, avoid sparks or open flames near the battery, especially during testing, as batteries emit explosive gases. Third, ensure the vehicle is off, with keys removed, and disconnect any accessories to prevent electrical shorts or shocks. Additionally, handle testing equipment carefully—inspect leads and connections for damage before use. Remember, high loads generate heat and sparks, so stay alert. Never test a battery that appears damaged or leaks. Following these precautions minimizes risks, ensures safety, and provides reliable results, helping you accurately assess battery health without injury.
Test Environment Limitations
Test environment limitations can considerably impact the accuracy and safety of battery voltage testing. High ambient temperatures can cause batteries to appear healthier than they are, leading to false confidence, while cold temperatures can exaggerate voltage drops during testing. Poor lighting or cluttered work areas increase the risk of mishandling tools or misreading measurements, risking sparks or damage. Vibration or movement during testing can disrupt connections, producing unreliable results. Inconsistent test conditions—such as testing immediately after charging or under heavy parasitic draw—can skew readings. Additionally, conducting tests in confined or poorly ventilated spaces may expose you to hazardous fumes if a battery is damaged. Always control environment conditions as much as possible and follow safety protocols to guarantee both accurate results and your safety.
Interpreting Results Safely
Interpreting battery voltage results requires careful attention to safety considerations and understanding the limitations of the testing process. You must avoid potential hazards and guarantee accurate readings. Here are three key points:
- Always wear eye protection and avoid sparks or flames near the battery to prevent explosions from flammable gases.
- Do not rely on a single reading—recharge and retest if the voltage is borderline to confirm battery health.
- Control testing conditions by ensuring the vehicle and battery are at a stable temperature and free from parasitic loads, as these can skew results.
Enhancing Battery Health Monitoring With the 30-Second Test

Enhancing battery health monitoring with the 30-second test offers a practical way to identify weak batteries before they fail unexpectedly. By regularly performing this quick check, you can catch signs of declining capacity early, especially in fleet or high-use vehicles. Incorporate resting-voltage measurements to gauge the battery’s state of charge, and use the load test to simulate real starting conditions. Tracking minimum voltage during the load provides a clear indicator of potential no-start issues. Combining these results with age, CCA ratings, and maintenance history helps create an all-encompassing battery health profile. This proactive approach allows you to schedule timely recharges, replacements, or further diagnostics, reducing downtime and preventing unexpected failures. Ultimately, it empowers you to make informed decisions that enhance reliability and safety.
Frequently Asked Questions
Can the 30-Second Voltage Test Replace Professional Battery Analysis?
Think of the 30-second voltage test as your vehicle’s early warning siren. While it provides quick, valuable insights into battery health, it can’t replace professional analysis entirely. This test highlights potential issues but lacks the precision of specialized tools like conductance testers or load testers. For accurate diagnosis and long-term reliability, combine it with professional checks—it’s the best way to truly safeguard your vehicle’s start every day.
How Does Temperature Affect the Accuracy of the Load-Voltage Reading?
Temperature markedly impacts the accuracy of load-voltage readings. Cold weather causes internal resistance to rise, leading to more voltage drop under load, which can falsely suggest a weak battery. Conversely, in hot conditions, internal resistance lowers, possibly masking battery issues. To improve accuracy, perform tests in stable temperatures, or account for temperature effects when interpreting results, especially during extreme weather, to avoid misdiagnosis of battery health.
What Should I Do if the Battery Fails the Test but Appears Fine Visually?
When your battery looks fine but fails the test, don’t throw in the towel just yet. You should recharge it fully and then retake the test to see if the issue persists. Check for loose terminals, corrosion, or damaged cables that might cause false readings. If it still fails after recharging and cleaning, consider replacing it. Sometimes appearances can be deceiving, so trust the numbers over looks.
Is the Test Suitable for AGM or Lithium-Ion Batteries?
The test isn’t ideal for AGM or lithium-ion batteries. AGM batteries have different voltage thresholds and internal resistance characteristics, while lithium-ion batteries behave differently under load and have unique charging needs. Applying a standard 30-second voltage test could give false readings or be misleading. For these types, use manufacturer-specific testing methods like conductance testers or specialized load tests to accurately assess their health and predict starting issues.
How Often Should I Perform This Test for Fleet Management?
An ounce of prevention is worth a pound of cure. You should perform this test weekly or before each shift to catch issues early. Regular monitoring helps identify weak batteries before they fail, saving time and avoiding downtime. Pay extra attention to aging or marginal batteries, especially during extreme weather. Consistent testing guarantees your fleet runs smoothly, and you catch problems before they turn into costly breakdowns or unscheduled repairs.
Conclusion
By mastering this quick 30-second test, you can spot dead batteries before they leave your fleet stranded in the middle of nowhere. Think of it as your secret weapon against unexpected no-starts—saving you time, money, and headaches. Don’t wait for disaster to strike; a simple voltage check can be your first line of defense. Trust me, your future self will thank you for catching a potential breakdown before it happens—like catching a thief before they strike!