
To prevent scratches during installs, use high-quality painter’s tape designed for delicate surfaces. Apply it gently, pressing firmly without stretching, and work slowly to avoid gaps or bubbles. When removing, peel back at a 45-degree angle and warm the tape with a hairdryer if it resists. Make sure the paint is fully cured, typically after 24 hours. Keep these tips in mind, and you’ll protect your fresh paint effectively throughout your project.

Get business pricing on garage and car supplies
- Business-only prices and quantity discounts
- Tax-exempt purchasing
- Multiple users, one account, clear invoices
Key Takeaways
- Use high-quality painter’s tape designed for delicate surfaces to prevent paint damage during installation.
- Apply tape gently, pressing firmly without stretching, to ensure a secure seal without damaging the paint.
- Remove tape slowly at a 45-degree angle once paint is fully cured to avoid peeling or scratches.
- Warm the tape with a hairdryer if resistance occurs to soften adhesive and facilitate safe removal.
- Lift tape gradually around edges and corners, avoiding jerks or pulling, to maintain a pristine painted surface.
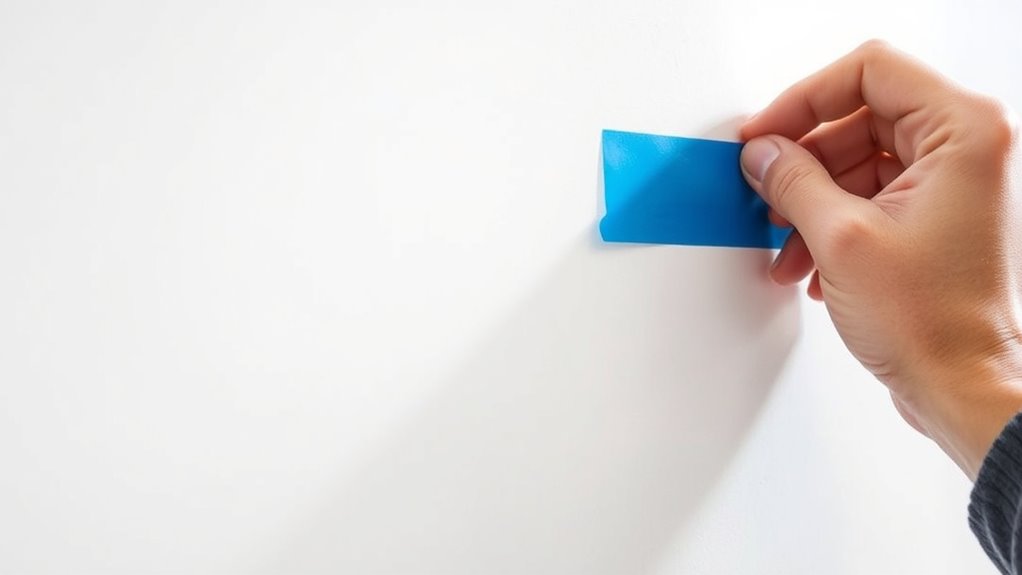
When installing new fixtures or performing renovations, protecting your painted surfaces is essential to avoid costly damage. One of the most effective ways to do this is by using painter’s tape correctly. But beyond just sticking tape on the wall, understanding proper brush techniques and tape removal strategies can make all the difference in keeping your paint pristine. When you approach tape application with care, you minimize the risk of peeling or scratching your paint during the process.
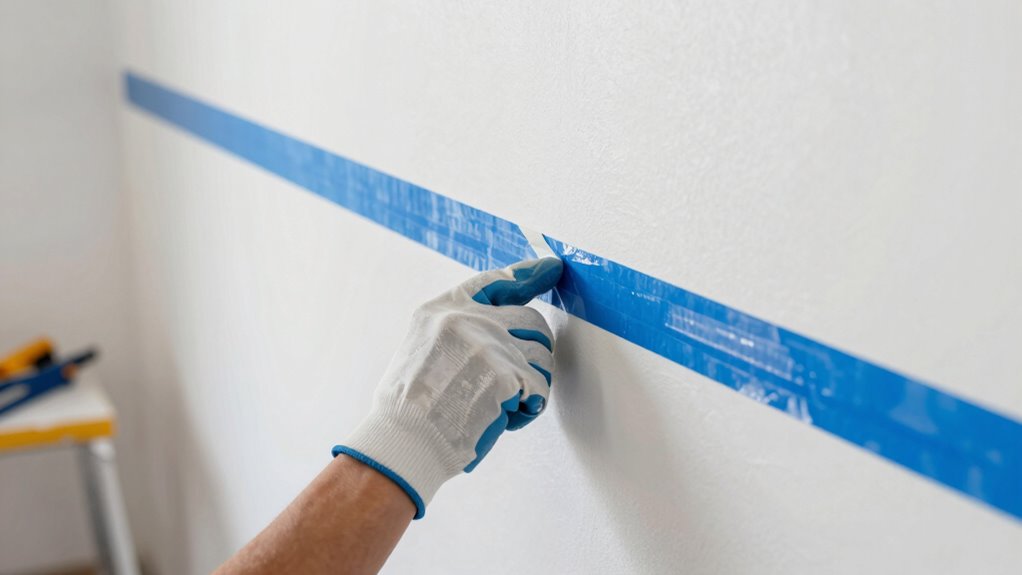
Start by choosing quality painter’s tape designed for delicate surfaces. When applying it, use gentle brush techniques—press the tape down firmly along the edges but avoid stretching or pulling it tight. This prevents unnecessary tension that can cause the tape to lift paint or leave adhesive residue behind. As you lay the tape, work slowly, ensuring it’s straight and adheres smoothly without gaps or bubbles. A steady hand combined with light pressure helps create a secure seal, protecting the underlying paint from accidental scratches or splatters during fixtures installation.
Choose high-quality painter’s tape and apply gently for clean, damage-free results.
Once your work is complete, the way you remove the tape is just as important as how you put it on. Implementing effective tape removal strategies reduces the chance of damaging fresh paint. The key is to peel the tape back slowly and at a 45-degree angle rather than ripping it straight off. This gentle removal prevents unnecessary stress on the paint surface and keeps edges neat. If you notice any resistance, pause and warm the tape slightly with your fingers or a hairdryer. The heat softens the adhesive, making it easier to peel away without pulling up paint.
Timing also matters. Remove the tape when the paint is fully cured, which typically means waiting at least 24 hours after painting or finishing your project. Doing so ensures the paint has hardened enough to withstand removal without peeling. If you’re working around intricate edges or corners, take extra care to lift the tape gradually, avoiding sudden jerks. This approach preserves the integrity of your painted surfaces and keeps your walls looking freshly finished.
high-quality painter's tape for delicate surfaces
As an affiliate, we earn on qualifying purchases.
As an affiliate, we earn on qualifying purchases.
Frequently Asked Questions
What Types of Tape Are Safest for Delicate Wall Finishes?
You should use painter’s tape with low adhesive strength for delicate wall finishes. This type of tape sticks securely without damaging the paint or finish when you remove it. Look for painter’s tape specifically designed for sensitive surfaces, as it has gentle adhesive properties. Avoid strong adhesive tapes, which can peel or chip paint. Always test a small area first to ensure the tape won’t harm your delicate wall finish.
How Long Can Tape Remain on Freshly Painted Surfaces Without Damage?
You should remove tape from freshly painted surfaces within 24 to 48 hours to prevent damage. Leaving tape on too long can weaken paint adhesion and leave stubborn tape residue, which is difficult to clean and may cause peeling. For best results, check your paint’s drying time and carefully peel the tape at a 45-degree angle. This minimizes the risk of damaging the finish or leaving unwanted residue behind.
Can Tape Damage Paint When Removed Prematurely?
Yes, removing tape prematurely can cause damage to your paint. If you peel it off too early, you risk leaving behind tape residue or even causing paint peeling. To prevent this, wait until the paint is fully cured before removing the tape, and do so gently at a 45-degree angle. This helps avoid damaging the fresh paint surface and keeps your walls looking flawless.
Are There Eco-Friendly Tape Options for Protecting Paint?
Yes, you can find eco-friendly tape options for protecting paint. Look for tapes with biodegradable adhesives that break down naturally, reducing environmental impact. Natural fiber tapes, made from materials like jute or hemp, are also great choices—they’re durable and biodegradable. These options help you protect your paint effectively while staying environmentally conscious, ensuring your project is both safe for your walls and gentle on the planet.
How Do Temperature and Humidity Affect Tape Adhesion and Removal?
Temperature effects and humidity impact tape adhesion and removal markedly. When it’s too hot, tape sticks strongly, making removal tricky and risking paint damage. Cold temperatures weaken adhesion, causing tape to peel prematurely. High humidity can reduce tape stickiness, leading to poor protection or easier removal. To get the best results, apply tape in moderate temperature and humidity conditions, and wait for surfaces to dry thoroughly before taping.
paint protection tape for wall installation
As an affiliate, we earn on qualifying purchases.
As an affiliate, we earn on qualifying purchases.
Conclusion
By using simple tape tricks, you’re not just protecting paint—you’re guarding your masterpiece from unwanted scars. Think of these methods as your secret armor, turning potential mishaps into mere memories. Remember, a little tape now saves a lot of repainting later. So, stay vigilant and keep your walls pristine—because, in the end, your space deserves nothing less than perfection. After all, isn’t a flawless finish worth the extra step?
removable painter's tape for fresh paint
As an affiliate, we earn on qualifying purchases.
As an affiliate, we earn on qualifying purchases.
heat-resistant painter's tape for removal
As an affiliate, we earn on qualifying purchases.
As an affiliate, we earn on qualifying purchases.
Fall Picks
fall essentials
As an affiliate, we earn on qualifying purchases.