
To safely crack stubborn bolts with a breaker bar, start by inspecting the fastener and your tools for damage or corrosion. Use penetrating oil and let it soak. Position yourself with feet shoulder-width apart, keep both hands on the bar, and apply slow, steady pressure—avoid jerking. Make certain PPE is used, and consider mechanical aids if needed. For more trusted techniques and safety tips, continue exploring effective strategies to prevent damage and injury.
Key Takeaways
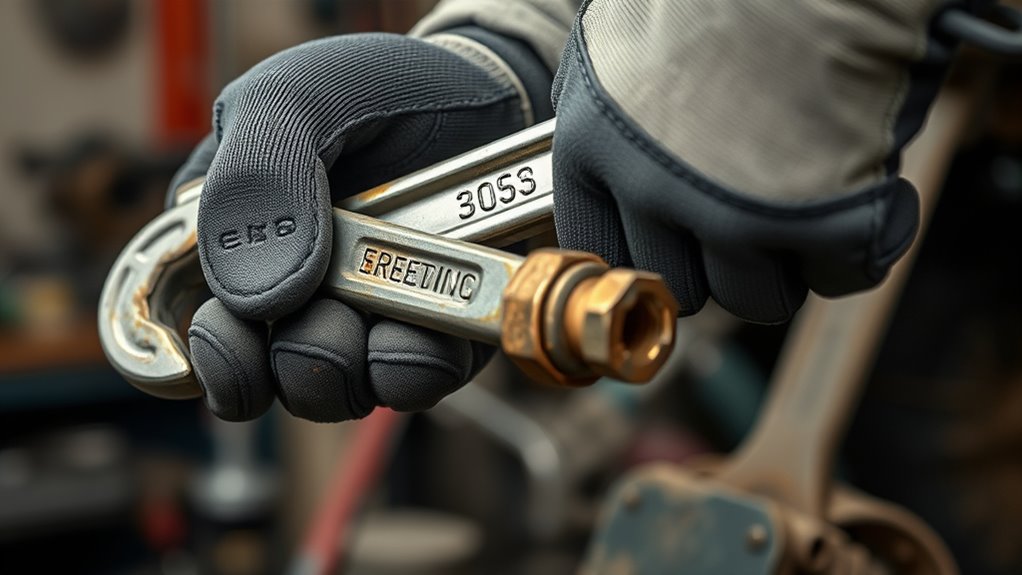
- Use a properly sized, high-quality socket to minimize rounding and ensure secure grip on the fastener.
- Apply steady, controlled leverage with both hands, maintaining body stability for safety and maximum force.
- Incorporate penetrating oil and wait to loosen rusted or corroded bolts before applying force.
- Position your body properly, keeping feet shoulder-width apart and body behind the breaker bar for optimal leverage.
- Use mechanical aids like cheater pipes or torque multipliers carefully to increase leverage without risking tool or fastener damage.
Assessing the Situation and Preparing Your Tools
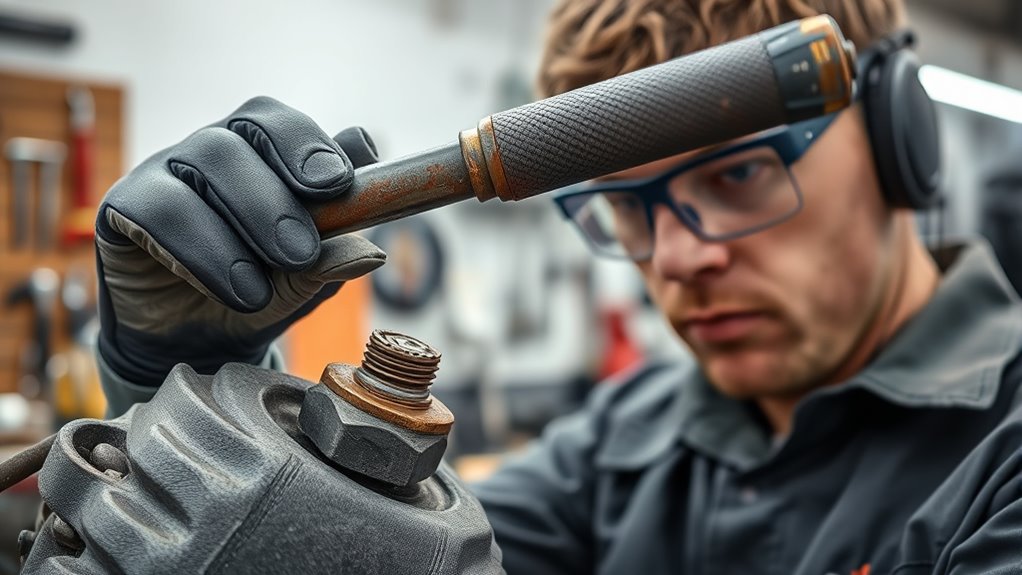
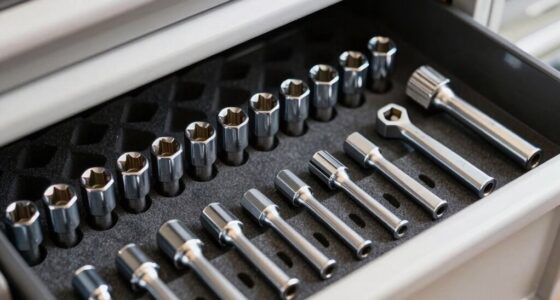
Before using a breaker bar, you should carefully assess the situation to guarantee safe and effective removal of the fastener. Start by inspecting the fastener and surrounding area for rust, corrosion, or damage that could compromise your approach. Check the condition of your tools—look for cracks, deformation, or worn drive squares—and replace any damaged equipment. Determine the appropriate drive size (1/4″, 3/8″, 1/2″, or 3/4″) based on the fastener’s size and torque requirements. Gather the correct socket type—preferably a short, thick 6-point socket—to minimize rounding. Prepare penetrating oil if corrosion is present, giving it time to soak. Additionally, understanding the input lag of your tools can help ensure precise and efficient force application during loosening, and being aware of your tool response time can improve control during heavy-duty tasks. It is also beneficial to consider the security of your workspace, ensuring it is stable and free from hazards that could cause accidents. Finally, ensure your workspace is clean, stable, and well-lit, and wear PPE to protect yourself during the task.
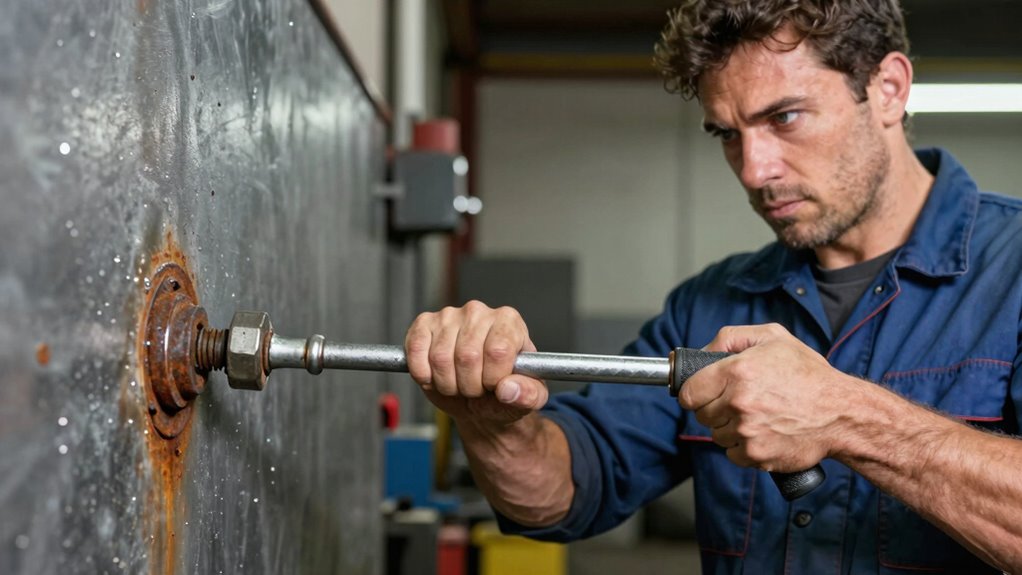
Applying Proper Leverage and Technique

To apply proper leverage and technique with a breaker bar, you need to focus on controlled, steady force rather than sudden jerks. This reduces the risk of slipping or damaging the fastener. Here’s how:
- Position your body with feet shoulder-width apart, keeping your body behind the bar for maximum stability.
- Use both hands, placing one near the head and the other toward the handle’s end to maximize leverage.
- Apply slow, consistent pressure, gradually increasing force until the bolt begins to turn, avoiding sudden pulls that can cause tool or fastener failure.
- Remember to use proper tool selection to ensure safety and effectiveness during the process, and consider the high smoke point of the lubricant to reduce friction and ease removal.
- Additionally, ensuring the correct technique can prevent damage to the fastener and extend the life of your tools.
Ensuring Safety and Using Personal Protective Equipment

Using proper safety measures and personal protective equipment (PPE) helps prevent injuries when working with breaker bars. Always wear safety glasses to shield your eyes from flying debris or sudden tool slips. Gloves improve grip and protect your hands from sharp edges and hot surfaces. Steel‑toe footwear guards against dropped tools or components. Remember to inspect your tools beforehand for cracks or damage, as compromised tools can fail under high torque. Here’s a quick safety checklist:
| PPE Item | Purpose | Use When |
|---|---|---|
| Safety glasses | Protect eyes from debris | During force application |
| Gloves | Improve grip, prevent cuts | Handling tools and fasteners |
| Steel‑toe shoes | Guard against dropped objects | Heavy lifting or high torque |
| Ear protection | Reduce noise exposure | Using impact tools |
| Work gloves | Protect hands from heat, cuts | Pre‑use inspection and handling |
Additionally, being aware of your tool’s condition and maintaining good technique can further improve safety during demanding tasks. Regularly checking your sauna and cold‑plunge systems ensures all safety features are functional and reduces the risk of accidents. Moreover, understanding body piercing materials and their properties can also prevent allergic reactions or irritation during safety gear use. Staying informed about modern safety standards helps ensure your practices align with current safety protocols and best practices, which can include guidelines for personal protective equipment use in various work environments.
Troubleshooting and When to Use Additional Mechanical Aids

When you encounter stubborn or seized fasteners during removal, troubleshooting becomes essential to determine the best course of action. First, assess whether corrosion, rust, or thread damage is causing the difficulty. Next, check if the fastener is rounded or stripped, which may prevent proper socket engagement. Finally, evaluate the space around the fastener—tight spots may require alternative tools or techniques. To avoid damaging your fastener or surrounding components, it’s also important to recognize proper leverage techniques that can make the process safer and more effective. Using mechanical advantage tools such as a cheater pipe or a torque multiplier can significantly increase your force, making stubborn bolts easier to loosen without risking damage. Consider these options: 1. Apply penetrating oil and wait to loosen rust or corrosion. 2. Use a different socket or a socket with a better grip, like a six-point. 3. Introduce mechanical aids such as a cheater pipe or a torque multiplier for extra leverage. Knowing when to escalate helps prevent tool failure and avoids damaging the fastener or surrounding components. Additionally, understanding the importance of preventing tool slip can help you choose the right technique and avoid accidents during loosening.
Safely Releasing Tightly Seized Bolts and Final Tips
Seized or tightly bound bolts can be challenging to remove safely, but taking proper precautions minimizes risks of injury or damage. Always inspect tools beforehand for cracks or wear to prevent failure during force application. Apply penetrating oil and let it soak to loosen rust and corrosion, making removal easier. Use steady, controlled pressure with your breaker bar—avoid jerks that could cause slips or tool breakage. Position yourself with stable footing, body behind the force, and keep both feet grounded. If the bolt resists, consider gentle tapping or applying heat carefully to expand metal and break bonds. Incorporating proper safety gear can significantly reduce the risk of injury when applying these techniques. When all else fails, use last-resort methods like cutting, drilling, or nut splitting with appropriate safety gear and precautions. Never rush; patience and proper technique are key to a safe, successful removal. Additionally, understanding industry trends can help you choose the most effective removal methods for different situations, including the appropriate tools and techniques for various scenarios. Being aware of safety precautions ensures you minimize risks during challenging bolt removal tasks. Knowing about advanced removal options can also prepare you for more complex situations where conventional methods fall short.
Frequently Asked Questions
What Are the Signs of Tool Failure During Bolt Removal?
You’ll notice tool failure when the breaker bar or socket suddenly slips or cracks, indicating structural damage. If the handle bends excessively, makes abnormal noises, or if the socket rounds or deforms, it’s a sign of failure. Also, if you feel unexpected give or see visible cracks, stop immediately. Continuing to force can cause injury or further damage, so replace damaged tools before proceeding.
How Do I Prevent Thread Damage When Using a Breaker Bar?
You can prevent thread damage like a pro by always applying steady, controlled force—no wild, lightning strikes! Use the correct socket size, ideally a 6-point, to grip the fastener snugly. Before applying force, spray penetrating oil and wait. Make certain the bolt and threads are clean and well-lubricated, and avoid overleveraging—lengthen your breaker bar cautiously. Proper technique keeps threads intact and bolts coming out smoothly, no drama needed.
Can Impact Tools Be Safely Combined With Breaker Bars?
You can safely combine impact tools with breaker bars if the tools and sockets are rated for impact use. Make certain you’re using impact-rated sockets and avoid using non-impact-rated tools, as they can shatter or fail under high torque. Always inspect your impact tools and sockets for damage before use, and wear appropriate PPE. Keep your work area stable and controlled to prevent accidents caused by sudden tool failure or unexpected release.
What Are the Risks of Using Excessive Leverage?
Using excessive leverage can cause sudden tool failure, which might lead to injury from flying parts or broken fasteners. It also increases the risk of stripping or damaging the fastener head, making removal harder. Over-leveraging can bend or break the breaker bar itself, potentially causing loss of control. To stay safe, apply steady, controlled force, and avoid using cheater pipes or other makeshift extensions that multiply leverage beyond safe limits.
How Often Should I Inspect My Breaker Bar for Wear?
Think of your breaker bar as a trusted tool in your toolbox. You should inspect it before each use, looking for cracks, deformation, or worn drive squares. Regularly check for signs of fatigue, especially if you use it frequently or apply high torque. By catching issues early, you prevent accidents and extend its lifespan. Remember, a well-maintained tool is like a reliable friend—ready when you need it most.
Conclusion
Mastering the breaker bar technique not only makes stubborn bolts easier to crack but also keeps you safe. With the right tools and safety precautions, you’ll find that even the most seized fasteners give way more smoothly. Sometimes, a simple trick or a bit of extra leverage is all it takes—almost like the universe aligning to help you out. Keep practicing these methods, and you’ll always be prepared to tackle tough bolts with confidence and safety in mind.